
FastDraft
FastDraft
FSGA Champions League
Want a Spicier Take? Need a Little Encouragement? Try Changing the Tone of your Report!


FastDraft Report Card Is Here - Let’s Break Down How You Did in the FSGA Champions League
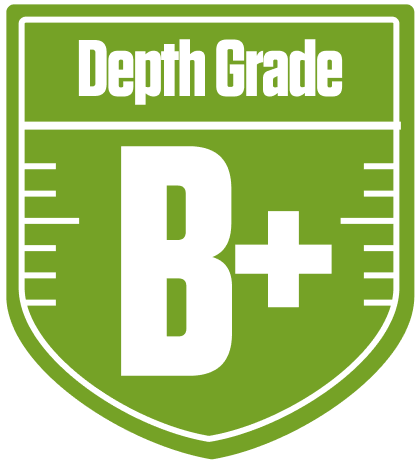
Howdy, FastDraft! You’ve put together a solid B-grade squad in this 14-team redraft league, and that’s no small feat. With a balanced approach across your starters and bench, you’re sitting right in the middle of the pack with a respectable shot at the playoffs—your chances hover around 49% on average, with a good chance bumping to 60% if things break your way. This league’s unique scoring for return yards and roster limits (like just one QB and a single flex spot) means every piece of your puzzle counts, especially your depth at running back and wide receiver.
Your team’s strengths shine brightest at wide receiver and tight end, where your starters are graded A- and A+ respectively, giving you a strong foundation to rack up points weekly. However, your quarterback situation is a bit shaky, with a starter grade of C but an overall QB grade falling to an F due to bench weakness. We’ll dive into how that impacts your ceiling and what moves could push you over the top. Stick around for the breakdown below where we’ll spotlight your key players, vulnerabilities, and strategic recommendations to help you dominate the FSGA Champions League.
Your Grades By Position
Quarterback


Running Back
Wide Receiver


Tight End
Team Defense
Kicker
Quarterback
Running Back
Wide Receiver
Tight End
Team Defense
Kicker
Playoff Chances
{"type":"doughnut","data":{"labels":["Make the Playoffs","Miss the Playoffs","Make the Playoffs","Miss the Playoffs","Make the Playoffs","Miss the Playoffs"],"datasets":[{"label":"Great Management","data":[69,31],"backgroundColor":["#3b82f6","#6c757d"],"borderWidth":3,"borderColor":"#fff"},{"label":"Good Management","data":[60,40],"backgroundColor":["#22c55e","#6c757d"],"borderWidth":3,"borderColor":"#fff"},{"label":"Average Management","data":[49,51],"backgroundColor":["#fbbf24","#6c757d"],"borderWidth":3,"borderColor":"#fff"}]},"options":{"responsive":true,"maintainAspectRatio":false,"backgroundColor":"transparent","cutout":"40%","plugins":{"legend":{"display":false},"tooltip":{"enabled":true,"backgroundColor":"rgba(0,0,0,0.8)","titleColor":"#fff","bodyColor":"#fff"}},"elements":{"arc":{"borderWidth":3,"borderColor":"#fff"}}}}
Position Upside Potential
Breakout potential by position - more stars indicate greater upside opportunity