Lundy Is Awesome
Lundy Is Awesome
The League Of Titans
Want a Spicier Take? Need a Little Encouragement? Try Changing the Tone of your Report!
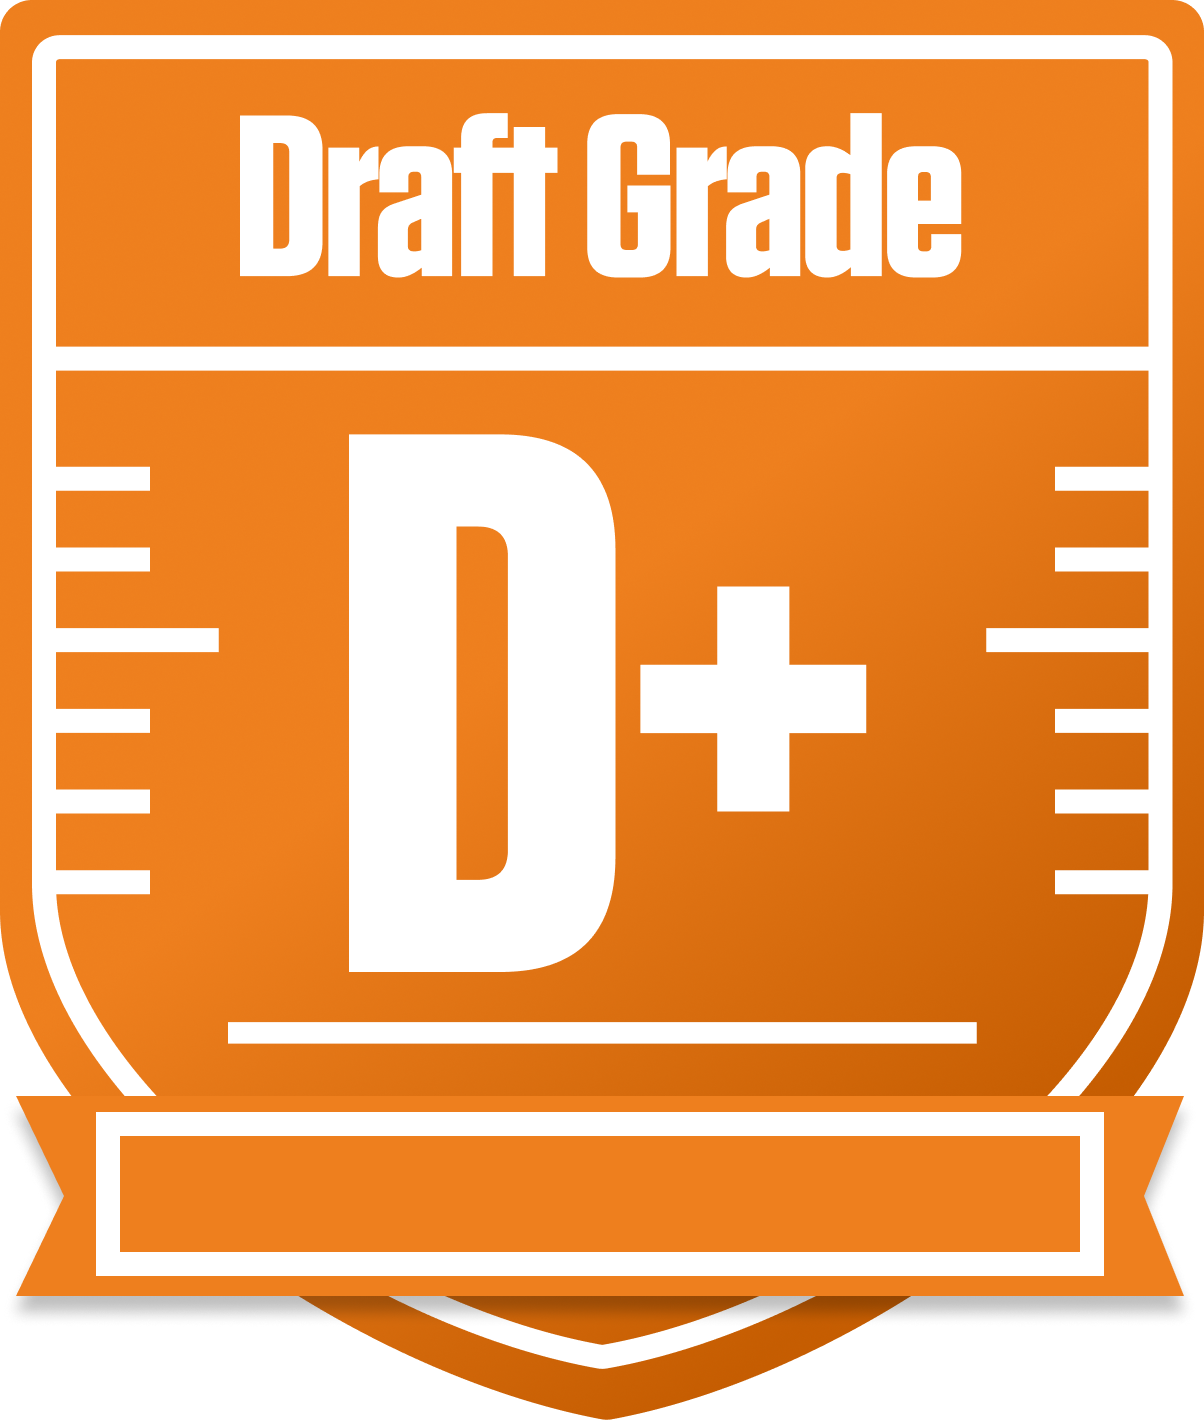
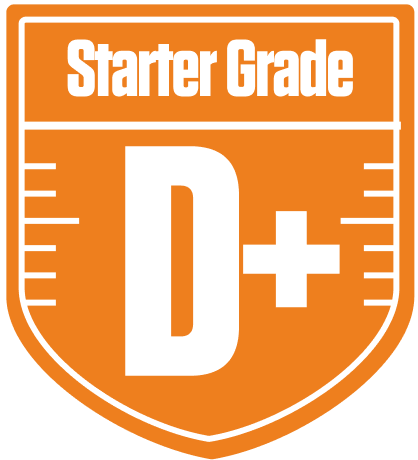
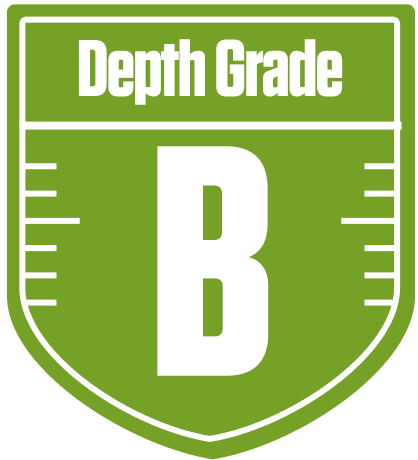


Lundy Is Awesome Team Analysis Is Here - Current Season AND Future Value Breakdown
Welcome to the deep dive on Lundy Is Awesome in the The League Of Titans dynasty league! This report covers both how this team stacks up for the current season and what their long-term dynasty outlook looks like. With a 12-team setup, full PPR scoring, and a traditional 1-QB roster, every position counts, and this team’s grades tell a story of highs and lows.
Right now, the team’s overall grade is a tough D+, signaling struggles in starting lineup depth and consistency, especially at wide receiver and tight end. However, the quarterback spot shines bright with an A+ starter grade, giving them a solid anchor. Looking ahead, the future dynasty value remains a challenge, with a similar D+ overall grade, indicating that rebuilding or shrewd moves will be necessary to climb the ranks. We’ll unpack these details and highlight key players and strategies to help Lundy Is Awesome turn things around and maximize their playoff chances this season and beyond.
Your Grades By Position
Quarterback


Running Back


Wide Receiver


Tight End


Team Defense


Kicker


Quarterback


Running Back


Wide Receiver


Tight End


Team Defense


Kicker


Your Dynasty Grades
The above grades are for the current season. These grades reflect the longer term outlook of your team over the next 2-5 years.
Overall

Quarterback

Running Back

Wide Receiver

Tight End

Team Defense

Kicker

Overall

Quarterback

Running Back

Wide Receiver

Tight End

Team Defense

Kicker

Playoff Chances
{"type":"doughnut","data":{"labels":["Make the Playoffs","Miss the Playoffs","Make the Playoffs","Miss the Playoffs","Make the Playoffs","Miss the Playoffs"],"datasets":[{"label":"Great Management","data":[36,64],"backgroundColor":["#3b82f6","#6c757d"],"borderWidth":3,"borderColor":"#fff"},{"label":"Good Management","data":[29,71],"backgroundColor":["#22c55e","#6c757d"],"borderWidth":3,"borderColor":"#fff"},{"label":"Average Management","data":[24,76],"backgroundColor":["#fbbf24","#6c757d"],"borderWidth":3,"borderColor":"#fff"}]},"options":{"responsive":true,"maintainAspectRatio":false,"backgroundColor":"transparent","cutout":"40%","plugins":{"legend":{"display":false},"tooltip":{"enabled":true,"backgroundColor":"rgba(0,0,0,0.8)","titleColor":"#fff","bodyColor":"#fff"}},"elements":{"arc":{"borderWidth":3,"borderColor":"#fff"}}}}
Position Upside Potential
Breakout potential by position - more stars indicate greater upside opportunity