mark3
mark3
The League Of Titans
Want a Spicier Take? Need a Little Encouragement? Try Changing the Tone of your Report!


mark3 Team Analysis Is Here - Current Season AND Future Value Breakdown
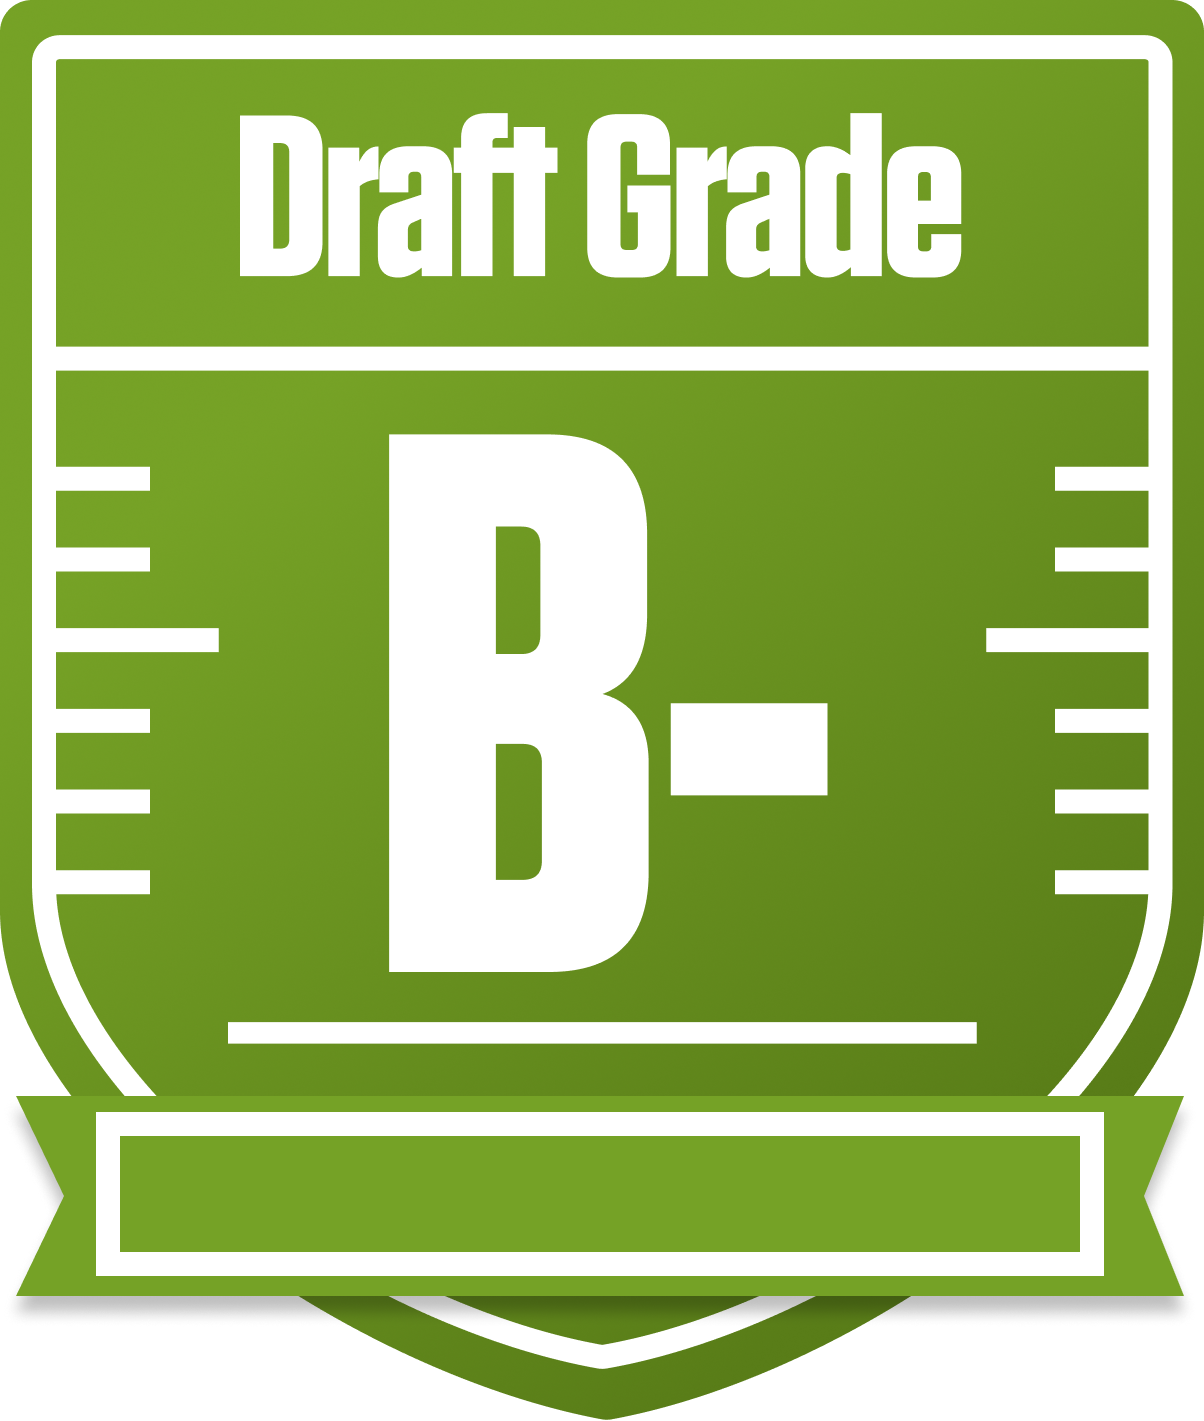
Welcome to the mark3 fantasy football report from The League Of Titans, where we dive deep into both the current season outlook and the long-term dynasty potential of your roster. This 12-team full PPR dynasty league with return yards scoring and a standard 1 QB setup means every position group matters, especially with 7 bench spots to manage depth. Your team earns a solid overall grade of B- for this season, showing you’re competitive but with room to improve, especially in some key areas.
Looking ahead, your dynasty future value shines brighter with an A- overall grade, signaling that while this year’s roster has some flaws, you’re well-positioned to contend for years to come. The blend of strong bench depth and promising starters sets you up nicely. We’ll unpack your strengths, like your WR corps and TE starter, and also spotlight where you might want to tweak your lineup or target upgrades to boost your playoff chances and long-term success. Let’s get into the nitty-gritty below!
Your Grades By Position
Quarterback


Running Back


Wide Receiver


Tight End


Team Defense


Kicker


Quarterback


Running Back


Wide Receiver


Tight End


Team Defense


Kicker


Your Dynasty Grades
The above grades are for the current season. These grades reflect the longer term outlook of your team over the next 2-5 years.
Overall

Quarterback

Running Back

Wide Receiver

Tight End

Team Defense

Kicker

Overall

Quarterback

Running Back

Wide Receiver

Tight End

Team Defense

Kicker

Playoff Chances
{"type":"doughnut","data":{"labels":["Make the Playoffs","Miss the Playoffs","Make the Playoffs","Miss the Playoffs","Make the Playoffs","Miss the Playoffs"],"datasets":[{"label":"Great Management","data":[66,34],"backgroundColor":["#3b82f6","#6c757d"],"borderWidth":3,"borderColor":"#fff"},{"label":"Good Management","data":[56,44],"backgroundColor":["#22c55e","#6c757d"],"borderWidth":3,"borderColor":"#fff"},{"label":"Average Management","data":[46,54],"backgroundColor":["#fbbf24","#6c757d"],"borderWidth":3,"borderColor":"#fff"}]},"options":{"responsive":true,"maintainAspectRatio":false,"backgroundColor":"transparent","cutout":"40%","plugins":{"legend":{"display":false},"tooltip":{"enabled":true,"backgroundColor":"rgba(0,0,0,0.8)","titleColor":"#fff","bodyColor":"#fff"}},"elements":{"arc":{"borderWidth":3,"borderColor":"#fff"}}}}
Position Upside Potential
Breakout potential by position - more stars indicate greater upside opportunity