
Shadow Ninjas
Shadow Ninjas
DripRose League 🏈🥀
Want a Spicier Take? Need a Little Encouragement? Try Changing the Tone of your Report!

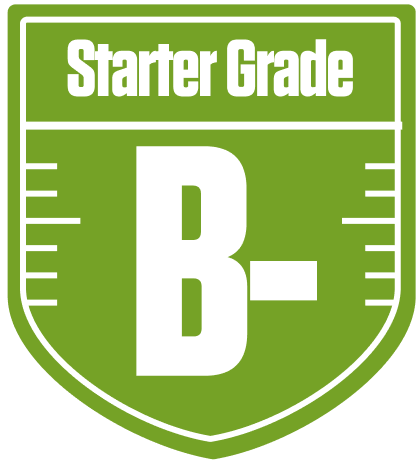
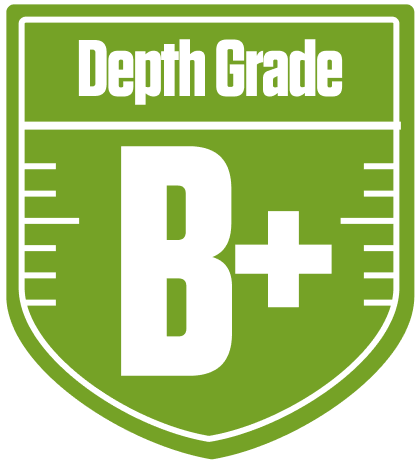
Shadow Ninjas Draft Report Card Is Here - Let’s Break Down How You Did in the DripRose League 🏈🦾
The Shadow Ninjas come out of the gate with a solid B- overall grade in this 12-team full PPR redraft league, showing a well-rounded but imperfect roster. With a strong running back corps leading the charge, this team is built to grind out points on the ground, but the wide receiver group leaves a bit to be desired. The league’s standard 1 QB, 2 RB, 2 WR, 1 TE, 1 Flex, and 6 bench spots format means depth is key, and the Ninjas have some glaring bench weaknesses that could bite them come playoff time.
Their playoff chances hover in the mid-range, with a decent shot if things break right, but they’ll need to navigate bye week conflicts and improve their WR production to truly contend. This report dives into the team’s strengths, vulnerabilities, and strategic moves to help the Shadow Ninjas reach for the stars and make a deep run in the DripRose League.
Your Grades By Position
Quarterback

Running Back

Wide Receiver


Tight End


Team Defense
Kicker
Quarterback
Running Back
Wide Receiver
Tight End
Team Defense
Kicker
Playoff Chances
{"type":"doughnut","data":{"labels":["Make the Playoffs","Miss the Playoffs","Make the Playoffs","Miss the Playoffs","Make the Playoffs","Miss the Playoffs"],"datasets":[{"label":"Great Management","data":[67,33],"backgroundColor":["#3b82f6","#6c757d"],"borderWidth":3,"borderColor":"#fff"},{"label":"Good Management","data":[57,43],"backgroundColor":["#22c55e","#6c757d"],"borderWidth":3,"borderColor":"#fff"},{"label":"Average Management","data":[46,54],"backgroundColor":["#fbbf24","#6c757d"],"borderWidth":3,"borderColor":"#fff"}]},"options":{"responsive":true,"maintainAspectRatio":false,"backgroundColor":"transparent","cutout":"40%","plugins":{"legend":{"display":false},"tooltip":{"enabled":true,"backgroundColor":"rgba(0,0,0,0.8)","titleColor":"#fff","bodyColor":"#fff"}},"elements":{"arc":{"borderWidth":3,"borderColor":"#fff"}}}}
Position Upside Potential
Breakout potential by position - more stars indicate greater upside opportunity