
The Last Dance
The Last Dance
DripRose League 🏈🥀
Want a Spicier Take? Need a Little Encouragement? Try Changing the Tone of your Report!


Your Draft Report Card Is Here, The Last Dance - Let's Break Down How You Did
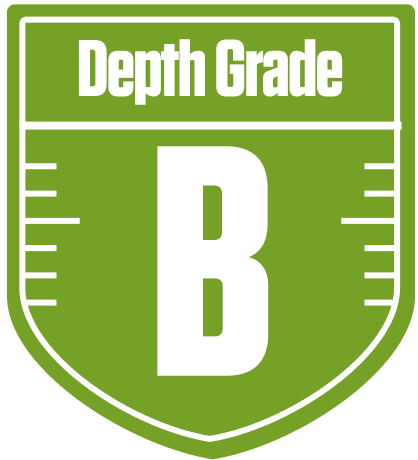
Welcome to your personalized fantasy report for The Last Dance in the DripRose League 🏈🦾! This 12-team full PPR redraft league demands sharp roster construction, and your team earned a solid overall B grade this season. With a strong starting lineup and a bench that shows promise in some areas but struggles in others, you’re positioned right in the thick of the playoff hunt with about a 50-70% chance depending on how things shake out.
Your team’s approach leans heavily on a powerful running back corps and a reliable quarterback duo, but the wide receiver and tight end groups leave some room for improvement. The league’s full PPR and return yards scoring add extra value to versatile players, which you’ve tapped into selectively. We’ll dive into your team’s strengths, weaknesses, and strategic moves to help you maximize your chances of dancing all the way to the championship.
Get ready for a breakdown that highlights where you shine, where you might want to make moves, and how to leverage Footballguys tools to keep your squad competitive down the stretch.
Your Grades By Position
Quarterback


Running Back

Wide Receiver

Tight End

Team Defense
Kicker
Quarterback
Running Back
Wide Receiver
Tight End
Team Defense
Kicker
Playoff Chances
{"type":"doughnut","data":{"labels":["Make the Playoffs","Miss the Playoffs","Make the Playoffs","Miss the Playoffs","Make the Playoffs","Miss the Playoffs"],"datasets":[{"label":"Great Management","data":[69,31],"backgroundColor":["#3b82f6","#6c757d"],"borderWidth":3,"borderColor":"#fff"},{"label":"Good Management","data":[60,40],"backgroundColor":["#22c55e","#6c757d"],"borderWidth":3,"borderColor":"#fff"},{"label":"Average Management","data":[49,51],"backgroundColor":["#fbbf24","#6c757d"],"borderWidth":3,"borderColor":"#fff"}]},"options":{"responsive":true,"maintainAspectRatio":false,"backgroundColor":"transparent","cutout":"40%","plugins":{"legend":{"display":false},"tooltip":{"enabled":true,"backgroundColor":"rgba(0,0,0,0.8)","titleColor":"#fff","bodyColor":"#fff"}},"elements":{"arc":{"borderWidth":3,"borderColor":"#fff"}}}}
Position Upside Potential
Breakout potential by position - more stars indicate greater upside opportunity