
Game, Set, Match
Game, Set, Match
KC Guyz
Want a Spicier Take? Need a Little Encouragement? Try Changing the Tone of your Report!
Game, Set, Match Report Card Is Here - Let's Break Down How You Did in KC Guyz
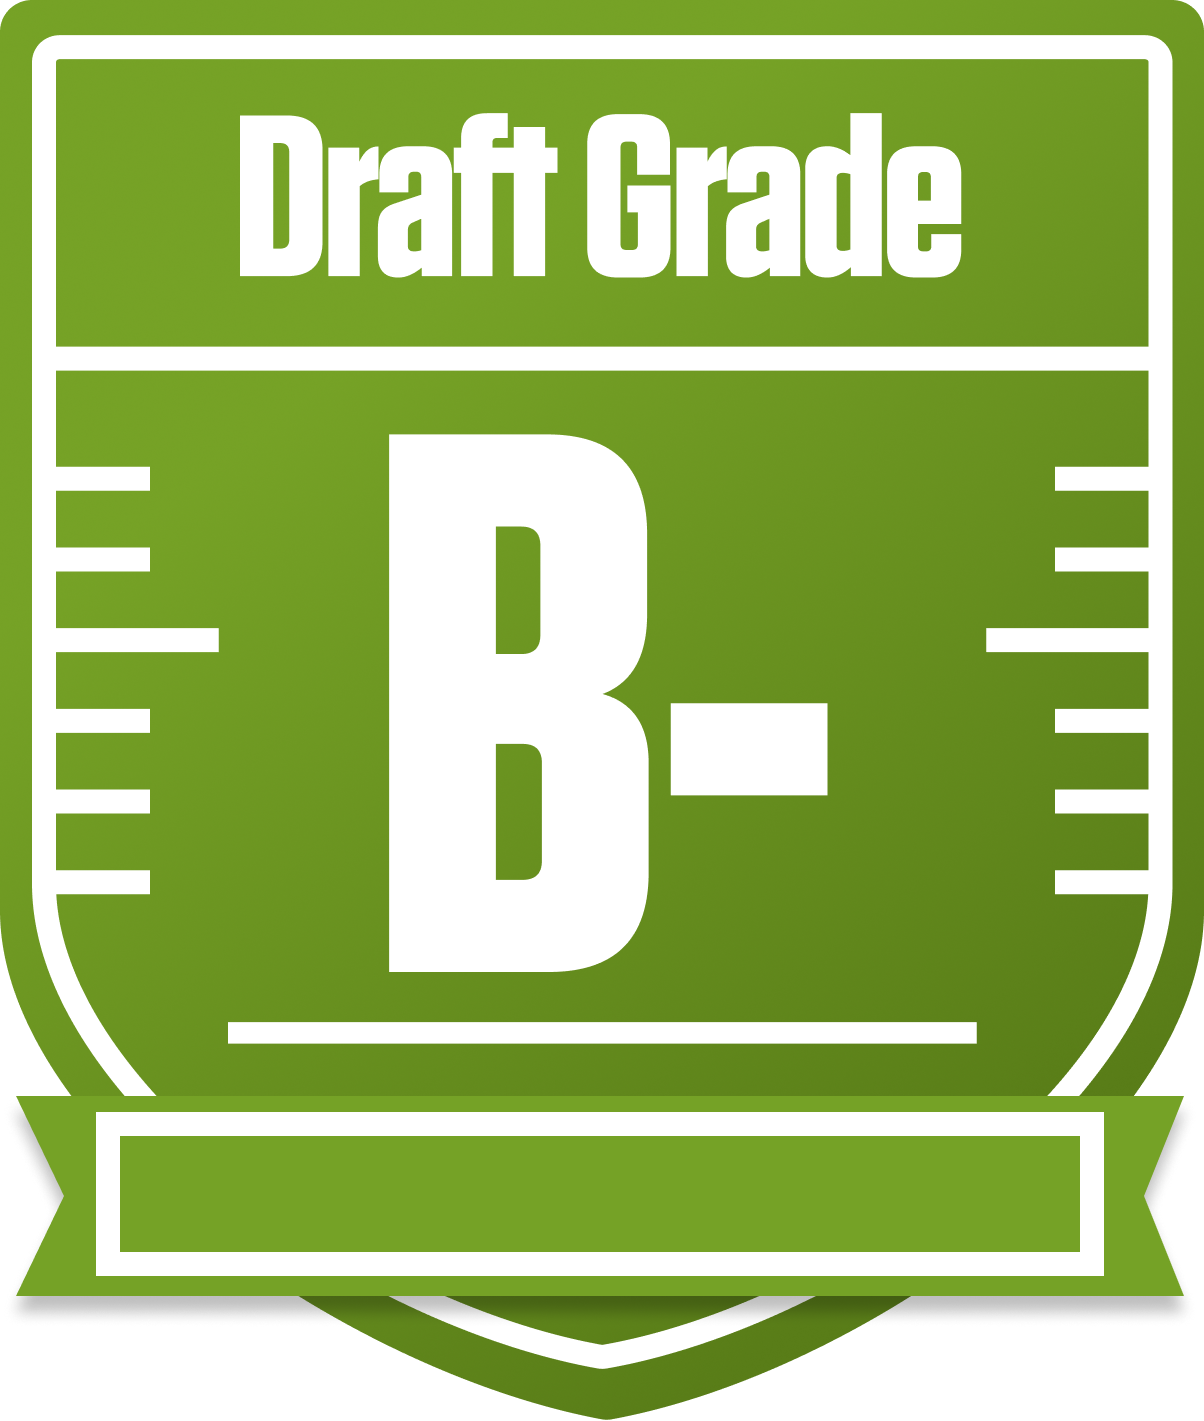
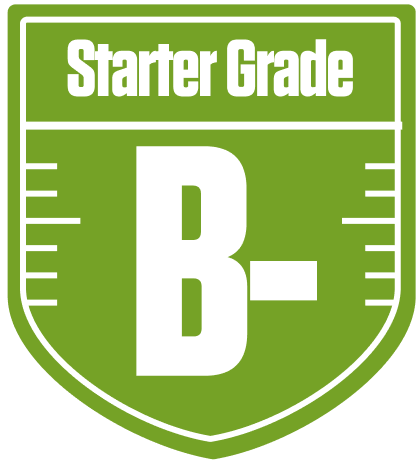
Howdy, Game, Set, Match! You’ve put together a solid squad in this 12-team full PPR redraft league, and your overall grade of B- shows you’re in the hunt but with room to grow. Your team’s strength lies in a powerhouse running back group that’s firing on all cylinders, while your quarterback and tight end spots could use some reinforcements. With a playoff chance hovering around the mid-40s to mid-60s percentile, you’re not out of the race yet, but you’ll need to keep an eye on bye week conflicts and depth.
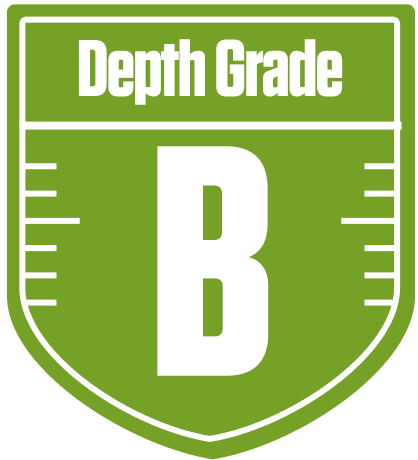
This league’s full PPR and return yard scoring settings reward versatile players who can rack up receptions and special teams points, so your bench depth at wide receiver is a nice asset. The two flex spots give you some flexibility, but your QB and TE bench grades suggest you might want to explore the waiver wire or trades to shore up those positions. Let’s dive into the nitty-gritty of your roster and see where you can capitalize and where caution is warranted.
Your Grades By Position
Quarterback


Running Back
Wide Receiver

Tight End
Team Defense
Kicker

Quarterback
Running Back
Wide Receiver
Tight End
Team Defense
Kicker
Playoff Chances
{"type":"doughnut","data":{"labels":["Make the Playoffs","Miss the Playoffs","Make the Playoffs","Miss the Playoffs","Make the Playoffs","Miss the Playoffs"],"datasets":[{"label":"Great Management","data":[65,35],"backgroundColor":["#3b82f6","#6c757d"],"borderWidth":3,"borderColor":"#fff"},{"label":"Good Management","data":[56,44],"backgroundColor":["#22c55e","#6c757d"],"borderWidth":3,"borderColor":"#fff"},{"label":"Average Management","data":[45,55],"backgroundColor":["#fbbf24","#6c757d"],"borderWidth":3,"borderColor":"#fff"}]},"options":{"responsive":true,"maintainAspectRatio":false,"backgroundColor":"transparent","cutout":"40%","plugins":{"legend":{"display":false},"tooltip":{"enabled":true,"backgroundColor":"rgba(0,0,0,0.8)","titleColor":"#fff","bodyColor":"#fff"}},"elements":{"arc":{"borderWidth":3,"borderColor":"#fff"}}}}
Position Upside Potential
Breakout potential by position - more stars indicate greater upside opportunity