
THE SHOW
THE SHOW
KC Guyz
Want a Spicier Take? Need a Little Encouragement? Try Changing the Tone of your Report!
THE SHOW Draft Report Card Is Here - Let’s Break Down How You Did in KC Guyz
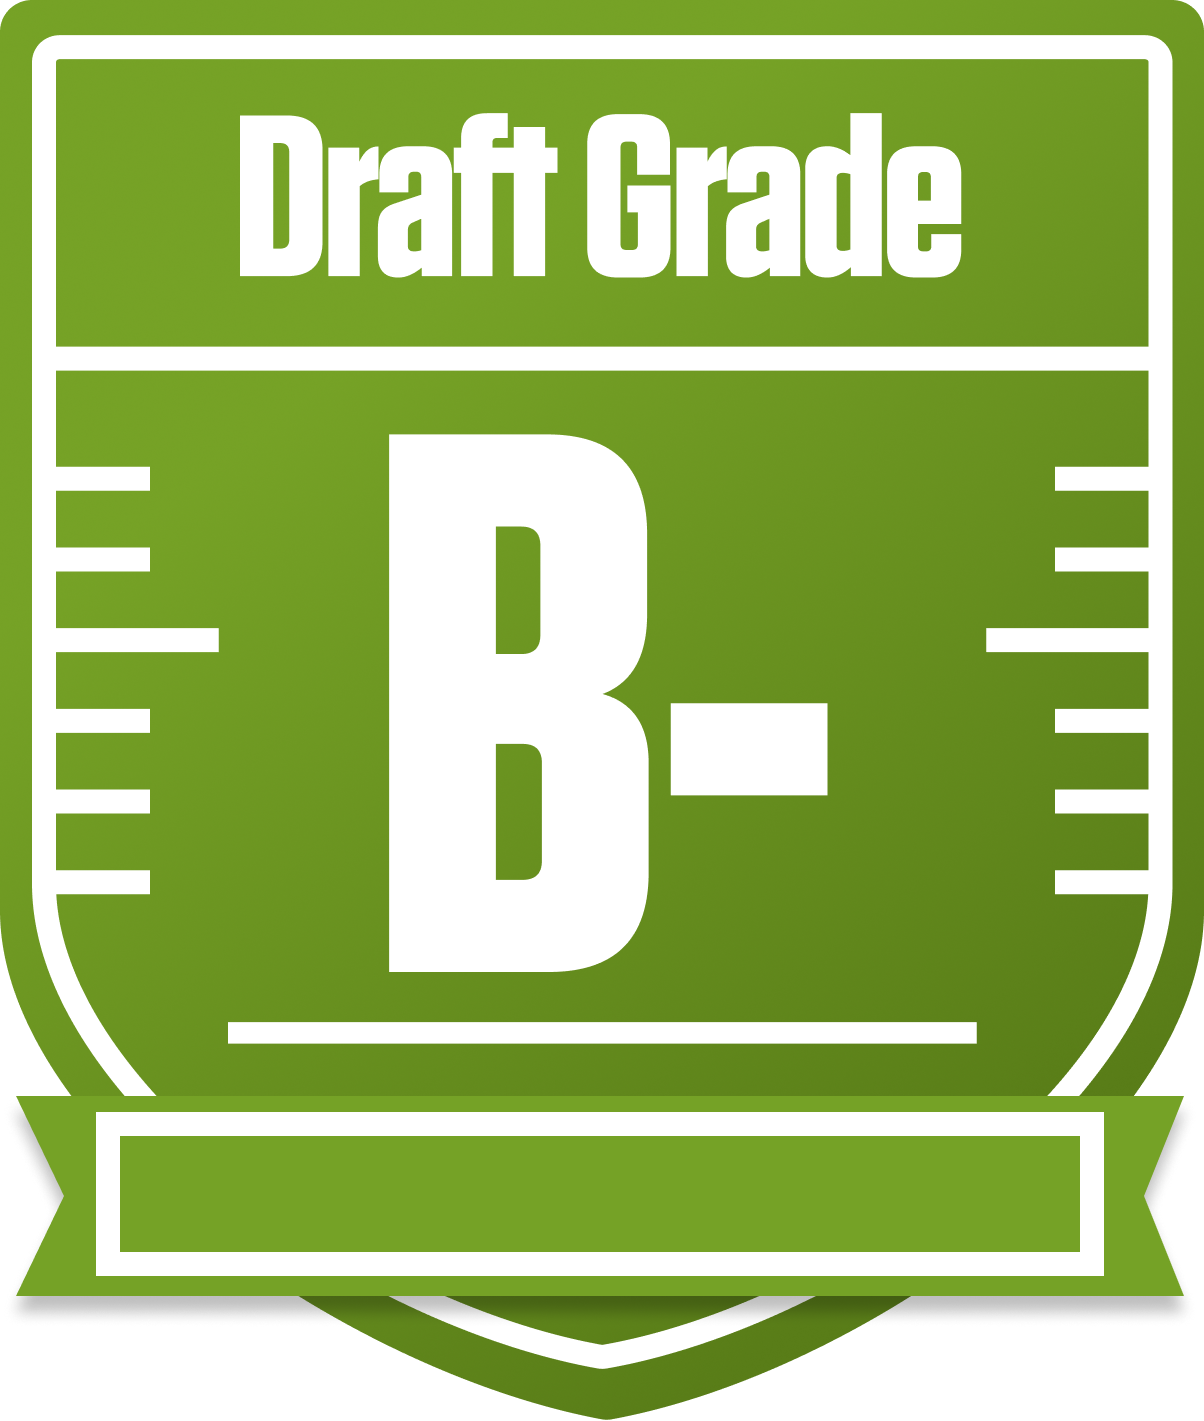
Howdy, THE SHOW! You’ve got yourself a solid B- overall grade in this 12-team full PPR redraft league, and that’s no small feat. Your team shows a nice balance, especially with a strong wide receiver group and a stout defense, but there’s room to tighten up at quarterback and tight end. With playoff chances hovering around the mid-40s to mid-60s percentile, you’re definitely in the hunt, but you’ll need some key performances and smart moves to push through.
This league’s full PPR and return yards scoring add some extra flavor, rewarding pass-catching backs and dynamic receivers, which plays right into your strengths. Your roster construction leans on a powerful WR corps and a deep RB bench, but the QB and TE spots could use some love. We’ll dive into the nitty-gritty below, highlighting where you shine and where you might want to make some moves to keep the momentum rolling in this competitive KC Guyz league.
Your Grades By Position
Quarterback


Running Back

Wide Receiver
Tight End
Team Defense
Kicker

Quarterback
Running Back
Wide Receiver
Tight End
Team Defense
Kicker
Playoff Chances
{"type":"doughnut","data":{"labels":["Make the Playoffs","Miss the Playoffs","Make the Playoffs","Miss the Playoffs","Make the Playoffs","Miss the Playoffs"],"datasets":[{"label":"Great Management","data":[64,36],"backgroundColor":["#3b82f6","#6c757d"],"borderWidth":3,"borderColor":"#fff"},{"label":"Good Management","data":[54,46],"backgroundColor":["#22c55e","#6c757d"],"borderWidth":3,"borderColor":"#fff"},{"label":"Average Management","data":[43,57],"backgroundColor":["#fbbf24","#6c757d"],"borderWidth":3,"borderColor":"#fff"}]},"options":{"responsive":true,"maintainAspectRatio":false,"backgroundColor":"transparent","cutout":"40%","plugins":{"legend":{"display":false},"tooltip":{"enabled":true,"backgroundColor":"rgba(0,0,0,0.8)","titleColor":"#fff","bodyColor":"#fff"}},"elements":{"arc":{"borderWidth":3,"borderColor":"#fff"}}}}
Position Upside Potential
Breakout potential by position - more stars indicate greater upside opportunity