
Drunken Leprechauns
Drunken Leprechauns
Malazan NFL
Want a Spicier Take? Need a Little Encouragement? Try Changing the Tone of your Report!
Drunken Leprechauns Draft Report Card Is Here - Let’s Break Down How You Did
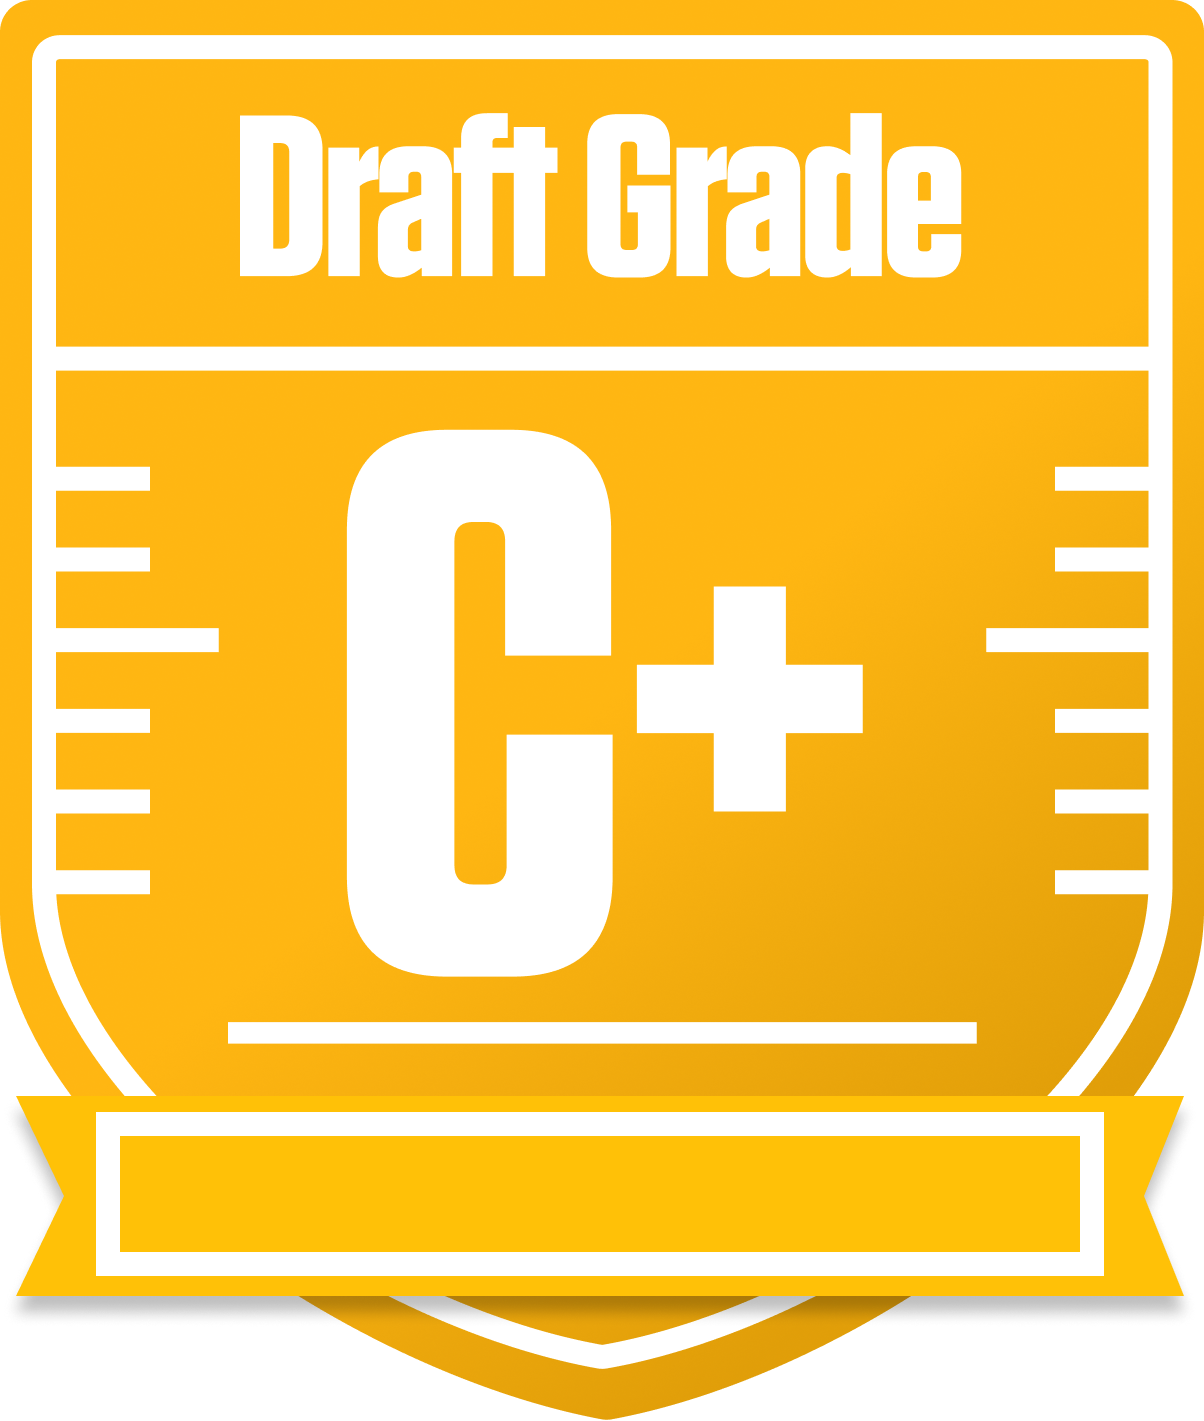
Howdy, fantasy fan! The Drunken Leprechauns have wrapped up their redraft draft in the Malazan NFL, an 8-team league with some unique roster settings including two starting QBs and return yards scoring. This team earned a solid C+ overall grade, showing a balanced attack but with clear areas to improve if they want to make a serious playoff push. Their projected points and grades suggest a team that can compete but might struggle to dominate.
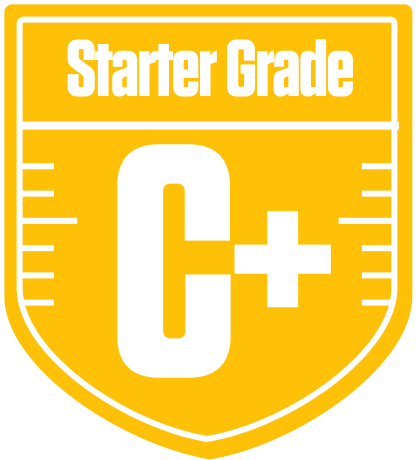
With a starting QB group graded A- and bench at C+, the Leprechauns have a strong foundation under center, which is crucial in a league requiring two QBs. However, the running back and wide receiver groups hover around the C to C+ range, and the tight end position is a glaring weak spot with a failing grade. Their playoff chances are decent but not guaranteed, so strategic moves and savvy weekly management will be key. Let’s dive deeper into what makes this team tick and where they need to shore up to turn that C+ into a contender.
Your Grades By Position
Quarterback


Running Back

Wide Receiver


Tight End

Team Defense

Kicker
Quarterback
Running Back
Wide Receiver
Tight End
Team Defense
Kicker
Playoff Chances
{"type":"doughnut","data":{"labels":["Make the Playoffs","Miss the Playoffs","Make the Playoffs","Miss the Playoffs","Make the Playoffs","Miss the Playoffs"],"datasets":[{"label":"Great Management","data":[62,38],"backgroundColor":["#3b82f6","#6c757d"],"borderWidth":3,"borderColor":"#fff"},{"label":"Good Management","data":[51,49],"backgroundColor":["#22c55e","#6c757d"],"borderWidth":3,"borderColor":"#fff"},{"label":"Average Management","data":[41,59],"backgroundColor":["#fbbf24","#6c757d"],"borderWidth":3,"borderColor":"#fff"}]},"options":{"responsive":true,"maintainAspectRatio":false,"backgroundColor":"transparent","cutout":"40%","plugins":{"legend":{"display":false},"tooltip":{"enabled":true,"backgroundColor":"rgba(0,0,0,0.8)","titleColor":"#fff","bodyColor":"#fff"}},"elements":{"arc":{"borderWidth":3,"borderColor":"#fff"}}}}
Position Upside Potential
Breakout potential by position - more stars indicate greater upside opportunity