
Hoosier Colts
Hoosier Colts
Malazan NFL
Want a Spicier Take? Need a Little Encouragement? Try Changing the Tone of your Report!
Hoosier Colts Draft Report Card Is Here - Let’s Break Down How You Did
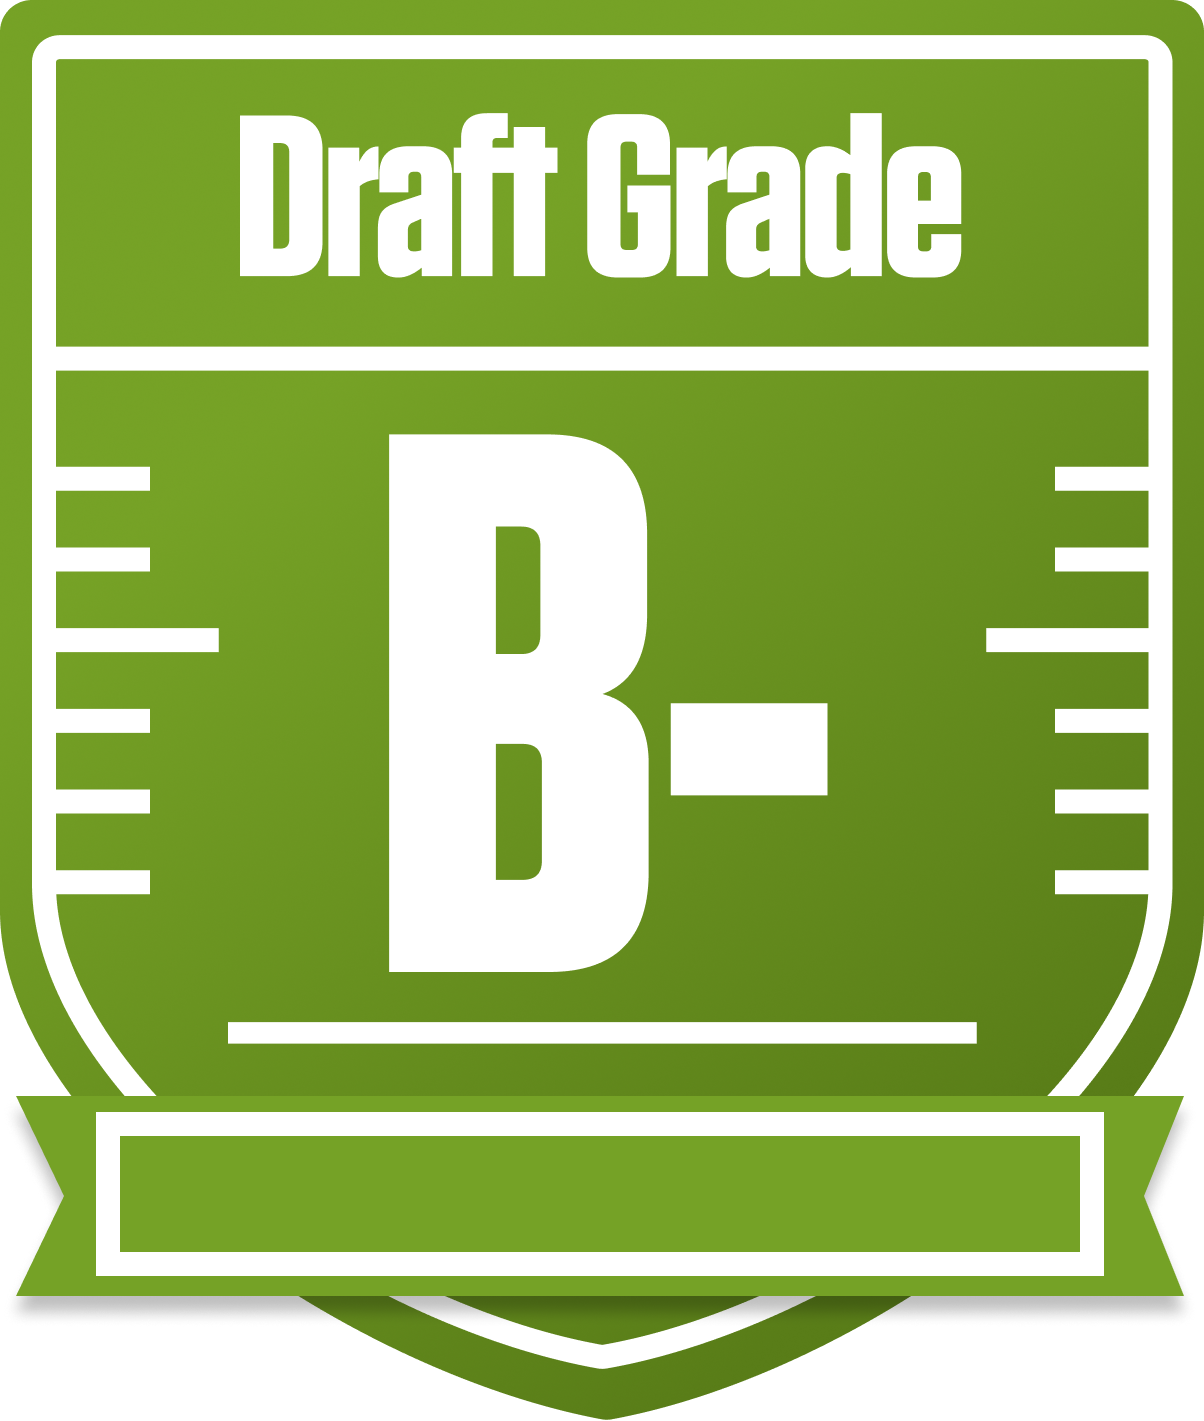
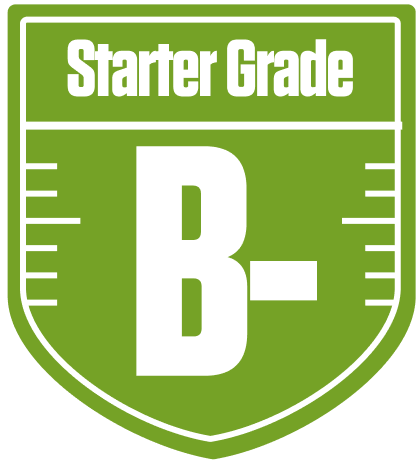
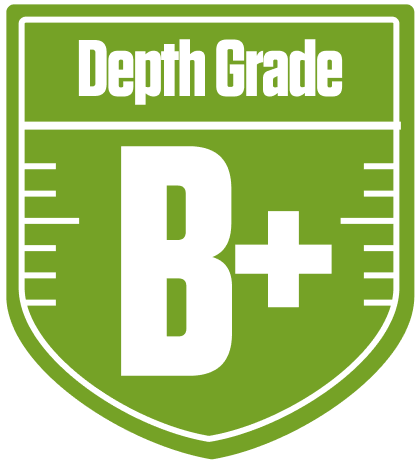
The Hoosier Colts come out of the gate with a solid B- overall grade in this 8-team redraft league, showing a balanced attack that leans heavily on a strong running back corps. With league settings requiring two quarterbacks and four wide receivers, plus return yards scoring, this team’s construction reflects a smart approach to roster depth and positional needs. Their projected points and grades suggest they’re competitive but not dominant, with a playoff chance hovering around the middle of the pack.
This report dives into the strengths and weaknesses of the Colts’ draft haul, highlighting their standout running backs and the challenges they face at wide receiver and tight end. We’ll also explore how their quarterback situation stacks up in a non-superflex format and what strategic moves could push them into a higher tier. Buckle up, because the Hoosier Colts have some intriguing pieces that could make for a fun fantasy ride this season.
Your Grades By Position
Quarterback

Running Back
Wide Receiver


Tight End

Team Defense

Kicker
Quarterback
Running Back
Wide Receiver
Tight End
Team Defense
Kicker
Playoff Chances
{"type":"doughnut","data":{"labels":["Make the Playoffs","Miss the Playoffs","Make the Playoffs","Miss the Playoffs","Make the Playoffs","Miss the Playoffs"],"datasets":[{"label":"Great Management","data":[69,31],"backgroundColor":["#3b82f6","#6c757d"],"borderWidth":3,"borderColor":"#fff"},{"label":"Good Management","data":[59,41],"backgroundColor":["#22c55e","#6c757d"],"borderWidth":3,"borderColor":"#fff"},{"label":"Average Management","data":[48,52],"backgroundColor":["#fbbf24","#6c757d"],"borderWidth":3,"borderColor":"#fff"}]},"options":{"responsive":true,"maintainAspectRatio":false,"backgroundColor":"transparent","cutout":"40%","plugins":{"legend":{"display":false},"tooltip":{"enabled":true,"backgroundColor":"rgba(0,0,0,0.8)","titleColor":"#fff","bodyColor":"#fff"}},"elements":{"arc":{"borderWidth":3,"borderColor":"#fff"}}}}
Position Upside Potential
Breakout potential by position - more stars indicate greater upside opportunity