BroadwayG
BroadwayG
FBG Bowl League 0001 - Shark Pool Only
Want a Spicier Take? Need a Little Encouragement? Try Changing the Tone of your Report!
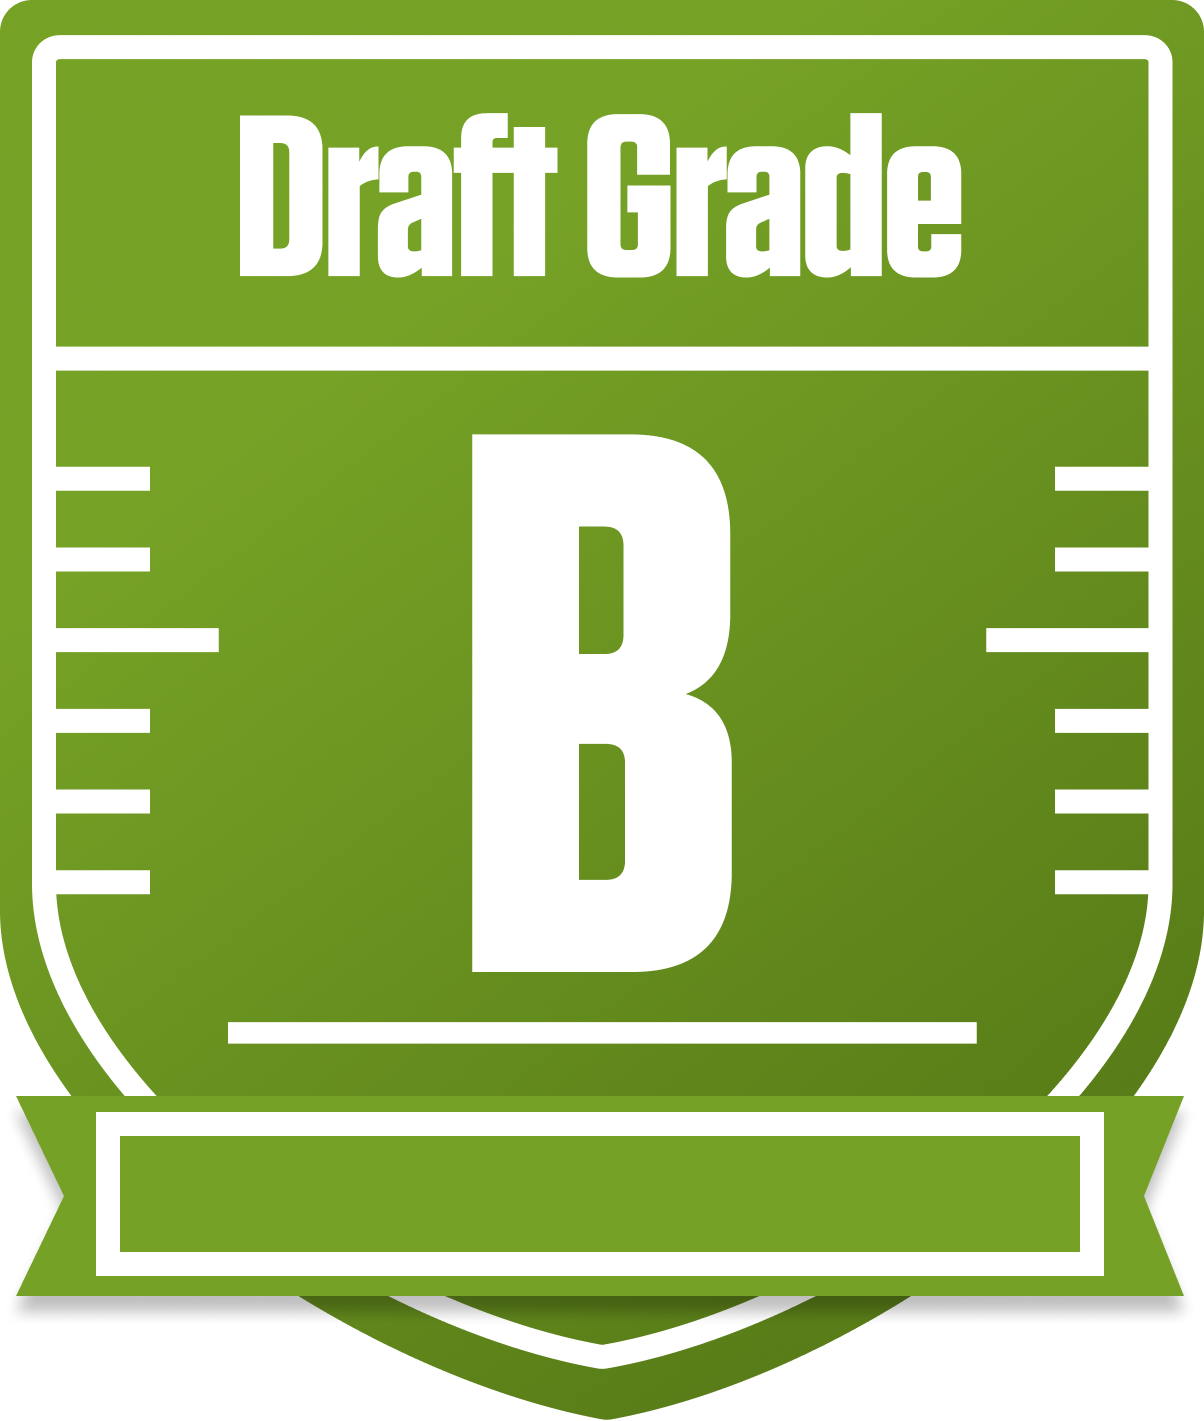


BroadwayG's Draft Report Card Is Here - Let's Break Down How You Did in the FBG Bowl League 0001 - Shark Pool Only
Well, howdy, BroadwayG! You’ve put together a solid B-grade squad in this 12-team full PPR redraft league, and that’s no small feat. With a roster built around a strong starting lineup and a bench that holds its own, you’re sitting in a competitive spot to make a playoff push. The league’s standard one-QB, two-RB, three-WR, one-TE, and two-flex setup means you’ve got to be sharp with your depth, and you’ve done a respectable job balancing that.
Your team’s projected points and positional grades show some clear strengths and a few areas to watch. The running back group shines, both starters and bench, while your wide receiver corps is solid but could use some bench depth improvement. Tight end is a mixed bag with a weak starter but a strong bench, which is a curious twist. Your playoff chances hover in the middle of the pack, so a few smart moves and some luck could push you into the great category. Let’s dive deeper into what makes your team tick and where you might want to tweak things to keep that playoff dream alive.
Your Grades By Position
Quarterback


Running Back


Wide Receiver


Tight End


Team Defense


Quarterback


Running Back


Wide Receiver


Tight End


Team Defense


Playoff Chances
{"type":"doughnut","data":{"labels":["Make the Playoffs","Miss the Playoffs","Make the Playoffs","Miss the Playoffs","Make the Playoffs","Miss the Playoffs"],"datasets":[{"label":"Great Management","data":[68,32],"backgroundColor":["#3b82f6","#6c757d"],"borderWidth":3,"borderColor":"#fff"},{"label":"Good Management","data":[58,42],"backgroundColor":["#22c55e","#6c757d"],"borderWidth":3,"borderColor":"#fff"},{"label":"Average Management","data":[48,52],"backgroundColor":["#fbbf24","#6c757d"],"borderWidth":3,"borderColor":"#fff"}]},"options":{"responsive":true,"maintainAspectRatio":false,"backgroundColor":"transparent","cutout":"40%","plugins":{"legend":{"display":false},"tooltip":{"enabled":true,"backgroundColor":"rgba(0,0,0,0.8)","titleColor":"#fff","bodyColor":"#fff"}},"elements":{"arc":{"borderWidth":3,"borderColor":"#fff"}}}}
Position Upside Potential
Breakout potential by position - more stars indicate greater upside opportunity