
DaddyFatSacks
DaddyFatSacks
FBG Bowl League 0001 - Shark Pool Only
Want a Spicier Take? Need a Little Encouragement? Try Changing the Tone of your Report!


DaddyFatSacks Draft Report Card Is Here - Let's Break Down How You Did
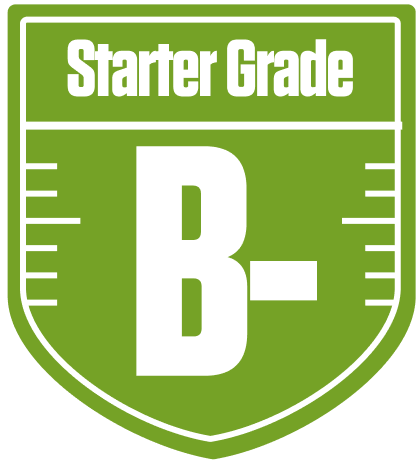
Howdy, DaddyFatSacks! Welcome to your personalized draft report from the FBG Bowl League 0001 - Shark Pool Only. This redraft league with 12 teams and full PPR scoring means every reception counts, and your team’s overall B- grade shows you’ve got a solid foundation to compete this season. Your starters earned a respectable B- grade, while your bench shines with an A, giving you depth to weather injuries or bye weeks.
Your playoff chances hover around the middle of the pack, so there’s room to improve but also a real shot at making a run. The league’s standard roster settings with one QB, two RBs, three WRs, and two flex spots put a premium on balanced depth, and your team’s construction reflects that. We’ll dive into your strengths, like your WR corps, and your weaknesses, especially at RB starters and tight end, plus some strategic moves to boost your playoff odds. Let’s get into the nitty-gritty below!
Your Grades By Position
Quarterback

Running Back

Wide Receiver

Tight End

Team Defense

Quarterback
Running Back
Wide Receiver
Tight End
Team Defense
Playoff Chances
{"type":"doughnut","data":{"labels":["Make the Playoffs","Miss the Playoffs","Make the Playoffs","Miss the Playoffs","Make the Playoffs","Miss the Playoffs"],"datasets":[{"label":"Great Management","data":[67,33],"backgroundColor":["#3b82f6","#6c757d"],"borderWidth":3,"borderColor":"#fff"},{"label":"Good Management","data":[58,42],"backgroundColor":["#22c55e","#6c757d"],"borderWidth":3,"borderColor":"#fff"},{"label":"Average Management","data":[47,53],"backgroundColor":["#fbbf24","#6c757d"],"borderWidth":3,"borderColor":"#fff"}]},"options":{"responsive":true,"maintainAspectRatio":false,"backgroundColor":"transparent","cutout":"40%","plugins":{"legend":{"display":false},"tooltip":{"enabled":true,"backgroundColor":"rgba(0,0,0,0.8)","titleColor":"#fff","bodyColor":"#fff"}},"elements":{"arc":{"borderWidth":3,"borderColor":"#fff"}}}}
Position Upside Potential
Breakout potential by position - more stars indicate greater upside opportunity