
Dacomish
Dacomish
FBG Bowl League 0001 - Shark Pool Only
Want a Spicier Take? Need a Little Encouragement? Try Changing the Tone of your Report!

Dacomish's Draft Report Card Is Here - Let's Break Down How You Did in the FBG Bowl League 0001 - Shark Pool Only
Well, howdy, Dacomish! You’ve put together a solid B+ overall grade in this 12-team, full PPR redraft league, and that’s no small feat. With a roster built around a strong starting quarterback and tight end group, you’re looking like a serious contender this season. The league’s standard one-QB, two-RB, three-WR, one-TE, and two-flex setup means you’ve got to be sharp with your depth, and your bench grades show you’ve got some solid pieces waiting in the wings.
Your playoff chances hover in the middle to upper range, with a good shot if things break your way. The team’s approach leans on high-floor players at key spots, but there’s some room for improvement, especially in your running back depth and wide receiver starters. Stick around for the breakdown below where we’ll dig into your strongest assets, your vulnerabilities, and some strategic moves to help you swim with the sharks and come out on top.
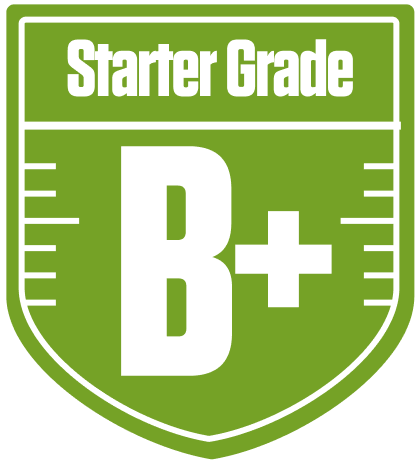
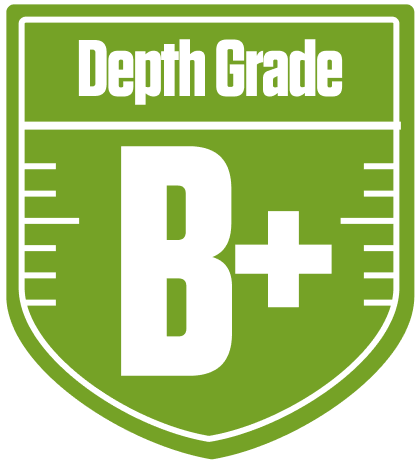
Your Grades By Position
Quarterback

Running Back

Wide Receiver
Tight End
Team Defense

Quarterback
Running Back
Wide Receiver
Tight End
Team Defense
Playoff Chances
{"type":"doughnut","data":{"labels":["Make the Playoffs","Miss the Playoffs","Make the Playoffs","Miss the Playoffs","Make the Playoffs","Miss the Playoffs"],"datasets":[{"label":"Great Management","data":[71,29],"backgroundColor":["#3b82f6","#6c757d"],"borderWidth":3,"borderColor":"#fff"},{"label":"Good Management","data":[62,38],"backgroundColor":["#22c55e","#6c757d"],"borderWidth":3,"borderColor":"#fff"},{"label":"Average Management","data":[51,49],"backgroundColor":["#fbbf24","#6c757d"],"borderWidth":3,"borderColor":"#fff"}]},"options":{"responsive":true,"maintainAspectRatio":false,"backgroundColor":"transparent","cutout":"40%","plugins":{"legend":{"display":false},"tooltip":{"enabled":true,"backgroundColor":"rgba(0,0,0,0.8)","titleColor":"#fff","bodyColor":"#fff"}},"elements":{"arc":{"borderWidth":3,"borderColor":"#fff"}}}}
Position Upside Potential
Breakout potential by position - more stars indicate greater upside opportunity