
ASS EATN SZN
ASS EATN SZN
A Tribute to Sweetness
Want a Spicier Take? Need a Little Encouragement? Try Changing the Tone of your Report!


Your Draft Report Card Is Here, ASS EATN SZN - Let's Break Down How You Did
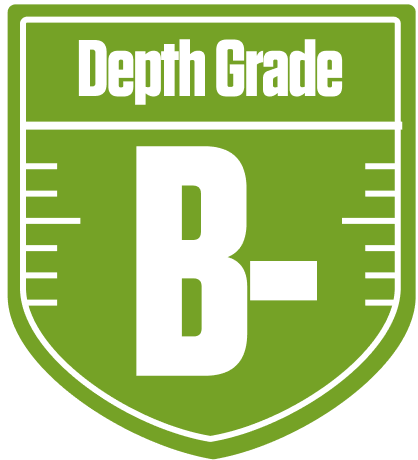
Howdy, ASS EATN SZN! You’ve rolled into the A Tribute to Sweetness league with a balanced attack approach, and your draft results landed you a solid C overall grade. In this 12-team superflex redraft league, your team’s strengths and weaknesses are shaped by the unique roster settings, especially the single superflex spot that puts a premium on quarterback depth and production. Your starters show some promise, particularly at QB and kicker, but the overall team grade suggests there’s room to tighten up your lineup if you want to make a serious playoff push.
Your playoff chances hover in the middle of the pack, with about a one-in-three shot at sneaking into the postseason. The good news? You’ve got some high-upside players sprinkled across your roster, and your bench is respectable, especially at running back. But watch out for your tight end group, which is dragging down your overall grade. Stick around for the breakdown below where we’ll dig into your positional strengths, vulnerabilities, and how to leverage Footballguys tools to maximize your chances of winning this season.
Your Grades By Position
Quarterback


Running Back


Wide Receiver

Tight End

Kicker
Quarterback
Running Back
Wide Receiver
Tight End
Kicker
Playoff Chances
{"type":"doughnut","data":{"labels":["Make the Playoffs","Miss the Playoffs","Make the Playoffs","Miss the Playoffs","Make the Playoffs","Miss the Playoffs"],"datasets":[{"label":"Great Management","data":[53,47],"backgroundColor":["#3b82f6","#6c757d"],"borderWidth":3,"borderColor":"#fff"},{"label":"Good Management","data":[42,58],"backgroundColor":["#22c55e","#6c757d"],"borderWidth":3,"borderColor":"#fff"},{"label":"Average Management","data":[33,67],"backgroundColor":["#fbbf24","#6c757d"],"borderWidth":3,"borderColor":"#fff"}]},"options":{"responsive":true,"maintainAspectRatio":false,"backgroundColor":"transparent","cutout":"40%","plugins":{"legend":{"display":false},"tooltip":{"enabled":true,"backgroundColor":"rgba(0,0,0,0.8)","titleColor":"#fff","bodyColor":"#fff"}},"elements":{"arc":{"borderWidth":3,"borderColor":"#fff"}}}}
Position Upside Potential
Breakout potential by position - more stars indicate greater upside opportunity