
Gravedigger4Life
Gravedigger4Life
A Tribute to Sweetness
Want a Spicier Take? Need a Little Encouragement? Try Changing the Tone of your Report!


Gravedigger4Life's Draft Report Card in A Tribute to Sweetness
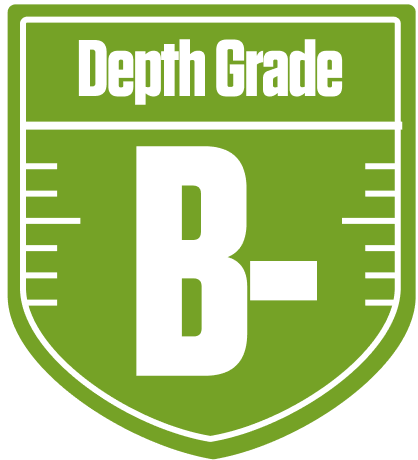
Well, howdy, Gravedigger4Life! You’ve just wrapped up your draft in the 12-team, superflex redraft league known as A Tribute to Sweetness, and it’s time to size up your haul. Your team earned a solid C overall grade, showing a balanced attack but with plenty of room to grow. The league’s superflex setting means your quarterback play is extra crucial, and your starters earned a respectable grade, though your bench depth is a mixed bag. With return yards scoring and a roster that demands savvy management, your playoff chances hover in the middle of the pack—nothing to sneeze at, but you’ll need some breaks to make a deep run.
Your team’s strengths and weaknesses are clear as a sunny day in June, and we’ll dig into those details below. From a QB room that’s decent but not dominant, to a tight end group that’s struggling, you’ve got some key areas to shore up. But don’t fret—there’s upside here, especially if you can leverage Footballguys’ tools to find those hidden gems and make smart moves. Let’s break down what’s working, what’s not, and how you can steer this ship toward the playoffs.
Your Grades By Position
Quarterback


Running Back


Wide Receiver


Tight End

Kicker

Quarterback
Running Back
Wide Receiver
Tight End
Kicker
Playoff Chances
{"type":"doughnut","data":{"labels":["Make the Playoffs","Miss the Playoffs","Make the Playoffs","Miss the Playoffs","Make the Playoffs","Miss the Playoffs"],"datasets":[{"label":"Great Management","data":[59,41],"backgroundColor":["#3b82f6","#6c757d"],"borderWidth":3,"borderColor":"#fff"},{"label":"Good Management","data":[48,52],"backgroundColor":["#22c55e","#6c757d"],"borderWidth":3,"borderColor":"#fff"},{"label":"Average Management","data":[38,62],"backgroundColor":["#fbbf24","#6c757d"],"borderWidth":3,"borderColor":"#fff"}]},"options":{"responsive":true,"maintainAspectRatio":false,"backgroundColor":"transparent","cutout":"40%","plugins":{"legend":{"display":false},"tooltip":{"enabled":true,"backgroundColor":"rgba(0,0,0,0.8)","titleColor":"#fff","bodyColor":"#fff"}},"elements":{"arc":{"borderWidth":3,"borderColor":"#fff"}}}}
Position Upside Potential
Breakout potential by position - more stars indicate greater upside opportunity