
Wine 'em Dine 'em 59 'em
Wine 'em Dine 'em 59 'em
A Tribute to Sweetness
Want a Spicier Take? Need a Little Encouragement? Try Changing the Tone of your Report!
Your Draft Report Card Is Here, Wine 'em Dine 'em 59 'em - Let's Break Down How You Did
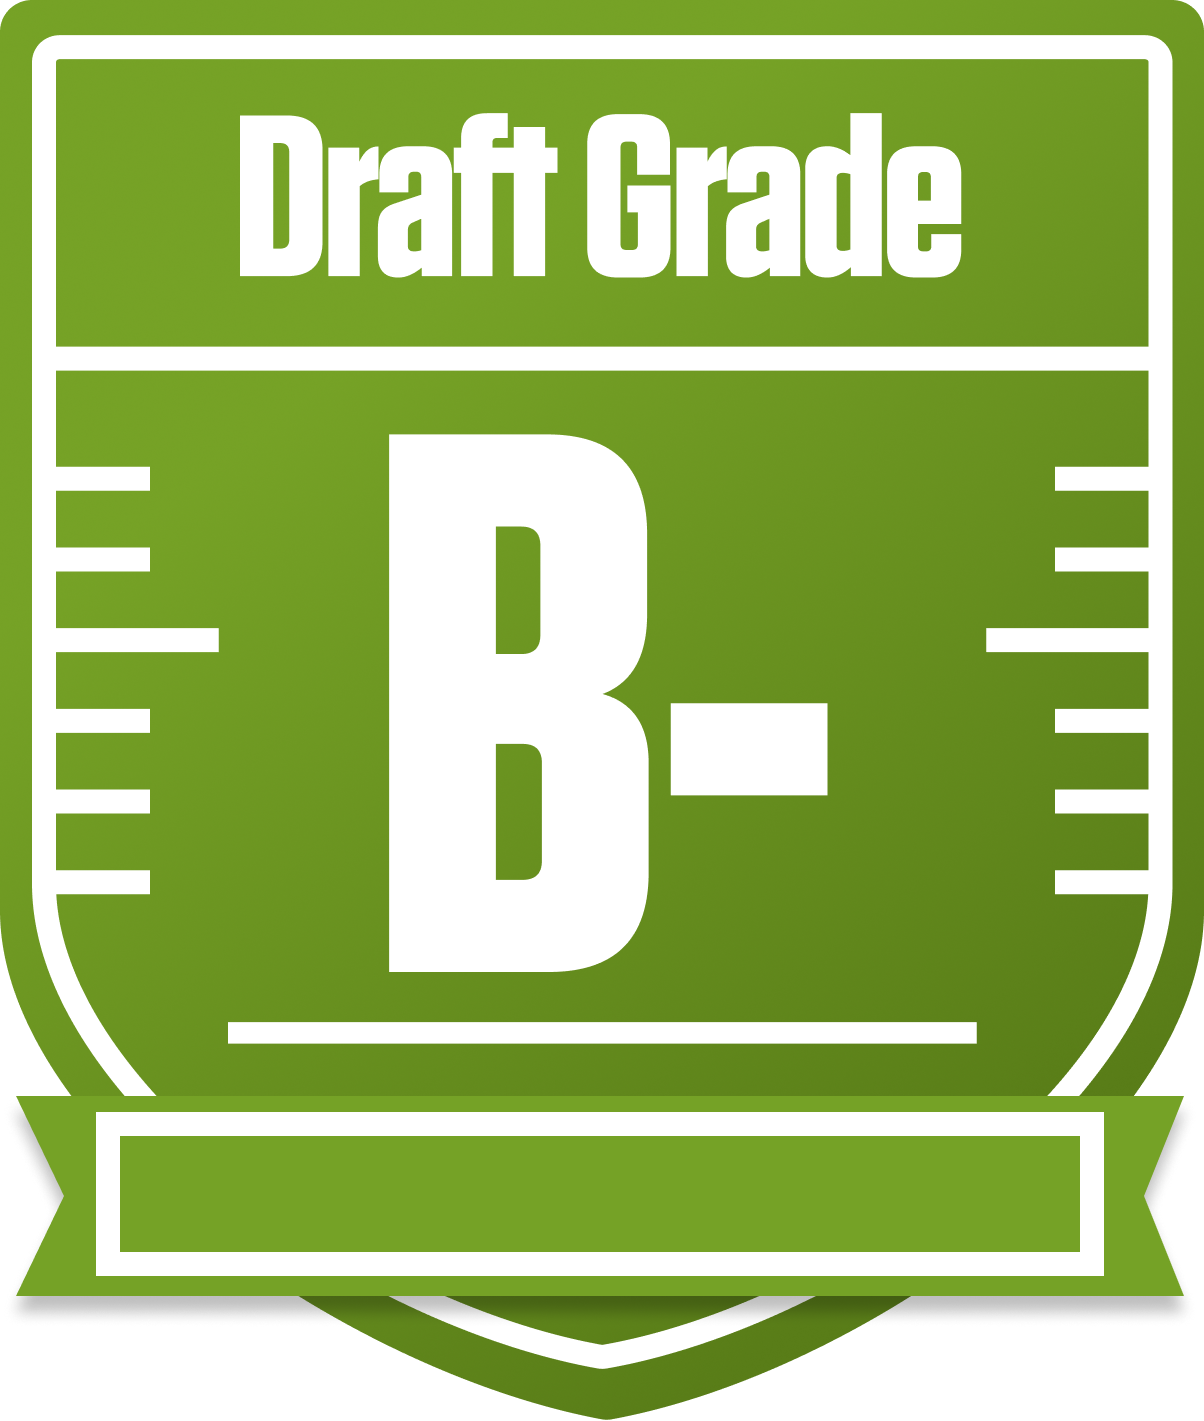
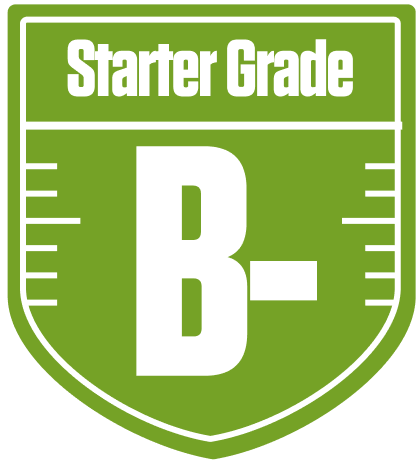
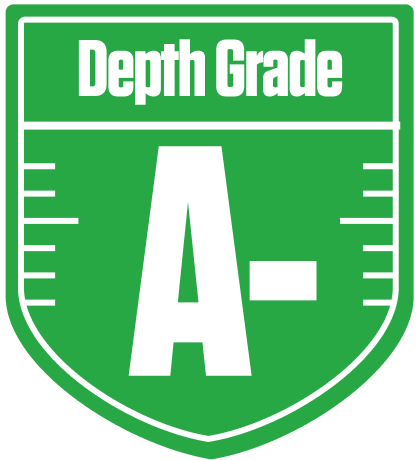
Howdy, Wine 'em Dine 'em 59 'em! In this redraft league, your team earned a solid B- overall grade, showing a balanced attack that can compete in the tough 12-team superflex setup of A Tribute to Sweetness. Your starters are holding their own with a B- grade, while your bench shines brighter with an A- rating, giving you depth to weather injuries or bye weeks. The superflex format means your quarterback play is crucial, and your starting QBs are graded A-, which is a strong foundation for your lineup.
Your projected points suggest a competitive squad with nearly 240 points overall, but there’s room to tighten up some position groups, especially tight ends and running backs. With playoff chances hovering around 49% on average and climbing to 72% in the best-case scenario, you’re in the hunt but need to keep an eye on consistency and upside. Let’s dive deeper into your team’s strengths, weaknesses, and strategic moves to help you wine, dine, and 59 'em all the way to the playoffs!
Your Grades By Position
Quarterback


Running Back


Wide Receiver

Tight End
Kicker

Quarterback
Running Back
Wide Receiver
Tight End
Kicker
Playoff Chances
{"type":"doughnut","data":{"labels":["Make the Playoffs","Miss the Playoffs","Make the Playoffs","Miss the Playoffs","Make the Playoffs","Miss the Playoffs"],"datasets":[{"label":"Great Management","data":[72,28],"backgroundColor":["#3b82f6","#6c757d"],"borderWidth":3,"borderColor":"#fff"},{"label":"Good Management","data":[61,39],"backgroundColor":["#22c55e","#6c757d"],"borderWidth":3,"borderColor":"#fff"},{"label":"Average Management","data":[49,51],"backgroundColor":["#fbbf24","#6c757d"],"borderWidth":3,"borderColor":"#fff"}]},"options":{"responsive":true,"maintainAspectRatio":false,"backgroundColor":"transparent","cutout":"40%","plugins":{"legend":{"display":false},"tooltip":{"enabled":true,"backgroundColor":"rgba(0,0,0,0.8)","titleColor":"#fff","bodyColor":"#fff"}},"elements":{"arc":{"borderWidth":3,"borderColor":"#fff"}}}}
Position Upside Potential
Breakout potential by position - more stars indicate greater upside opportunity