
CTA - Sack Production
CTA - Sack Production
A Tribute to Sweetness
Want a Spicier Take? Need a Little Encouragement? Try Changing the Tone of your Report!
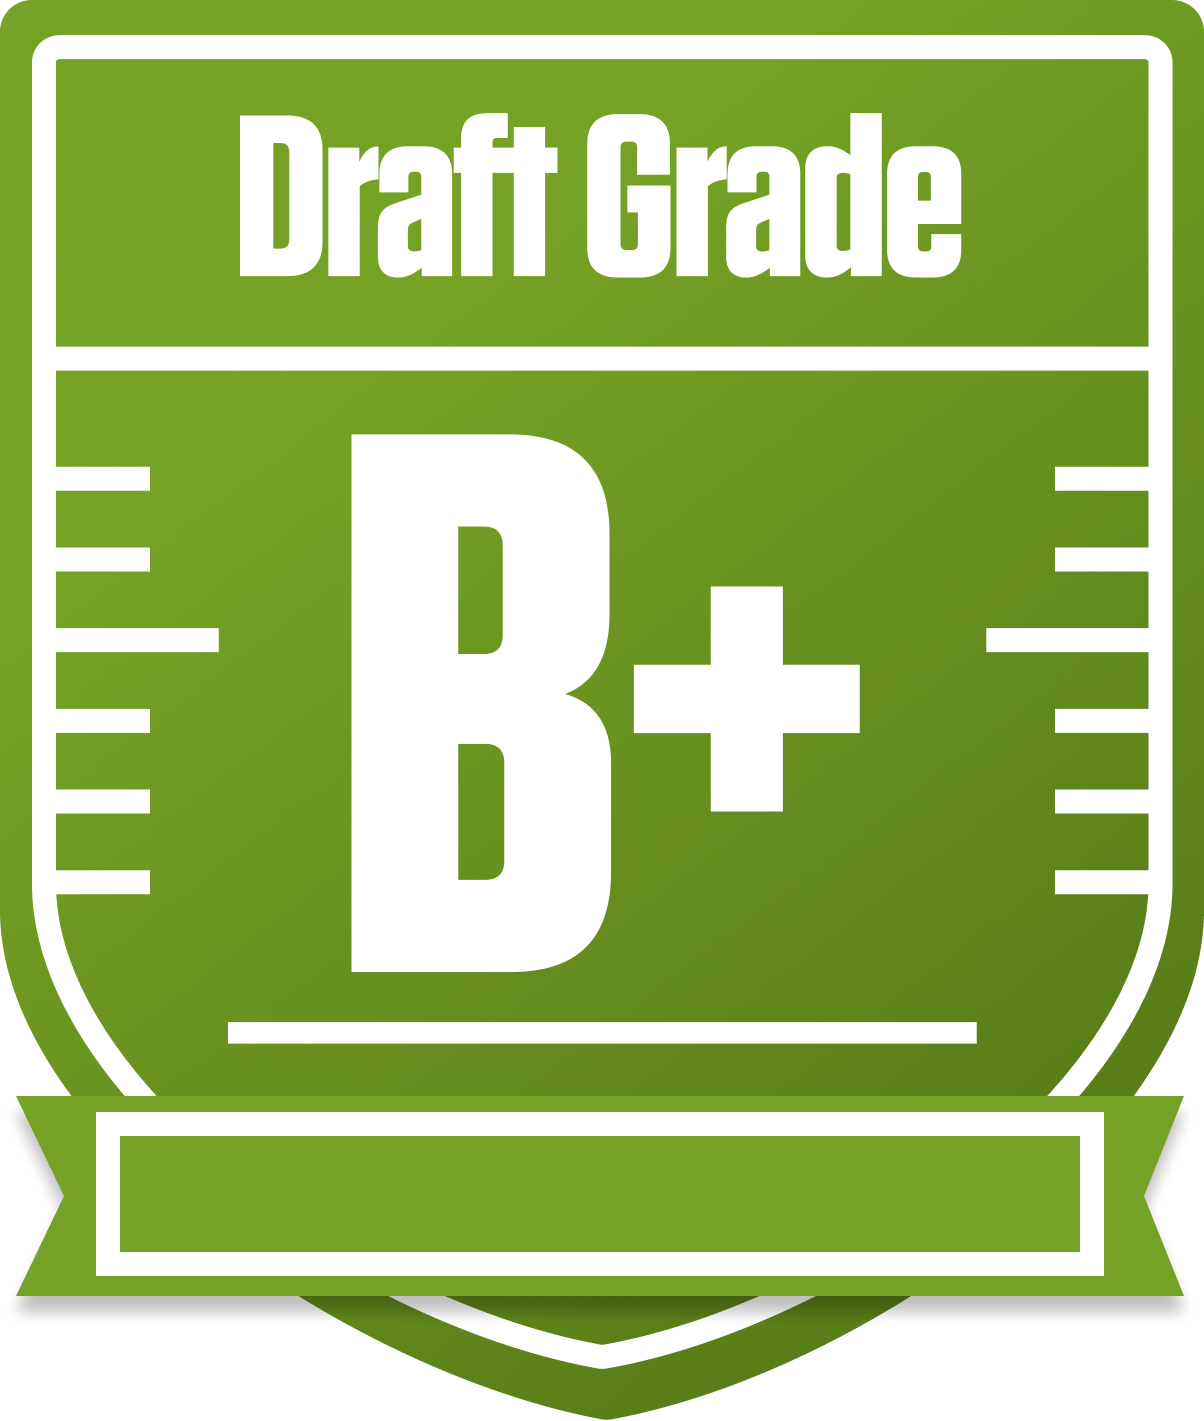
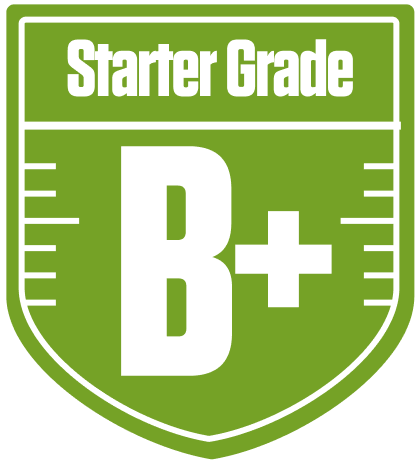
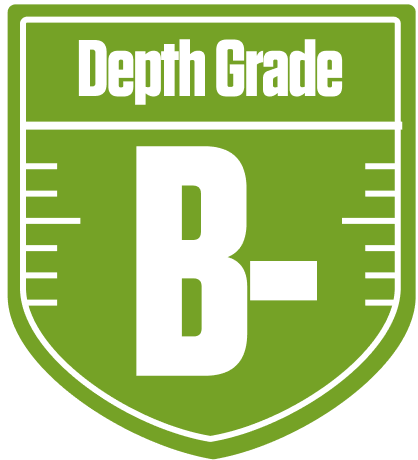
Your Draft Report Card Is Here, CTA - Sack Production - Let's Break Down How You Did
Well now, CTA - Sack Production has put together a solid showing in the A Tribute to Sweetness league, earning a respectable B+ overall grade. This 12-team redraft league with superflex and return yards scoring means quarterbacks and versatile players hold extra value, and your team’s strong QB and RB starter grades show you’ve got that covered. Your starters are firing on most cylinders, but the bench depth, especially at QB and RB, leaves a bit to be desired. With playoff chances hovering around the mid-50s to high-70s percentile, you’re in a good spot but will need to keep an eye on those weak spots.
Your team’s balanced attack approach is clear, with high-end starters like Trevor Lawrence and Caleb Williams at QB, and dynamic backs like Jahmyr Gibbs and Breece Hall. However, the tight end position is a sore spot, dragging down your overall grade. We’ll dive into how these strengths and weaknesses play out and what moves could push you over the top in the breakdown below.
Your Grades By Position
Quarterback


Running Back
Wide Receiver


Tight End

Kicker
Quarterback
Running Back
Wide Receiver
Tight End
Kicker
Playoff Chances
{"type":"doughnut","data":{"labels":["Make the Playoffs","Miss the Playoffs","Make the Playoffs","Miss the Playoffs","Make the Playoffs","Miss the Playoffs"],"datasets":[{"label":"Great Management","data":[77,23],"backgroundColor":["#3b82f6","#6c757d"],"borderWidth":3,"borderColor":"#fff"},{"label":"Good Management","data":[67,33],"backgroundColor":["#22c55e","#6c757d"],"borderWidth":3,"borderColor":"#fff"},{"label":"Average Management","data":[55,45],"backgroundColor":["#fbbf24","#6c757d"],"borderWidth":3,"borderColor":"#fff"}]},"options":{"responsive":true,"maintainAspectRatio":false,"backgroundColor":"transparent","cutout":"40%","plugins":{"legend":{"display":false},"tooltip":{"enabled":true,"backgroundColor":"rgba(0,0,0,0.8)","titleColor":"#fff","bodyColor":"#fff"}},"elements":{"arc":{"borderWidth":3,"borderColor":"#fff"}}}}
Position Upside Potential
Breakout potential by position - more stars indicate greater upside opportunity