
Cleveland Kernölbuam
Cleveland Kernölbuam
ASB Standard
Want a Spicier Take? Need a Little Encouragement? Try Changing the Tone of your Report!
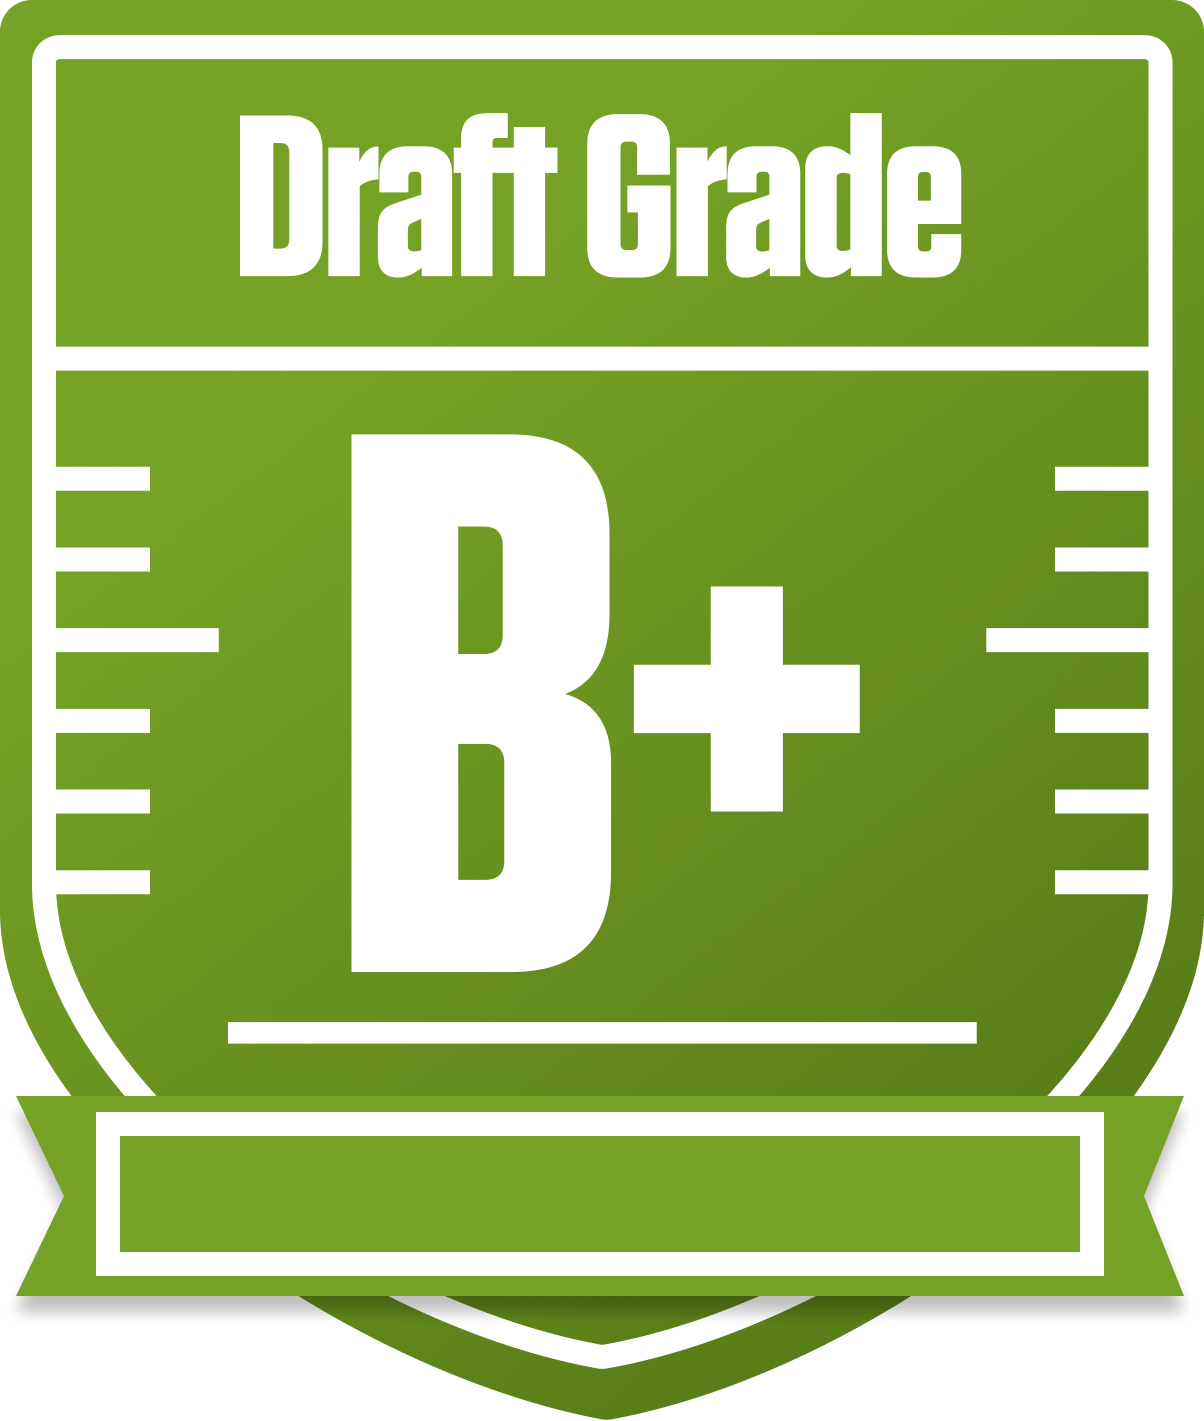
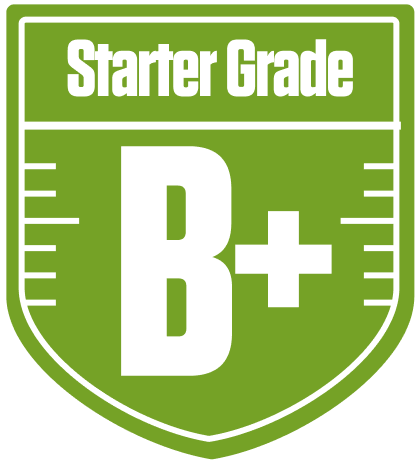
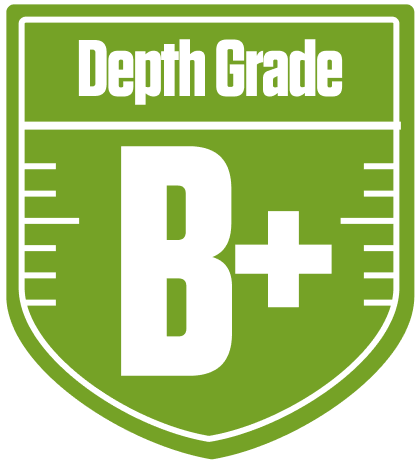
Your Draft Report Card Is Here, Cleveland Kernölbuam - Let's Break Down How You Did
Well now, Cleveland Kernölbuam has put together a solid B+ grade in this 10-team ASB Standard redraft league, and that’s no small feat. With full PPR scoring and return yards in play, your roster construction shows a strong commitment to balanced production, especially at running back and wide receiver. Your starters are carrying the load with a B+ overall grade, and your bench is holding up nicely too, which is crucial given the two-flex setup and six bench spots.
Your playoff chances look promising, hovering around the 50-70% range depending on how things shake out, so you’re definitely in the hunt. The league’s standard redraft format means your draft choices this year are everything, and you’ve clearly reached for some stars while also snagging some safe floors. Let’s dive deeper into where your team shines, where it might stumble, and how you can leverage Footballguys tools to keep that momentum rolling all season long.
Your Grades By Position
Quarterback


Running Back


Wide Receiver

Tight End


Team Defense

Quarterback
Running Back
Wide Receiver
Tight End
Team Defense
Playoff Chances
{"type":"doughnut","data":{"labels":["Make the Playoffs","Miss the Playoffs","Make the Playoffs","Miss the Playoffs","Make the Playoffs","Miss the Playoffs"],"datasets":[{"label":"Great Management","data":[71,29],"backgroundColor":["#3b82f6","#6c757d"],"borderWidth":3,"borderColor":"#fff"},{"label":"Good Management","data":[62,38],"backgroundColor":["#22c55e","#6c757d"],"borderWidth":3,"borderColor":"#fff"},{"label":"Average Management","data":[51,49],"backgroundColor":["#fbbf24","#6c757d"],"borderWidth":3,"borderColor":"#fff"}]},"options":{"responsive":true,"maintainAspectRatio":false,"backgroundColor":"transparent","cutout":"40%","plugins":{"legend":{"display":false},"tooltip":{"enabled":true,"backgroundColor":"rgba(0,0,0,0.8)","titleColor":"#fff","bodyColor":"#fff"}},"elements":{"arc":{"borderWidth":3,"borderColor":"#fff"}}}}
Position Upside Potential
Breakout potential by position - more stars indicate greater upside opportunity