
Reykajavik Cholerics
Reykajavik Cholerics
ASB Standard
Want a Spicier Take? Need a Little Encouragement? Try Changing the Tone of your Report!
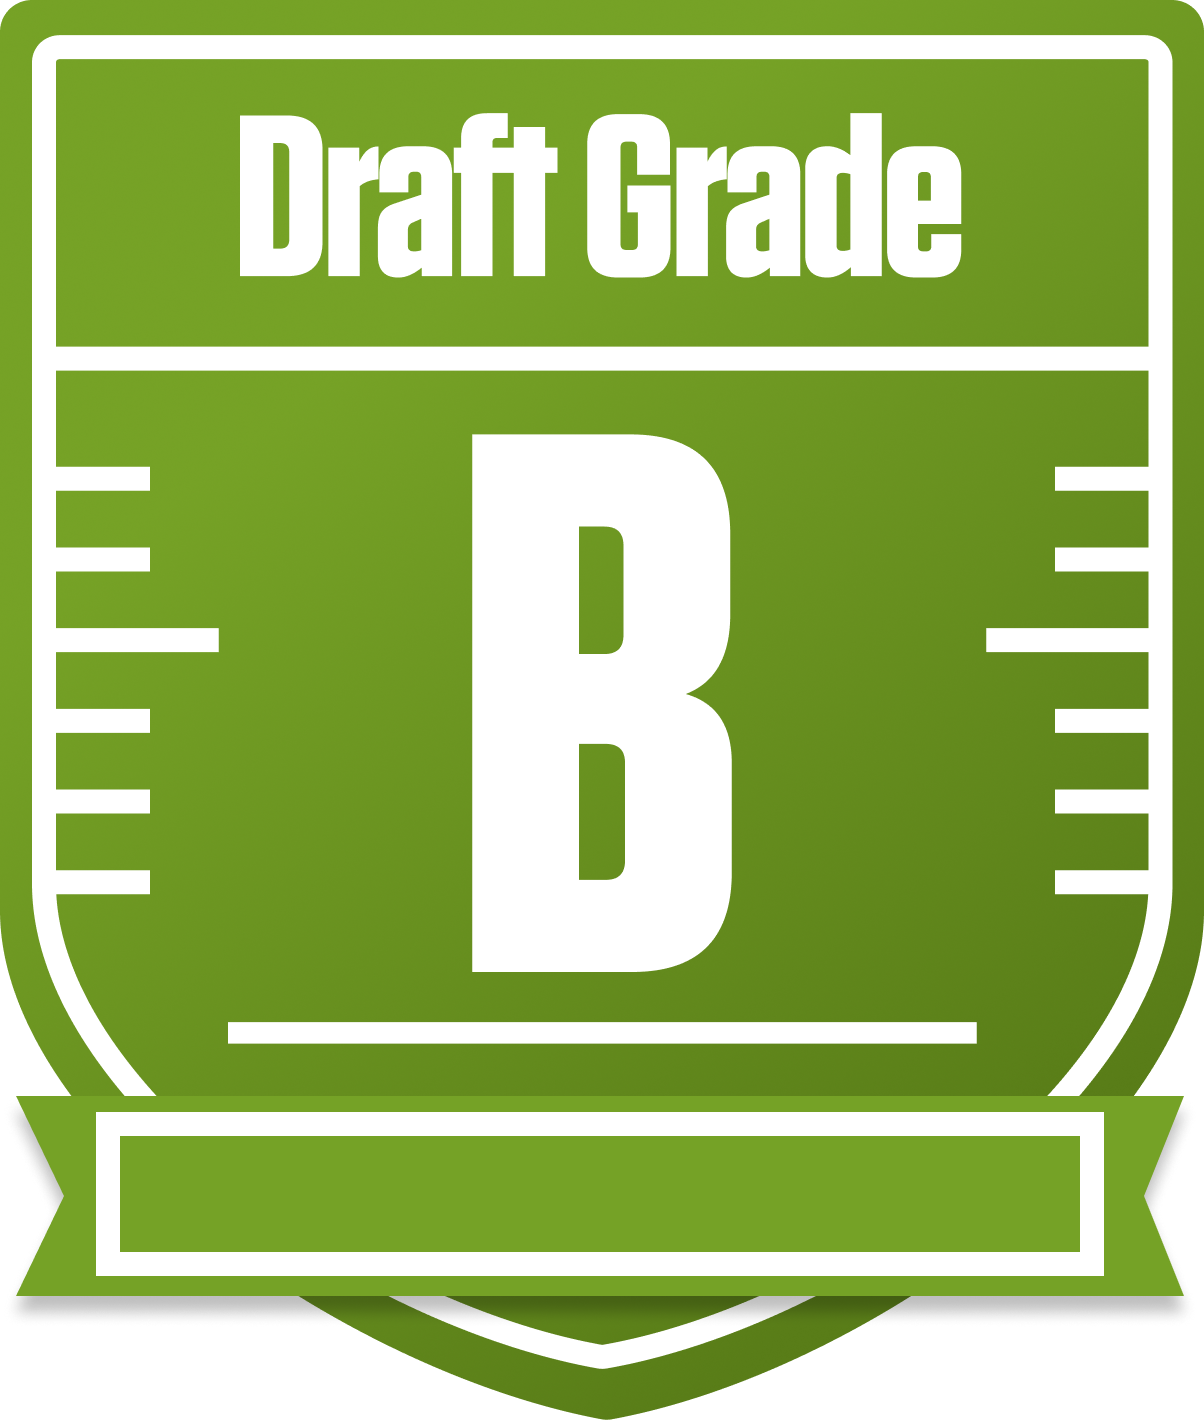
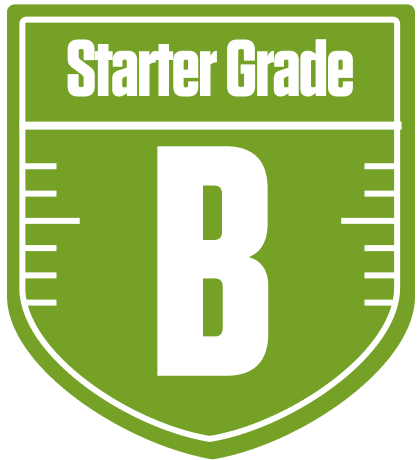
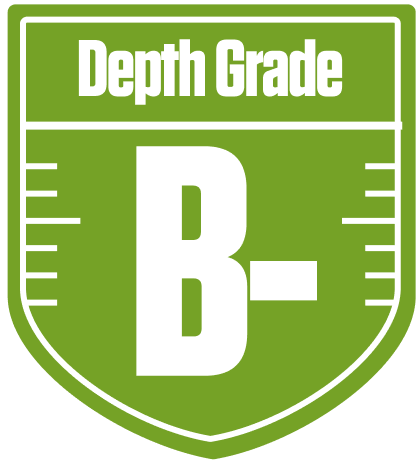
Your Draft Report Card Is Here, Reykjavik Cholerics - Let's Break Down How You Did
The Reykjavik Cholerics come out of the gate with a solid B overall grade in this 10-team ASB Standard redraft league, which features full PPR scoring and return yards bonuses. Your team shows clear strengths at quarterback and running back, boasting top-tier starter grades that set you up well for consistent weekly production. However, the wide receiver and tight end groups leave a bit to be desired, which could cap your ceiling in high-scoring matchups.
With playoff chances hovering around the mid-40s to high-60s percentile, you’re in a competitive spot but will need to navigate some positional weaknesses and bench depth concerns to make a deep run. The league’s standard roster settings with two flex spots emphasize the importance of balanced depth, so your bench grades and strategic pickups will be key. Let’s dive into the details of your roster construction, positional strengths, and where you can sharpen your edge to push the Reykjavik Cholerics into the winner’s circle this season.
Your Grades By Position
Quarterback

Running Back

Wide Receiver


Tight End


Team Defense
Quarterback
Running Back
Wide Receiver
Tight End
Team Defense
Playoff Chances
{"type":"doughnut","data":{"labels":["Make the Playoffs","Miss the Playoffs","Make the Playoffs","Miss the Playoffs","Make the Playoffs","Miss the Playoffs"],"datasets":[{"label":"Great Management","data":[68,32],"backgroundColor":["#3b82f6","#6c757d"],"borderWidth":3,"borderColor":"#fff"},{"label":"Good Management","data":[58,42],"backgroundColor":["#22c55e","#6c757d"],"borderWidth":3,"borderColor":"#fff"},{"label":"Average Management","data":[47,53],"backgroundColor":["#fbbf24","#6c757d"],"borderWidth":3,"borderColor":"#fff"}]},"options":{"responsive":true,"maintainAspectRatio":false,"backgroundColor":"transparent","cutout":"40%","plugins":{"legend":{"display":false},"tooltip":{"enabled":true,"backgroundColor":"rgba(0,0,0,0.8)","titleColor":"#fff","bodyColor":"#fff"}},"elements":{"arc":{"borderWidth":3,"borderColor":"#fff"}}}}
Position Upside Potential
Breakout potential by position - more stars indicate greater upside opportunity