
therock1223
therock1223
ASB Standard
Want a Spicier Take? Need a Little Encouragement? Try Changing the Tone of your Report!
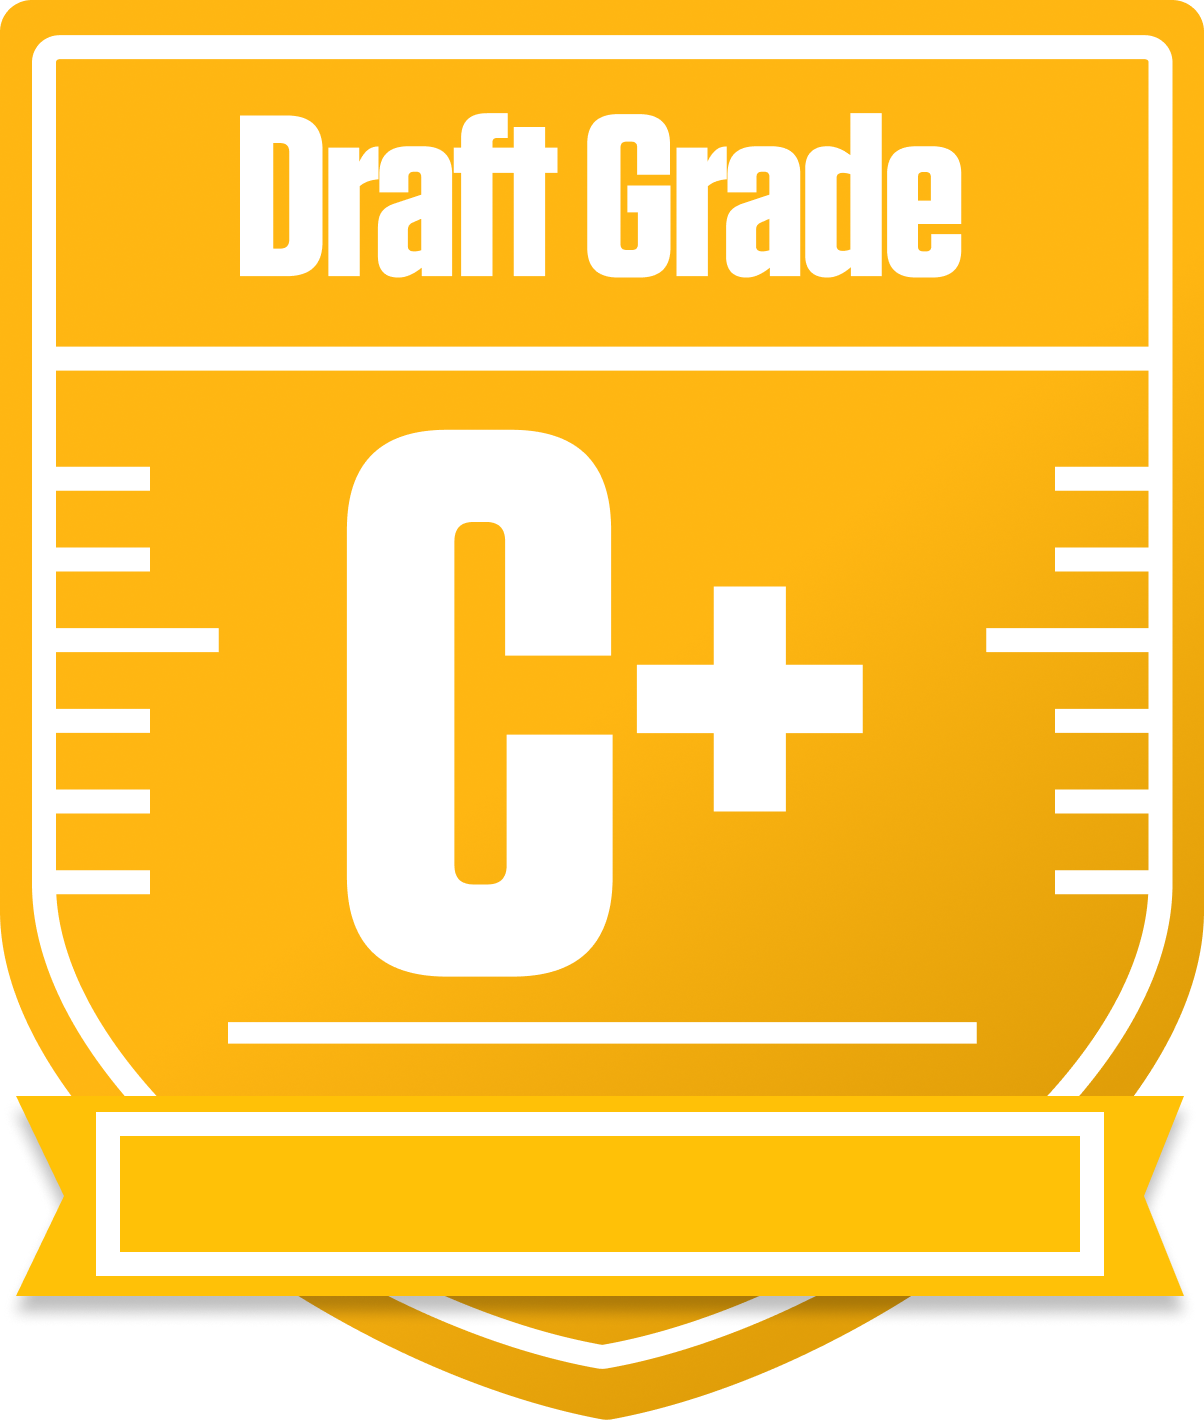

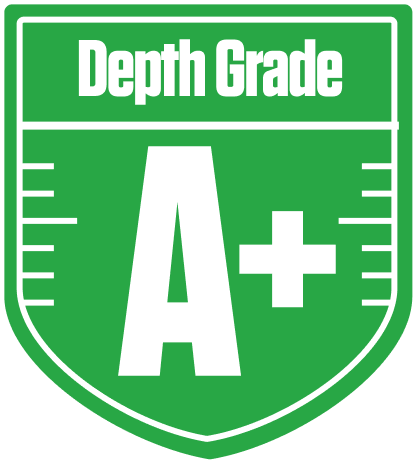
Your Draft Report Card Is Here, therock1223 - Let's Break Down How You Did
Howdy, therock1223! You’ve rolled the dice in the ASB Standard 10-team redraft league, and your team’s overall grade of C+ tells a story of solid potential mixed with some clear areas needing attention. With full PPR scoring and return yards in play, your wide receivers are shining bright, but your quarterback and tight end groups are dragging the grade down. Your playoff chances hover in the middle ground, so there’s room to maneuver and improve as the season unfolds.
This report dives into your team’s strengths, weaknesses, and strategic moves to help you punch your ticket to the postseason. We’ll spotlight your standout wideouts, the running back depth that’s a hidden gem, and the quarterback and tight end struggles that could hold you back. Plus, we’ll touch on bye week conflicts and free agent targets that could tip the scales in your favor. Let’s get to it and see how you can turn this C+ into a winning season!
Your Grades By Position
Quarterback


Running Back

Wide Receiver
Tight End
Team Defense
Quarterback
Running Back
Wide Receiver
Tight End
Team Defense
Playoff Chances
{"type":"doughnut","data":{"labels":["Make the Playoffs","Miss the Playoffs","Make the Playoffs","Miss the Playoffs","Make the Playoffs","Miss the Playoffs"],"datasets":[{"label":"Great Management","data":[58,42],"backgroundColor":["#3b82f6","#6c757d"],"borderWidth":3,"borderColor":"#fff"},{"label":"Good Management","data":[47,53],"backgroundColor":["#22c55e","#6c757d"],"borderWidth":3,"borderColor":"#fff"},{"label":"Average Management","data":[38,62],"backgroundColor":["#fbbf24","#6c757d"],"borderWidth":3,"borderColor":"#fff"}]},"options":{"responsive":true,"maintainAspectRatio":false,"backgroundColor":"transparent","cutout":"40%","plugins":{"legend":{"display":false},"tooltip":{"enabled":true,"backgroundColor":"rgba(0,0,0,0.8)","titleColor":"#fff","bodyColor":"#fff"}},"elements":{"arc":{"borderWidth":3,"borderColor":"#fff"}}}}
Position Upside Potential
Breakout potential by position - more stars indicate greater upside opportunity