
Conquering Lions
Conquering Lions
ASB Standard
Want a Spicier Take? Need a Little Encouragement? Try Changing the Tone of your Report!

Conquering Lions Draft Report Card Is Here - Let’s Break Down How You Did
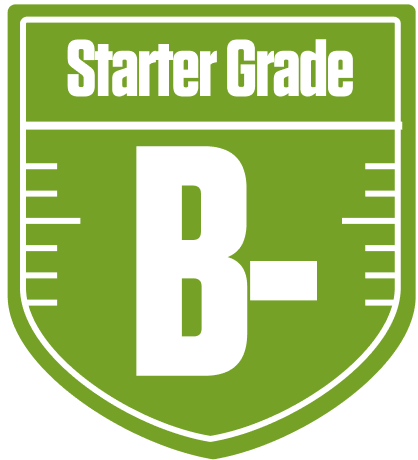
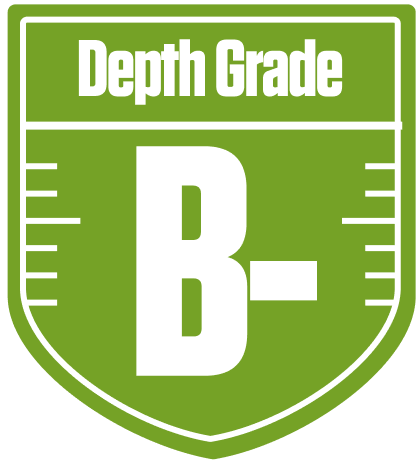
Howdy, Conquering Lions! You’ve got yourself a solid B- overall grade in this 10-team ASB Standard redraft league, which means you’re sitting in the middle of the pack with a respectable shot at the playoffs. With full PPR scoring and return yards in play, your roster construction shows some clear strengths and a few areas that need tightening up if you want to roar all the way to the championship.
Your quarterback and running back groups are the shining stars here, but your wide receiver and tight end spots leave a bit to be desired, especially on the bench. The league’s standard roster settings with two flex spots mean you need reliable depth, and that’s where your bench grades take a hit. Your playoff chances hover around 42% on average, with a decent shot to push higher if things break your way. Let’s dive into the nitty-gritty and see how you can sharpen your claws for the stretch run.
Your Grades By Position
Quarterback


Running Back


Wide Receiver

Tight End


Team Defense
Quarterback
Running Back
Wide Receiver
Tight End
Team Defense
Playoff Chances
{"type":"doughnut","data":{"labels":["Make the Playoffs","Miss the Playoffs","Make the Playoffs","Miss the Playoffs","Make the Playoffs","Miss the Playoffs"],"datasets":[{"label":"Great Management","data":[62,38],"backgroundColor":["#3b82f6","#6c757d"],"borderWidth":3,"borderColor":"#fff"},{"label":"Good Management","data":[52,48],"backgroundColor":["#22c55e","#6c757d"],"borderWidth":3,"borderColor":"#fff"},{"label":"Average Management","data":[42,58],"backgroundColor":["#fbbf24","#6c757d"],"borderWidth":3,"borderColor":"#fff"}]},"options":{"responsive":true,"maintainAspectRatio":false,"backgroundColor":"transparent","cutout":"40%","plugins":{"legend":{"display":false},"tooltip":{"enabled":true,"backgroundColor":"rgba(0,0,0,0.8)","titleColor":"#fff","bodyColor":"#fff"}},"elements":{"arc":{"borderWidth":3,"borderColor":"#fff"}}}}
Position Upside Potential
Breakout potential by position - more stars indicate greater upside opportunity