OldMilwaukee
OldMilwaukee
FBG Bowl League 0004 - Shark Pool Only
Want a Spicier Take? Need a Little Encouragement? Try Changing the Tone of your Report!

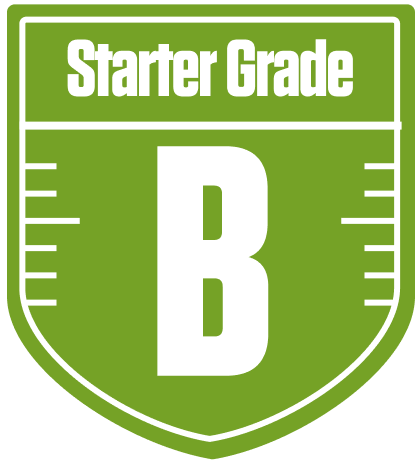
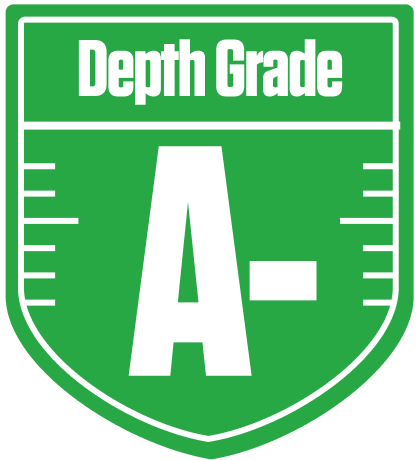


Your Draft Report Card Is Here, OldMilwaukee - Let's Break Down How You Did
Well, howdy OldMilwaukee! You’ve put together a solid B-grade squad in this 12-team Full PPR redraft league, the FBG Bowl League 0004 - Shark Pool Only. Your team’s overall grade reflects a balanced roster with some real strengths, especially at wide receiver and tight end, while your running back group shows a bit of a split personality. With a 50% average playoff chance and a good shot at 61%, you’re definitely in the hunt, but you’ll need to keep an eye on some positional depth and bye week conflicts.
This league’s standard 1 QB, 2 RB, 3 WR, 1 TE, 1 DEF, and 2 flex spots roster setup means you’ve got to be sharp with your starters and bench alike. Your team’s approach leans on a strong WR corps and a safe floor QB, but the running back group needs some strategic attention. Let’s dive deeper into what makes your team tick and where you might want to tweak to maximize your chances of hoisting that trophy.
Your Grades By Position
Quarterback


Running Back


Wide Receiver


Tight End


Team Defense


Quarterback


Running Back


Wide Receiver


Tight End


Team Defense


Playoff Chances
{"type":"doughnut","data":{"labels":["Make the Playoffs","Miss the Playoffs","Make the Playoffs","Miss the Playoffs","Make the Playoffs","Miss the Playoffs"],"datasets":[{"label":"Great Management","data":[70,30],"backgroundColor":["#3b82f6","#6c757d"],"borderWidth":3,"borderColor":"#fff"},{"label":"Good Management","data":[61,39],"backgroundColor":["#22c55e","#6c757d"],"borderWidth":3,"borderColor":"#fff"},{"label":"Average Management","data":[50,50],"backgroundColor":["#fbbf24","#6c757d"],"borderWidth":3,"borderColor":"#fff"}]},"options":{"responsive":true,"maintainAspectRatio":false,"backgroundColor":"transparent","cutout":"40%","plugins":{"legend":{"display":false},"tooltip":{"enabled":true,"backgroundColor":"rgba(0,0,0,0.8)","titleColor":"#fff","bodyColor":"#fff"}},"elements":{"arc":{"borderWidth":3,"borderColor":"#fff"}}}}
Position Upside Potential
Breakout potential by position - more stars indicate greater upside opportunity