Birdie048
Birdie048
FBG Bowl League 0004 - Shark Pool Only
Want a Spicier Take? Need a Little Encouragement? Try Changing the Tone of your Report!
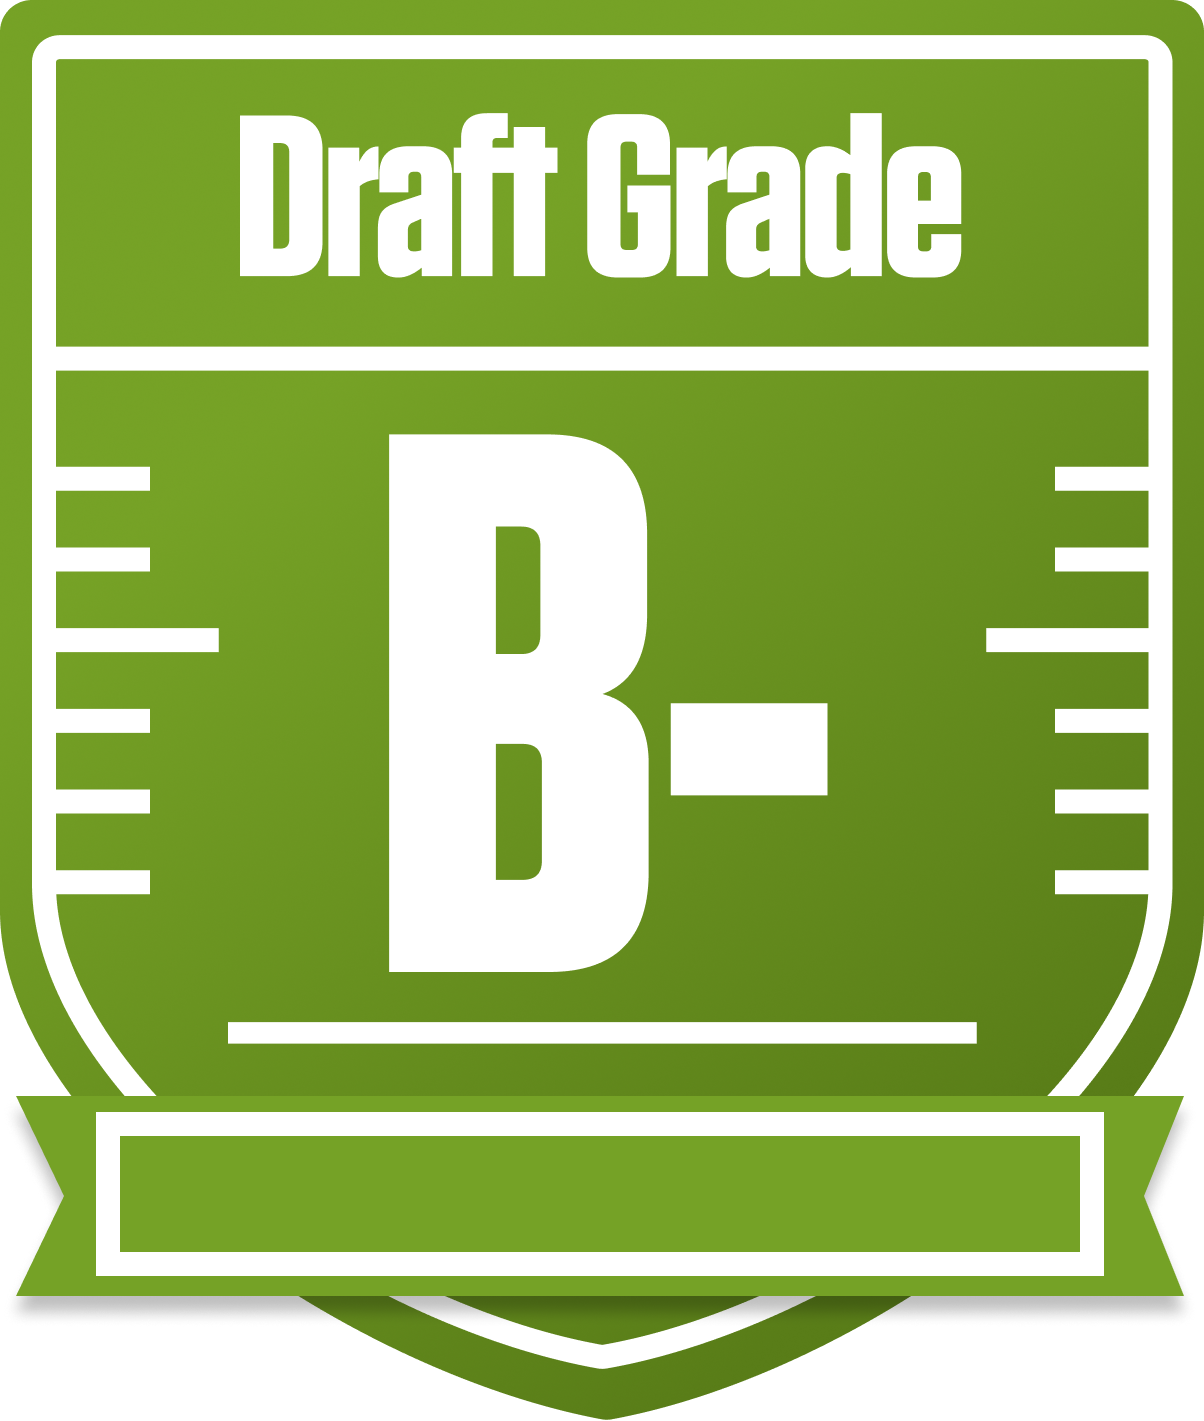
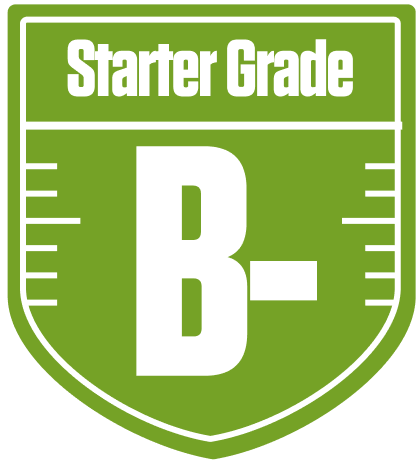
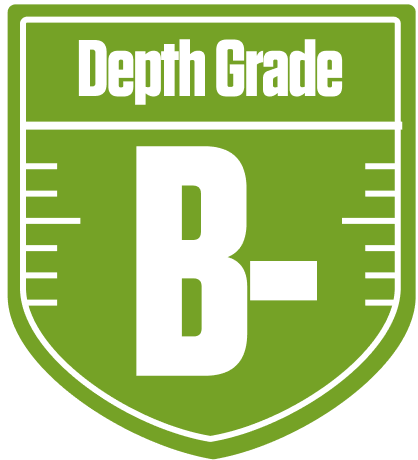


Your Draft Report Card Is Here, Birdie048 - Let's Break Down How You Did
Welcome to your personalized fantasy football report, Birdie048, competing in the FBG Bowl League 0004 - Shark Pool Only. This redraft league with 12 teams and full PPR scoring demands a balanced roster, and your team earned a solid overall grade of B-. Your quarterback and running back groups shine with strong grades, while wide receivers lag behind, dragging your overall potential down. With a playoff chance hovering around the mid-40s to mid-60s percentile, you’re in the hunt but need some key moves to push into the upper tier.
Your roster construction shows a classic “Boom or Bust” flavor, with elite starters like Joe Burrow and Jonathan Taylor anchoring your lineup, but some shaky depth at wide receiver and defense. The bye week conflicts at running back in Week 8 could cause headaches, so strategic bench management and savvy waiver wire pickups will be crucial. Let’s dive deeper into your team’s strengths, weaknesses, and tactical recommendations to help you turn this B- into a championship contender.
Your Grades By Position
Quarterback


Running Back


Wide Receiver


Tight End


Team Defense


Quarterback


Running Back


Wide Receiver


Tight End


Team Defense


Playoff Chances
{"type":"doughnut","data":{"labels":["Make the Playoffs","Miss the Playoffs","Make the Playoffs","Miss the Playoffs","Make the Playoffs","Miss the Playoffs"],"datasets":[{"label":"Great Management","data":[64,36],"backgroundColor":["#3b82f6","#6c757d"],"borderWidth":3,"borderColor":"#fff"},{"label":"Good Management","data":[54,46],"backgroundColor":["#22c55e","#6c757d"],"borderWidth":3,"borderColor":"#fff"},{"label":"Average Management","data":[43,57],"backgroundColor":["#fbbf24","#6c757d"],"borderWidth":3,"borderColor":"#fff"}]},"options":{"responsive":true,"maintainAspectRatio":false,"backgroundColor":"transparent","cutout":"40%","plugins":{"legend":{"display":false},"tooltip":{"enabled":true,"backgroundColor":"rgba(0,0,0,0.8)","titleColor":"#fff","bodyColor":"#fff"}},"elements":{"arc":{"borderWidth":3,"borderColor":"#fff"}}}}
Position Upside Potential
Breakout potential by position - more stars indicate greater upside opportunity