rzrback77
rzrback77
FBG Bowl League 0004 - Shark Pool Only
Want a Spicier Take? Need a Little Encouragement? Try Changing the Tone of your Report!


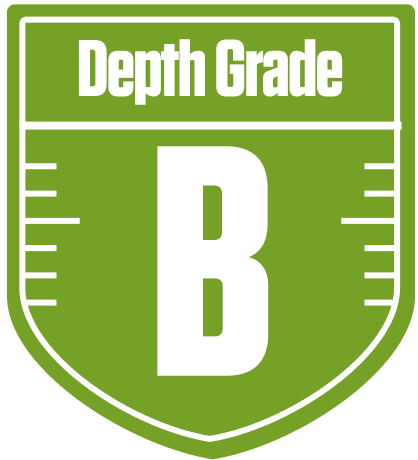


Your Draft Report Card Is Here, rzrback77 - Let's Break Down How You Did
Well, rzrback77, you’ve put together a strong A- overall grade in the FBG Bowl League 0004 - Shark Pool Only, and that’s no small feat in a competitive 12-team full PPR redraft league. Your team’s starting lineup shines bright, especially at wide receiver, where you boast an A+ grade, giving you a serious edge in scoring potential. Meanwhile, your bench depth is solid, particularly at running back and defense, which can be a game-changer down the stretch.
Your playoff chances look promising, hovering around the mid-50s to 75% range depending on how things shake out, so you’re definitely in the hunt. The league’s standard roster settings with 1 QB, 2 RBs, 3 WRs, and 2 flex spots mean your WR strength is a huge asset. But don’t overlook some positional challenges, especially at tight end, where your grades dip. Let’s dive deeper into what makes your team tick and where you might want to tweak things to reach that championship glory.
Your Grades By Position
Quarterback


Running Back


Wide Receiver


Tight End


Team Defense

Quarterback


Running Back


Wide Receiver


Tight End


Team Defense


Playoff Chances
{"type":"doughnut","data":{"labels":["Make the Playoffs","Miss the Playoffs","Make the Playoffs","Miss the Playoffs","Make the Playoffs","Miss the Playoffs"],"datasets":[{"label":"Great Management","data":[75,25],"backgroundColor":["#3b82f6","#6c757d"],"borderWidth":3,"borderColor":"#fff"},{"label":"Good Management","data":[67,33],"backgroundColor":["#22c55e","#6c757d"],"borderWidth":3,"borderColor":"#fff"},{"label":"Average Management","data":[56,44],"backgroundColor":["#fbbf24","#6c757d"],"borderWidth":3,"borderColor":"#fff"}]},"options":{"responsive":true,"maintainAspectRatio":false,"backgroundColor":"transparent","cutout":"40%","plugins":{"legend":{"display":false},"tooltip":{"enabled":true,"backgroundColor":"rgba(0,0,0,0.8)","titleColor":"#fff","bodyColor":"#fff"}},"elements":{"arc":{"borderWidth":3,"borderColor":"#fff"}}}}
Position Upside Potential
Breakout potential by position - more stars indicate greater upside opportunity