
Scoresman_FBG
Scoresman_FBG
FBG Bowl League 0004 - Shark Pool Only
Want a Spicier Take? Need a Little Encouragement? Try Changing the Tone of your Report!


ScoresmanFBG's Redraft Report Card Is Here - Let's Break Down How You Did
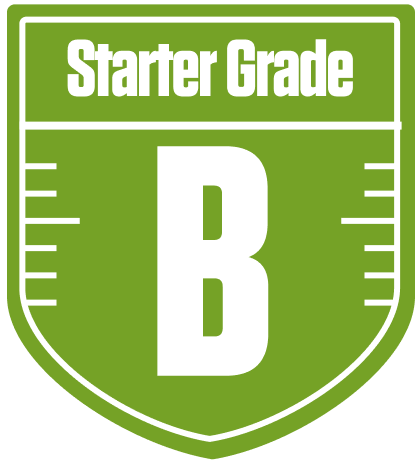
Welcome to the deep dive on ScoresmanFBG in the FBG Bowl League 0004 - Shark Pool Only! This redraft league with 12 teams and full PPR scoring sets a competitive stage, and your team earned a solid B+ overall grade. Your starters show a respectable B grade, while your bench shines with an A, giving you a strong foundation to compete week in and week out. With a projected total of nearly 238 points, you’re well-positioned to make a playoff push, but there are some key areas to watch.
Your team’s strengths and weaknesses are a mixed bag, with wide receivers leading the charge among starters but a bench wide receiver group that needs some attention. The running back depth is impressive, especially on the bench, which could be a secret weapon in this league’s two-flex setup. We’ll also touch on bye week conflicts and strategic moves to maximize your roster’s potential. Let’s break down where you’re hitting your marks and where you might want to tweak things to reach that great playoff chance threshold.
Your Grades By Position
Quarterback


Running Back

Wide Receiver

Tight End
Team Defense

Quarterback
Running Back
Wide Receiver
Tight End
Team Defense
Playoff Chances
{"type":"doughnut","data":{"labels":["Make the Playoffs","Miss the Playoffs","Make the Playoffs","Miss the Playoffs","Make the Playoffs","Miss the Playoffs"],"datasets":[{"label":"Great Management","data":[71,29],"backgroundColor":["#3b82f6","#6c757d"],"borderWidth":3,"borderColor":"#fff"},{"label":"Good Management","data":[62,38],"backgroundColor":["#22c55e","#6c757d"],"borderWidth":3,"borderColor":"#fff"},{"label":"Average Management","data":[51,49],"backgroundColor":["#fbbf24","#6c757d"],"borderWidth":3,"borderColor":"#fff"}]},"options":{"responsive":true,"maintainAspectRatio":false,"backgroundColor":"transparent","cutout":"40%","plugins":{"legend":{"display":false},"tooltip":{"enabled":true,"backgroundColor":"rgba(0,0,0,0.8)","titleColor":"#fff","bodyColor":"#fff"}},"elements":{"arc":{"borderWidth":3,"borderColor":"#fff"}}}}
Position Upside Potential
Breakout potential by position - more stars indicate greater upside opportunity