
footballdiehard
footballdiehard
FBG Bowl League 0004 - Shark Pool Only
Want a Spicier Take? Need a Little Encouragement? Try Changing the Tone of your Report!
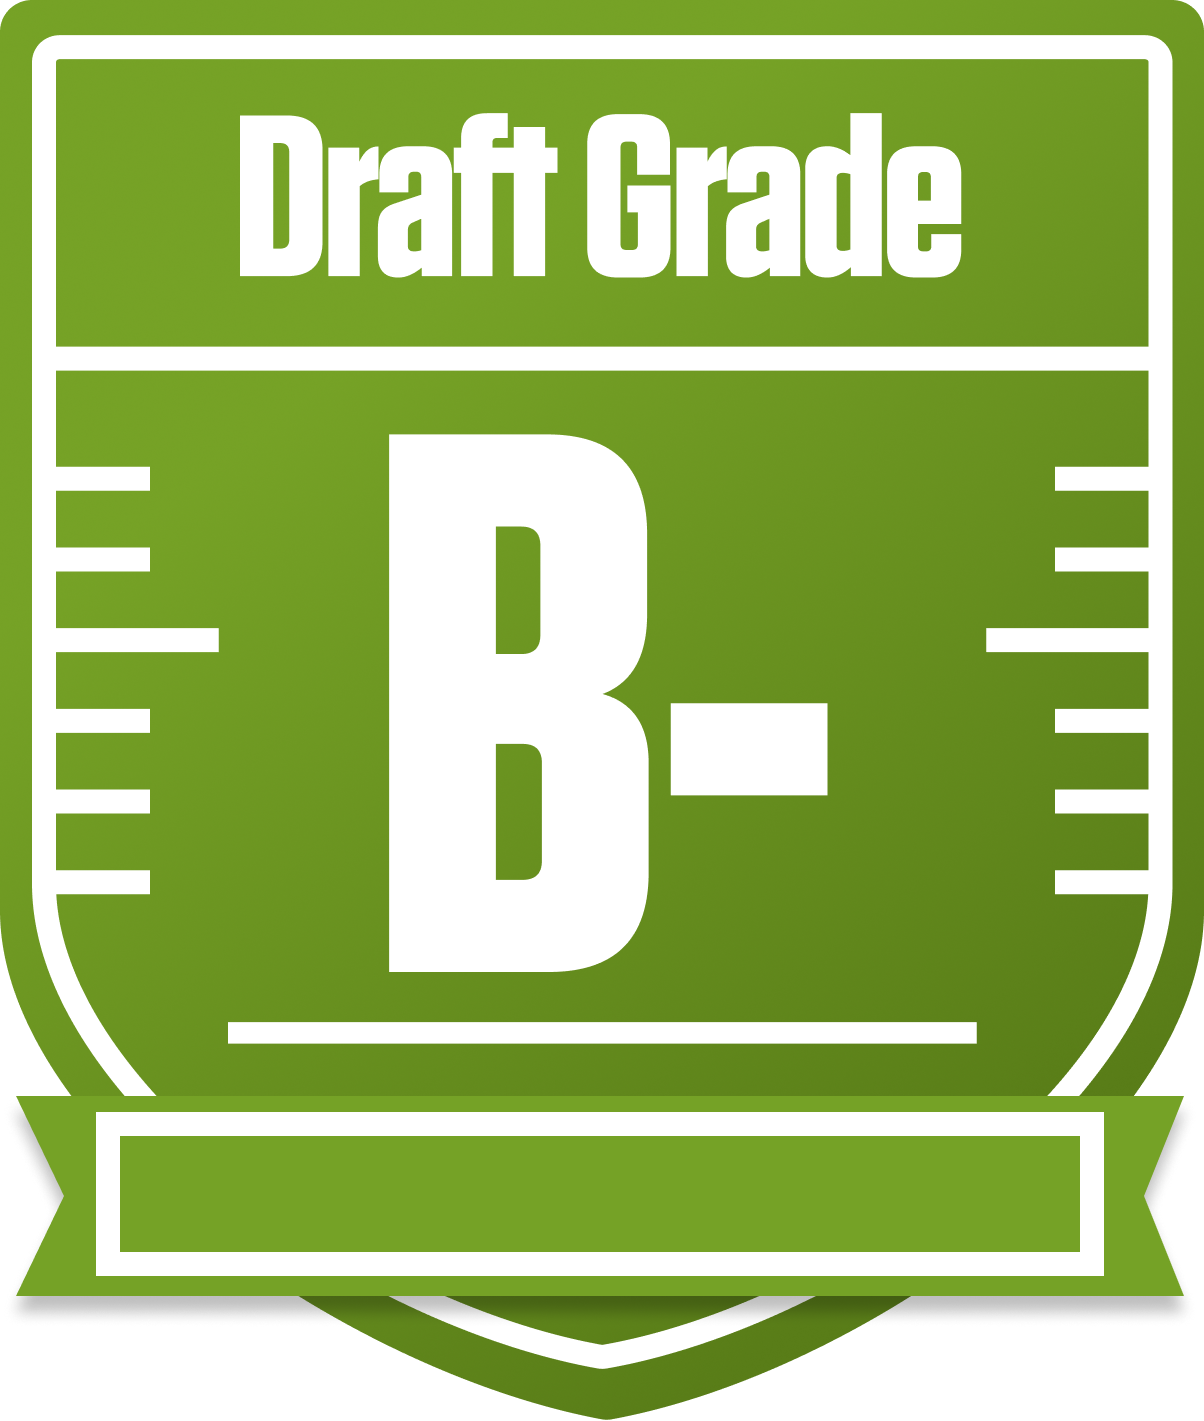
footballdiehard's Draft Report Card in the FBG Bowl League 0004 - Shark Pool Only
The footballdiehard squad comes out of the gate with a solid B- overall grade in this 12-team, full PPR redraft league. With a balanced roster that leans heavily on wide receivers and a tight end group showing surprising strength, this team has built a competitive foundation. The league’s standard single quarterback and two-flex setup means every position counts, and footballdiehard’s approach reflects a clear focus on WR firepower and TE depth, while the running back group shows some mixed results.
Playoff chances hover in the mid-40s to mid-60s percentile range, so this team is in the hunt but will need to navigate bye weeks and roster management carefully. The bench depth is respectable, especially at tight end, but some positional weaknesses and bye week conflicts could trip them up. Let’s dive deeper into the strengths, vulnerabilities, and strategic moves that can push footballdiehard into the postseason spotlight.
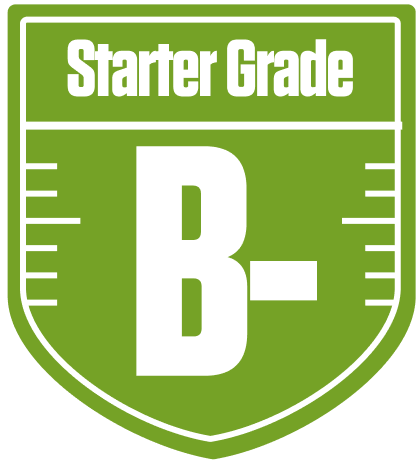
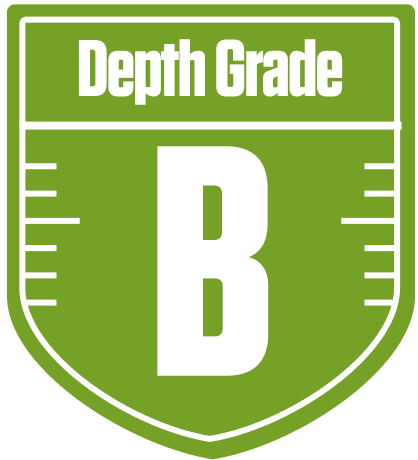
Your Grades By Position
Quarterback

Running Back

Wide Receiver
Tight End

Team Defense


Quarterback
Running Back
Wide Receiver
Tight End
Team Defense
Playoff Chances
{"type":"doughnut","data":{"labels":["Make the Playoffs","Miss the Playoffs","Make the Playoffs","Miss the Playoffs","Make the Playoffs","Miss the Playoffs"],"datasets":[{"label":"Great Management","data":[66,34],"backgroundColor":["#3b82f6","#6c757d"],"borderWidth":3,"borderColor":"#fff"},{"label":"Good Management","data":[56,44],"backgroundColor":["#22c55e","#6c757d"],"borderWidth":3,"borderColor":"#fff"},{"label":"Average Management","data":[45,55],"backgroundColor":["#fbbf24","#6c757d"],"borderWidth":3,"borderColor":"#fff"}]},"options":{"responsive":true,"maintainAspectRatio":false,"backgroundColor":"transparent","cutout":"40%","plugins":{"legend":{"display":false},"tooltip":{"enabled":true,"backgroundColor":"rgba(0,0,0,0.8)","titleColor":"#fff","bodyColor":"#fff"}},"elements":{"arc":{"borderWidth":3,"borderColor":"#fff"}}}}
Position Upside Potential
Breakout potential by position - more stars indicate greater upside opportunity