Cocaine & Hookers
Cocaine & Hookers
Texas Stooges
Want a Spicier Take? Need a Little Encouragement? Try Changing the Tone of your Report!


Your Team Analysis Is Here, Cocaine & Hookers - Current Season AND Future Value Breakdown
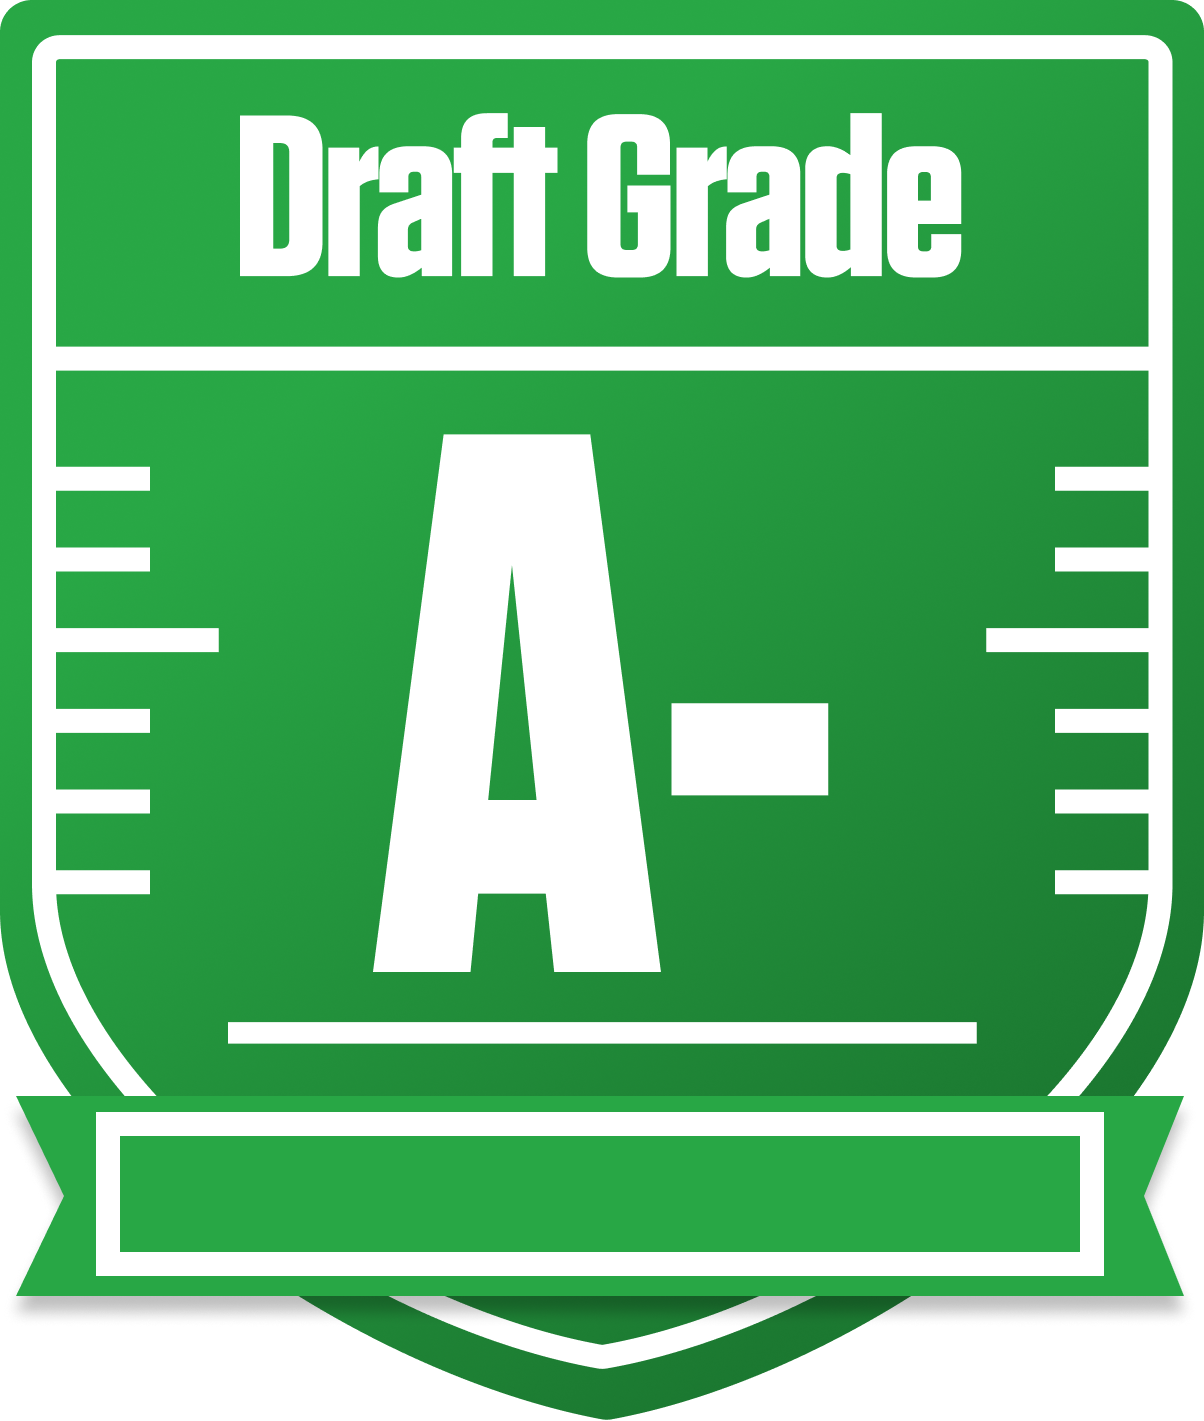
Welcome to the deep dive on Cocaine & Hookers in the Texas Stooges dynasty league, where we’re breaking down both how this squad stacks up for the current season and what kind of dynasty firepower they’re packing for the years ahead. With an overall grade of A- this year, this team is clearly built to compete now, boasting strong starting talent especially at quarterback, running back, and tight end. The league’s 12-team format with standard roster settings and return yards scoring adds some unique flavor, making roster depth and bye week management key factors.
Looking ahead, the future dynasty value shines even brighter with an A+ overall grade, signaling that Cocaine & Hookers isn’t just playing for today but also building a powerhouse for the next 2-5 years. While some position groups show room for improvement, this team’s blend of proven performers and high-upside youngsters sets them up well. Let’s unpack the strengths, weaknesses, and strategic moves that can help this team maximize playoff chances and dynasty dominance.
Your Grades By Position
Quarterback


Running Back


Wide Receiver


Tight End


Team Defense


Kicker


Quarterback


Running Back


Wide Receiver


Tight End


Team Defense


Kicker


Your Dynasty Grades
The above grades are for the current season. These grades reflect the longer term outlook of your team over the next 2-5 years.
Overall

Quarterback

Running Back

Wide Receiver

Tight End

Team Defense

Kicker

Overall

Quarterback

Running Back

Wide Receiver

Tight End

Team Defense

Kicker

Playoff Chances
{"type":"doughnut","data":{"labels":["Make the Playoffs","Miss the Playoffs","Make the Playoffs","Miss the Playoffs","Make the Playoffs","Miss the Playoffs"],"datasets":[{"label":"Great Management","data":[75,25],"backgroundColor":["#3b82f6","#6c757d"],"borderWidth":3,"borderColor":"#fff"},{"label":"Good Management","data":[67,33],"backgroundColor":["#22c55e","#6c757d"],"borderWidth":3,"borderColor":"#fff"},{"label":"Average Management","data":[57,43],"backgroundColor":["#fbbf24","#6c757d"],"borderWidth":3,"borderColor":"#fff"}]},"options":{"responsive":true,"maintainAspectRatio":false,"backgroundColor":"transparent","cutout":"40%","plugins":{"legend":{"display":false},"tooltip":{"enabled":true,"backgroundColor":"rgba(0,0,0,0.8)","titleColor":"#fff","bodyColor":"#fff"}},"elements":{"arc":{"borderWidth":3,"borderColor":"#fff"}}}}
Position Upside Potential
Breakout potential by position - more stars indicate greater upside opportunity