Titty City
Titty City
Texas Stooges
Want a Spicier Take? Need a Little Encouragement? Try Changing the Tone of your Report!


Titty City Team Analysis Is Here - Current Season AND Future Value Breakdown
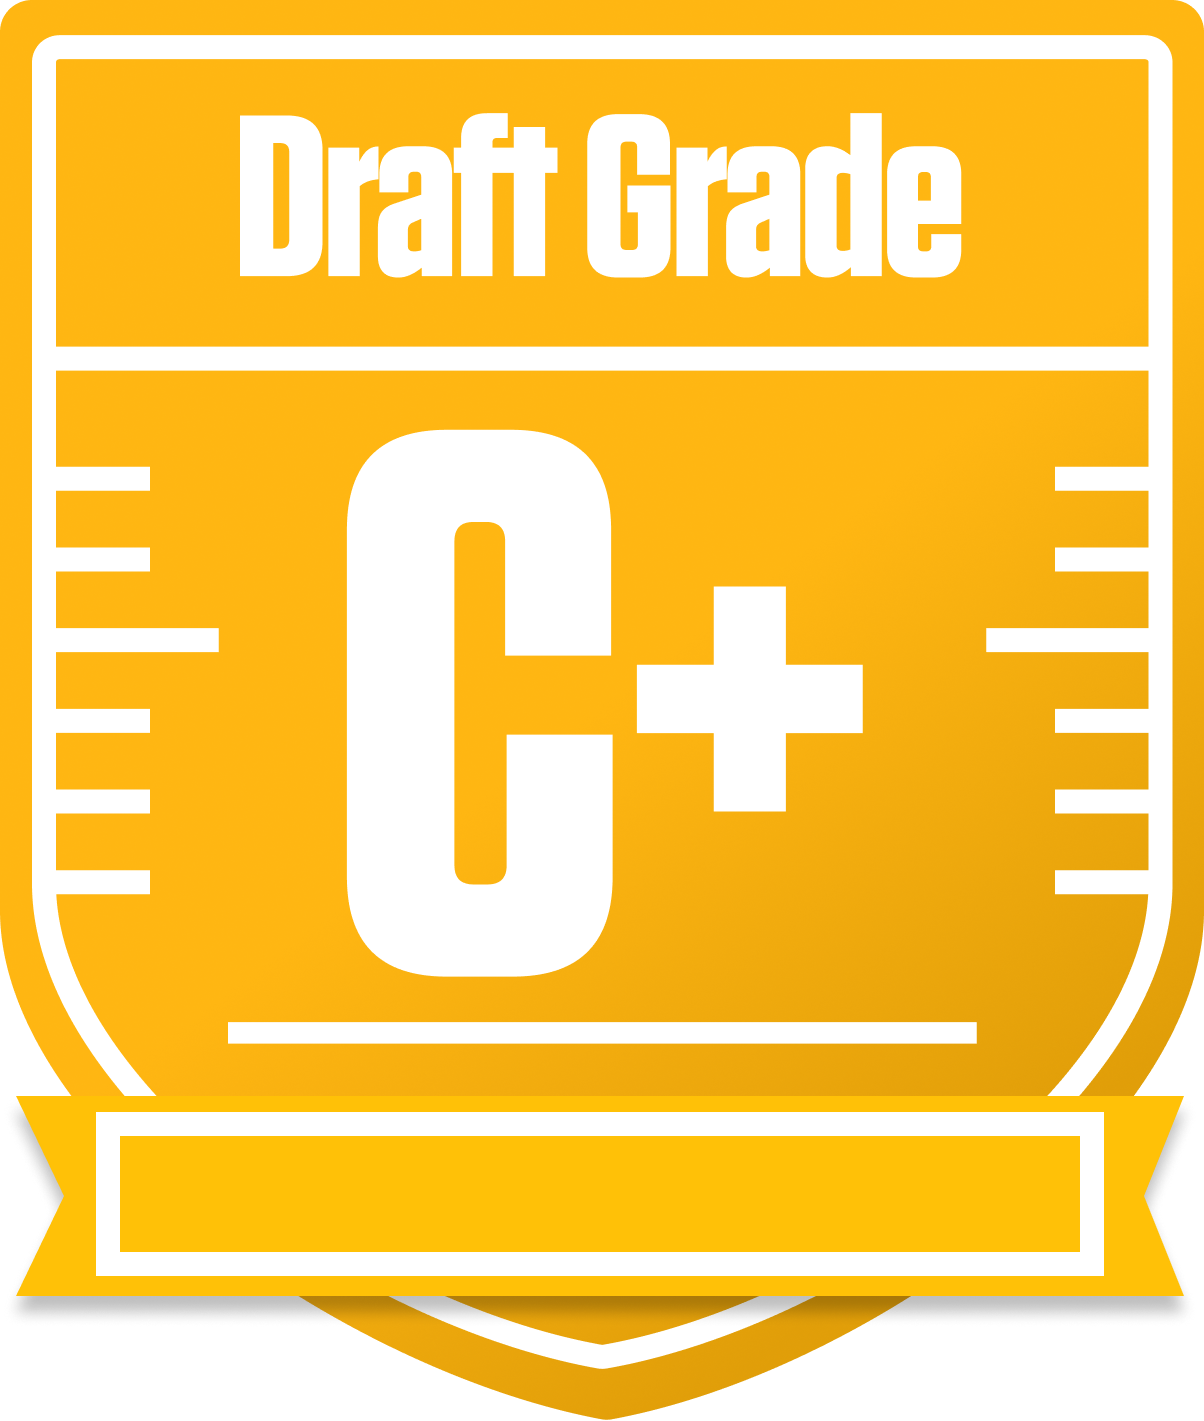
Welcome to the Titty City report from the Texas Stooges dynasty league, where we dive deep into both the current season outlook and the long-term dynasty potential. This team carries a respectable overall grade of C+ for this year, showing solid competitiveness but with clear areas needing attention. The league’s 12-team format with standard non-superflex settings and return yards scoring adds some flavor to roster construction, especially with a single QB slot and no team defenses.
The current roster boasts a strong running back group and a reliable kicker, but the wide receiver and tight end spots leave much to be desired. Playoff chances hover around 40-60%, so there’s a real opportunity to push into the postseason with some tweaks. Looking ahead, the future dynasty value dims considerably, with a D+ overall grade signaling challenges in sustaining success beyond this season. Let’s break down where Titty City shines and where it stumbles, and how to leverage Footballguys tools to sharpen the edge going forward.
Your Grades By Position
Quarterback


Running Back


Wide Receiver


Tight End


Team Defense


Kicker


Quarterback


Running Back


Wide Receiver


Tight End


Team Defense


Kicker


Your Dynasty Grades
The above grades are for the current season. These grades reflect the longer term outlook of your team over the next 2-5 years.
Overall

Quarterback

Running Back

Wide Receiver

Tight End

Team Defense

Kicker

Overall

Quarterback

Running Back

Wide Receiver

Tight End

Team Defense

Kicker

Playoff Chances
{"type":"doughnut","data":{"labels":["Make the Playoffs","Miss the Playoffs","Make the Playoffs","Miss the Playoffs","Make the Playoffs","Miss the Playoffs"],"datasets":[{"label":"Great Management","data":[60,40],"backgroundColor":["#3b82f6","#6c757d"],"borderWidth":3,"borderColor":"#fff"},{"label":"Good Management","data":[50,50],"backgroundColor":["#22c55e","#6c757d"],"borderWidth":3,"borderColor":"#fff"},{"label":"Average Management","data":[40,60],"backgroundColor":["#fbbf24","#6c757d"],"borderWidth":3,"borderColor":"#fff"}]},"options":{"responsive":true,"maintainAspectRatio":false,"backgroundColor":"transparent","cutout":"40%","plugins":{"legend":{"display":false},"tooltip":{"enabled":true,"backgroundColor":"rgba(0,0,0,0.8)","titleColor":"#fff","bodyColor":"#fff"}},"elements":{"arc":{"borderWidth":3,"borderColor":"#fff"}}}}
Position Upside Potential
Breakout potential by position - more stars indicate greater upside opportunity