COLD BLUE
COLD BLUE
Texas Stooges
Want a Spicier Take? Need a Little Encouragement? Try Changing the Tone of your Report!

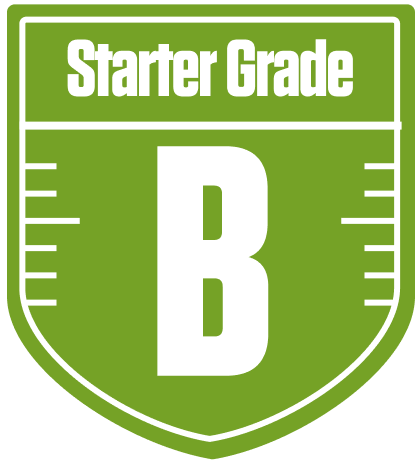
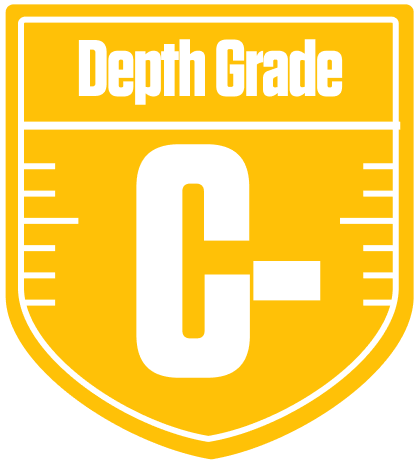


Cold Blue Team Analysis Is Here – Current Season AND Future Value Breakdown
Welcome to your Cold Blue team report from the Texas Stooges dynasty league! This analysis dives deep into how your squad stacks up for the current season and what kind of dynasty value you’re sitting on for the next 2-5 years. With a solid overall grade of B- this year, you’re clearly competitive but not without some rough edges. The league’s 12-team format with standard 1QB, 2RB, 2WR, 1TE, and 1Flex roster spots means every position counts, and your team’s construction reflects a strong focus on running backs and wide receivers.
While your current season outlook shows promise, especially with your running backs leading the charge, the long-term dynasty picture is a bit more mixed, landing at a C+ overall grade. This means you’ve got some solid pieces but also some question marks, especially at quarterback and tight end. We’ll break down where your strengths lie, what could hold you back, and how to leverage your roster to maximize playoff chances in this competitive league. Let’s get into the nitty-gritty and see how Cold Blue can turn potential into wins!
Your Grades By Position
Quarterback


Running Back


Wide Receiver


Tight End


Team Defense


Kicker


Quarterback


Running Back


Wide Receiver


Tight End


Team Defense


Kicker


Your Dynasty Grades
The above grades are for the current season. These grades reflect the longer term outlook of your team over the next 2-5 years.
Overall

Quarterback

Running Back

Wide Receiver

Tight End

Team Defense

Kicker

Overall

Quarterback

Running Back

Wide Receiver

Tight End

Team Defense

Kicker

Playoff Chances
{"type":"doughnut","data":{"labels":["Make the Playoffs","Miss the Playoffs","Make the Playoffs","Miss the Playoffs","Make the Playoffs","Miss the Playoffs"],"datasets":[{"label":"Great Management","data":[64,36],"backgroundColor":["#3b82f6","#6c757d"],"borderWidth":3,"borderColor":"#fff"},{"label":"Good Management","data":[54,46],"backgroundColor":["#22c55e","#6c757d"],"borderWidth":3,"borderColor":"#fff"},{"label":"Average Management","data":[44,56],"backgroundColor":["#fbbf24","#6c757d"],"borderWidth":3,"borderColor":"#fff"}]},"options":{"responsive":true,"maintainAspectRatio":false,"backgroundColor":"transparent","cutout":"40%","plugins":{"legend":{"display":false},"tooltip":{"enabled":true,"backgroundColor":"rgba(0,0,0,0.8)","titleColor":"#fff","bodyColor":"#fff"}},"elements":{"arc":{"borderWidth":3,"borderColor":"#fff"}}}}
Position Upside Potential
Breakout potential by position - more stars indicate greater upside opportunity