
BarackDHouse
BarackDHouse
FBG Bowl League 0004 - Shark Pool Only
Want a Spicier Take? Need a Little Encouragement? Try Changing the Tone of your Report!


BarackDHouse Draft Report Card Is Here - Let's Break Down How You Did in the FBG Bowl League 0004 - Shark Pool Only
Howdy, BarackDHouse! You’ve got yourself a solid C+ overall grade in this 12-team, full PPR redraft league, which means you’re right in the thick of the pack but still have some work to do if you want to swim with the sharks come playoff time. Your team’s strengths and weaknesses are pretty clear-cut, especially with a strong quarterback and tight end group but some struggles at running back and wide receiver depth. The league’s standard 1 QB, 2 RB, 3 WR, 1 TE, 1 DEF, and 2 flex spots roster settings mean you need balance, and your bench depth will be key to navigating bye weeks and injuries.
Your playoff chances hover around the 40-60% range depending on how things shake out, so there’s hope but also urgency. We’ll dive into your positional breakdowns, bye week conflicts, and strategic moves you can make to boost your chances. Let’s see how your draft strategy and roster construction stack up and what tweaks can turn this C+ into a contender.
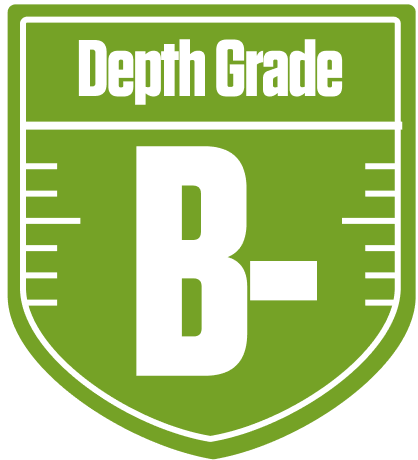
Your Grades By Position
Quarterback


Running Back

Wide Receiver

Tight End
Team Defense

Quarterback
Running Back
Wide Receiver
Tight End
Team Defense
Playoff Chances
{"type":"doughnut","data":{"labels":["Make the Playoffs","Miss the Playoffs","Make the Playoffs","Miss the Playoffs","Make the Playoffs","Miss the Playoffs"],"datasets":[{"label":"Great Management","data":[61,39],"backgroundColor":["#3b82f6","#6c757d"],"borderWidth":3,"borderColor":"#fff"},{"label":"Good Management","data":[51,49],"backgroundColor":["#22c55e","#6c757d"],"borderWidth":3,"borderColor":"#fff"},{"label":"Average Management","data":[41,59],"backgroundColor":["#fbbf24","#6c757d"],"borderWidth":3,"borderColor":"#fff"}]},"options":{"responsive":true,"maintainAspectRatio":false,"backgroundColor":"transparent","cutout":"40%","plugins":{"legend":{"display":false},"tooltip":{"enabled":true,"backgroundColor":"rgba(0,0,0,0.8)","titleColor":"#fff","bodyColor":"#fff"}},"elements":{"arc":{"borderWidth":3,"borderColor":"#fff"}}}}
Position Upside Potential
Breakout potential by position - more stars indicate greater upside opportunity