nittanylion
nittanylion
FBG Bowl League 0004 - Shark Pool Only
Want a Spicier Take? Need a Little Encouragement? Try Changing the Tone of your Report!
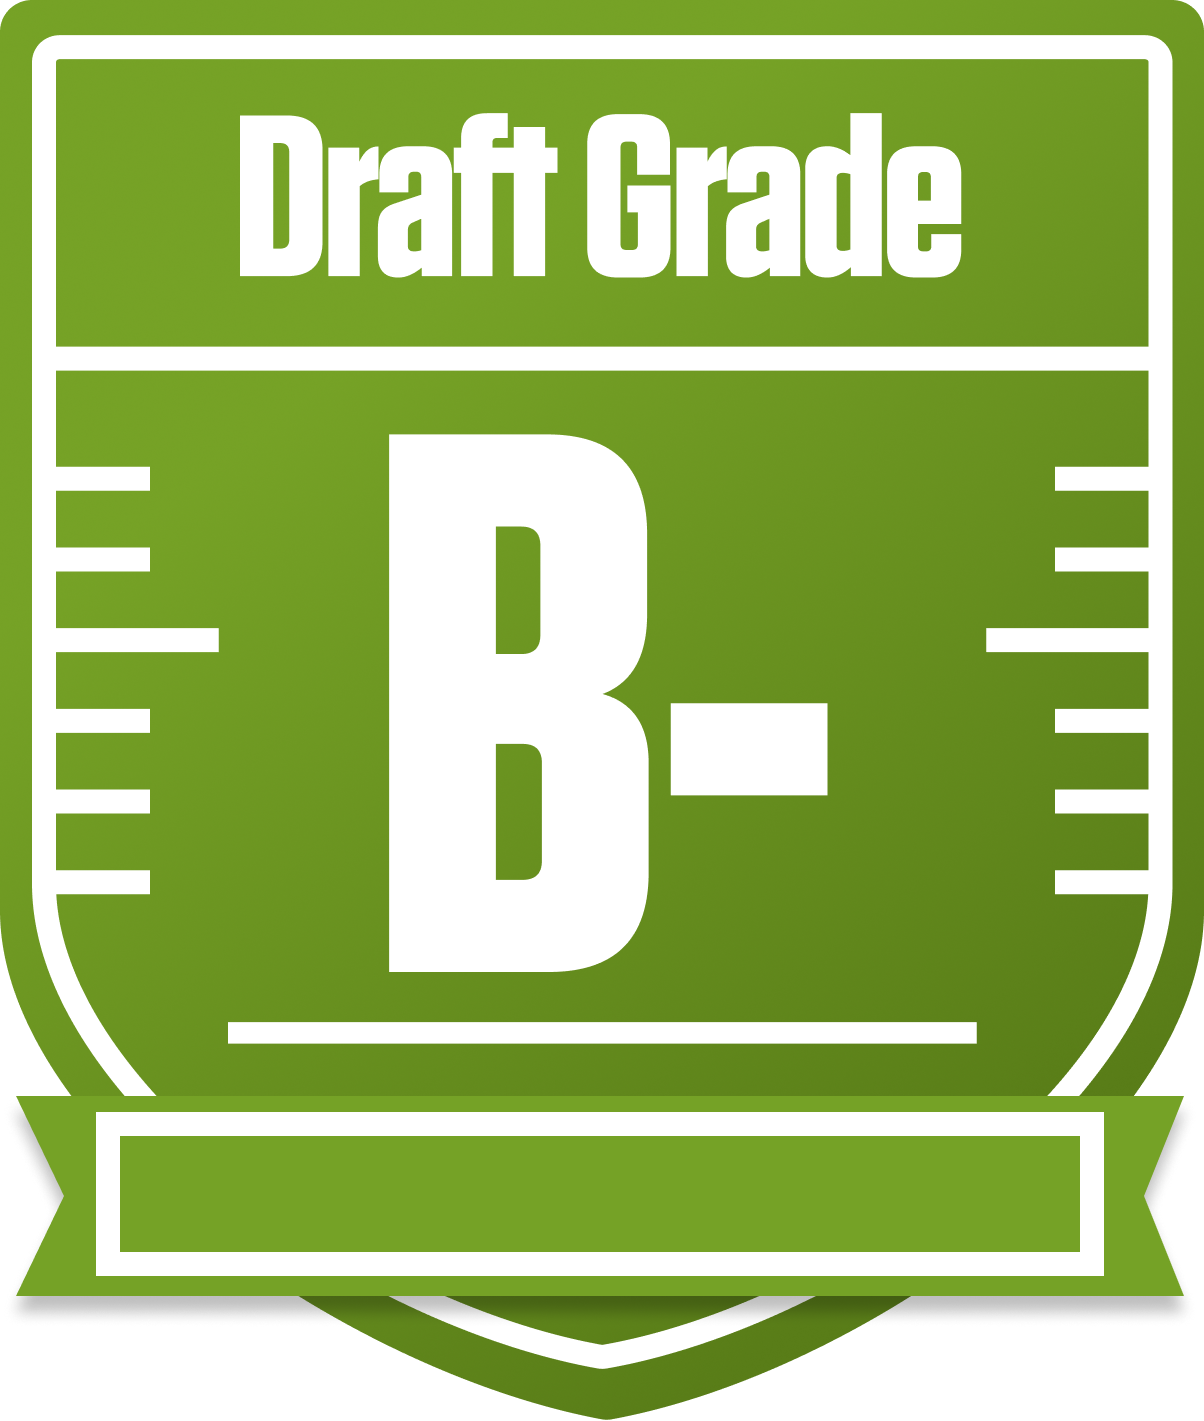
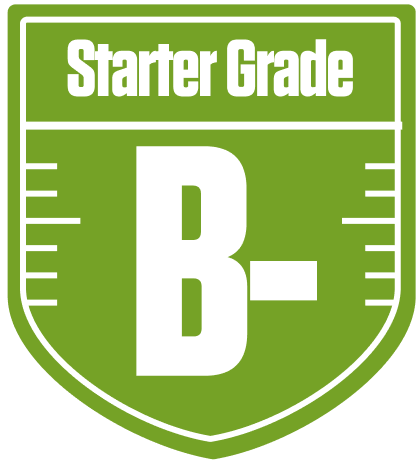
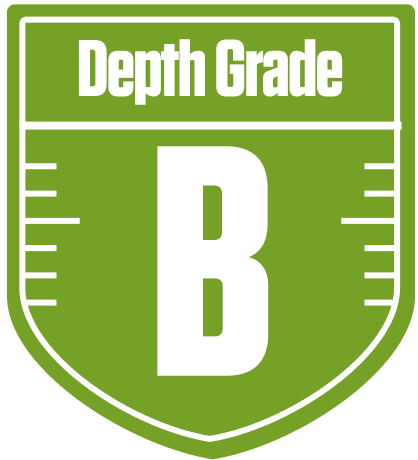


Draft Results Report Card Is Here, nittanylion - Let's Break Down How You Did
Well now, nittanylion in the FBG Bowl League 0004 - Shark Pool Only has put together a solid B- grade this season, showing some real promise but also a few areas that could use tightening up. This 12-team, full PPR redraft league with a single QB slot means every pick counts, and your team’s mix of high-floor stars and some shaky spots makes for an intriguing fantasy cocktail. Your playoff chances hover in the middle ground, with a decent shot if things break your way.
Your roster construction leans heavily on a strong QB and TE foundation, but the running back and wide receiver groups have some question marks that could hold you back. The bye week conflicts and some bench depth issues add a layer of complexity to your weekly lineup decisions. Stick around as we dive into the nitty-gritty of your team’s strengths, weaknesses, and strategic moves to help you sharpen your edge and make a run at that playoff glory.
Your Grades By Position
Quarterback


Running Back


Wide Receiver


Tight End


Team Defense


Quarterback


Running Back


Wide Receiver


Tight End


Team Defense


Playoff Chances
{"type":"doughnut","data":{"labels":["Make the Playoffs","Miss the Playoffs","Make the Playoffs","Miss the Playoffs","Make the Playoffs","Miss the Playoffs"],"datasets":[{"label":"Great Management","data":[67,33],"backgroundColor":["#3b82f6","#6c757d"],"borderWidth":3,"borderColor":"#fff"},{"label":"Good Management","data":[58,42],"backgroundColor":["#22c55e","#6c757d"],"borderWidth":3,"borderColor":"#fff"},{"label":"Average Management","data":[47,53],"backgroundColor":["#fbbf24","#6c757d"],"borderWidth":3,"borderColor":"#fff"}]},"options":{"responsive":true,"maintainAspectRatio":false,"backgroundColor":"transparent","cutout":"40%","plugins":{"legend":{"display":false},"tooltip":{"enabled":true,"backgroundColor":"rgba(0,0,0,0.8)","titleColor":"#fff","bodyColor":"#fff"}},"elements":{"arc":{"borderWidth":3,"borderColor":"#fff"}}}}
Position Upside Potential
Breakout potential by position - more stars indicate greater upside opportunity