miqws
miqws
FBG Bowl League 0004 - Shark Pool Only
Want a Spicier Take? Need a Little Encouragement? Try Changing the Tone of your Report!
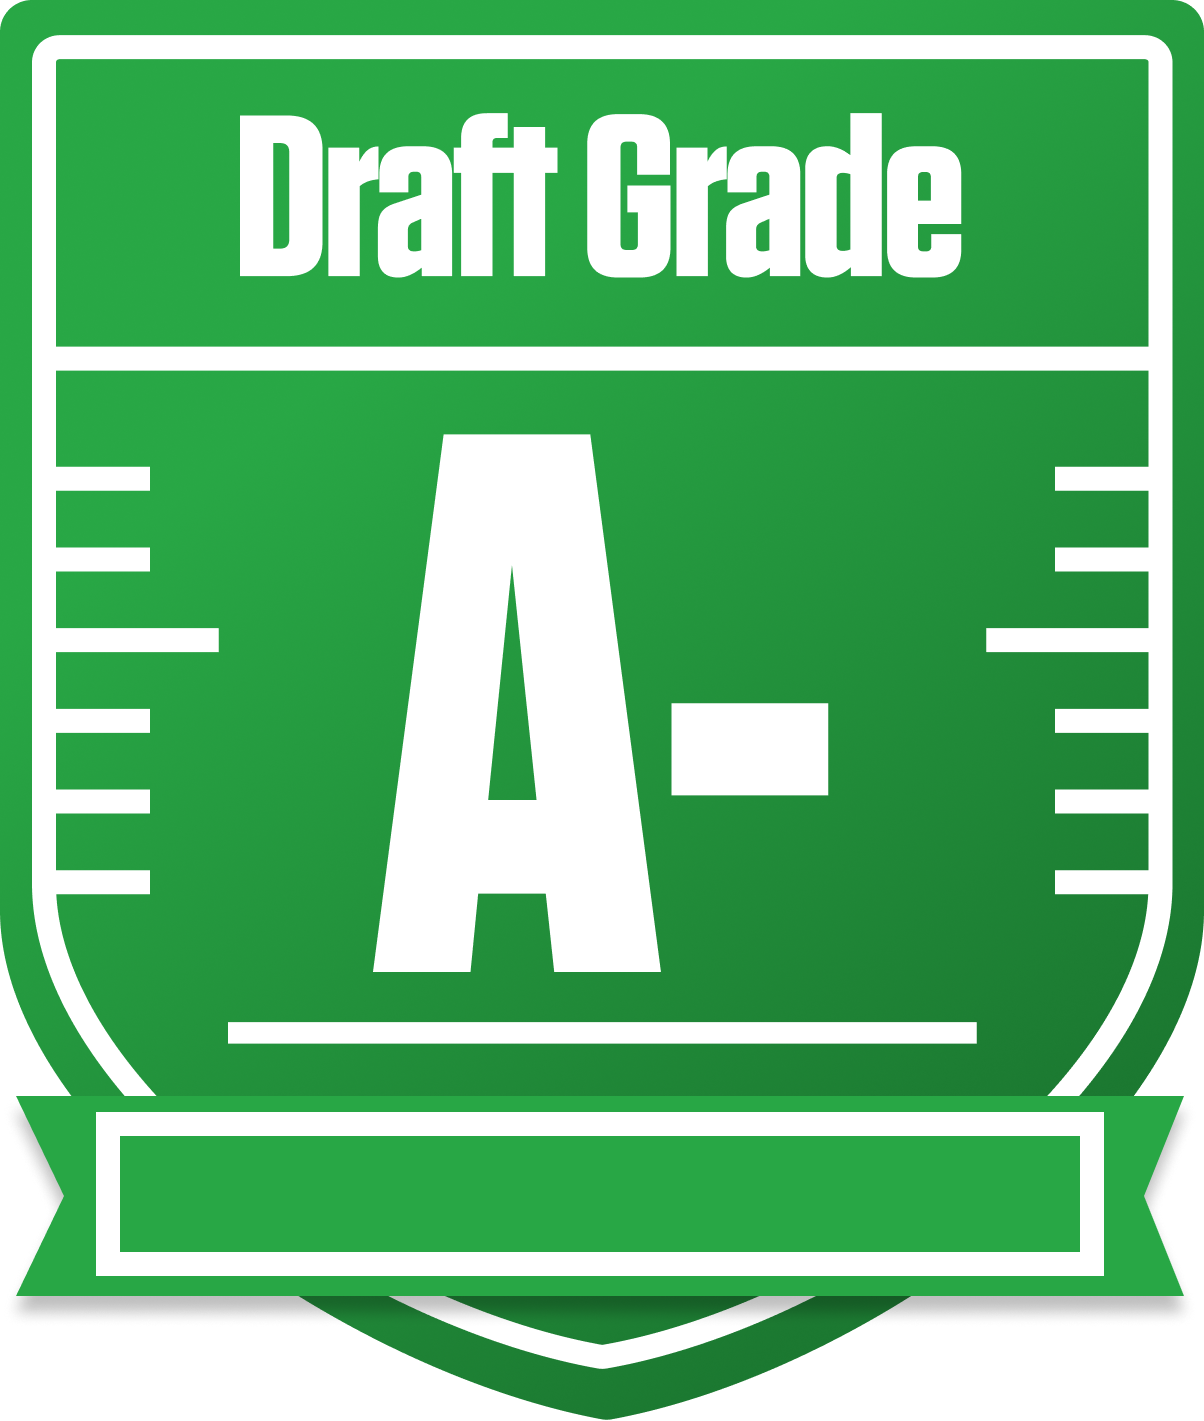

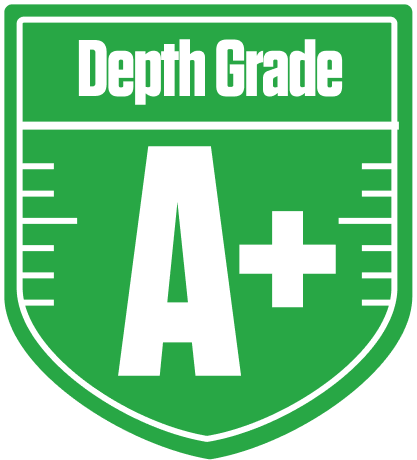


Your Draft Report Card Is Here, miqws - Let's Break Down How You Did
Well, miqws, you’ve put together a strong A- grade squad in the FBG Bowl League 0004 - Shark Pool Only, and that’s no small feat in a competitive 12-team full PPR league. Your team’s starting lineup shines, especially at running back and quarterback, giving you a solid foundation to compete for a playoff spot this season. The league’s standard redraft format means your draft choices are all about maximizing this year’s production, and you’ve clearly prioritized high-upside, high-floor players to do just that.
Your wide receiver group shows a fascinating split—starters are a bit shaky, but your bench WRs are loaded with upside and value, which could pay dividends as the season progresses. The tight end spot is decent but leaves room for improvement. With a playoff chance hovering around the mid-50s to 75%, you’re in a good spot, but some strategic moves could push you over the top. Let’s dive into the nitty-gritty of your roster construction and see where you can capitalize and where you might need to tread carefully.
Your Grades By Position
Quarterback


Running Back


Wide Receiver


Tight End


Team Defense


Quarterback


Running Back


Wide Receiver


Tight End


Team Defense


Playoff Chances
{"type":"doughnut","data":{"labels":["Make the Playoffs","Miss the Playoffs","Make the Playoffs","Miss the Playoffs","Make the Playoffs","Miss the Playoffs"],"datasets":[{"label":"Great Management","data":[75,25],"backgroundColor":["#3b82f6","#6c757d"],"borderWidth":3,"borderColor":"#fff"},{"label":"Good Management","data":[67,33],"backgroundColor":["#22c55e","#6c757d"],"borderWidth":3,"borderColor":"#fff"},{"label":"Average Management","data":[56,44],"backgroundColor":["#fbbf24","#6c757d"],"borderWidth":3,"borderColor":"#fff"}]},"options":{"responsive":true,"maintainAspectRatio":false,"backgroundColor":"transparent","cutout":"40%","plugins":{"legend":{"display":false},"tooltip":{"enabled":true,"backgroundColor":"rgba(0,0,0,0.8)","titleColor":"#fff","bodyColor":"#fff"}},"elements":{"arc":{"borderWidth":3,"borderColor":"#fff"}}}}
Position Upside Potential
Breakout potential by position - more stars indicate greater upside opportunity