Scoresman_FBG
Scoresman_FBG
FBG Bowl League 0004 - Shark Pool Only
Want a Spicier Take? Need a Little Encouragement? Try Changing the Tone of your Report!


ScoresmanFBG's Redraft Report Card Is Here - Let's Break Down How You Did
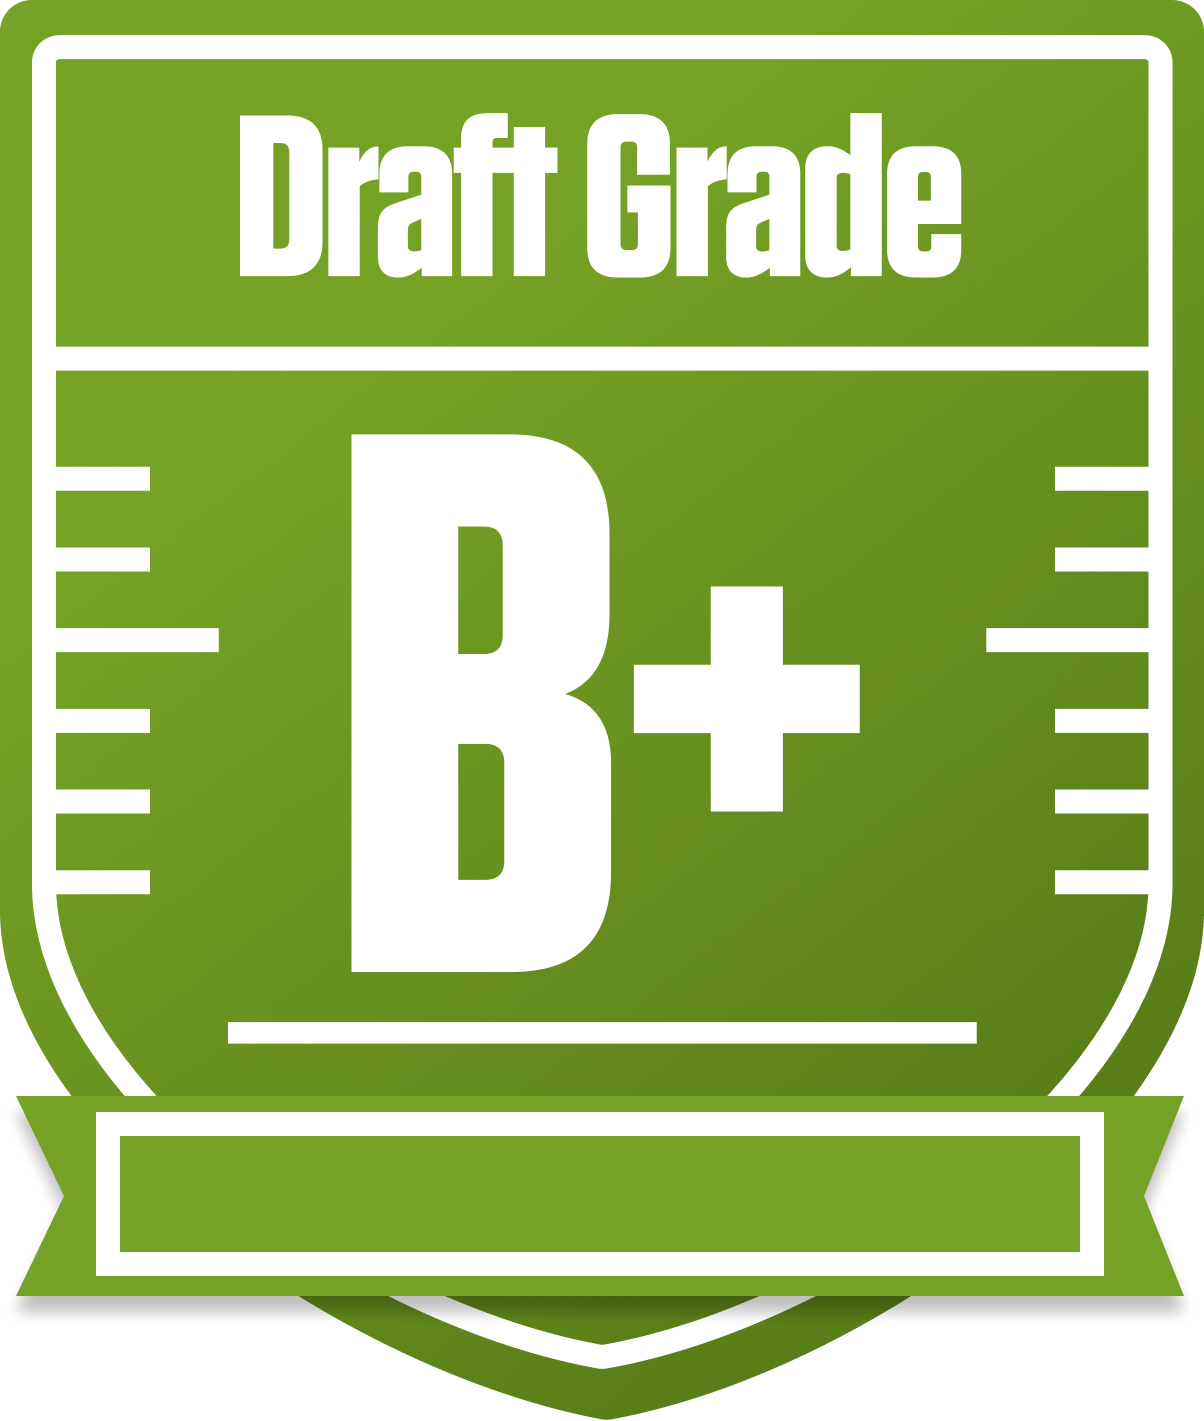
Welcome to the deep dive on ScoresmanFBG in the FBG Bowl League 0004 - Shark Pool Only! This redraft league with 12 teams and full PPR scoring sets a competitive stage, and your team earned a solid B+ overall grade. Your roster construction shows a strong commitment to running backs, which is paying dividends, while your quarterback and wide receiver groups leave some room for improvement. The league’s single QB and two-flex setup means every position counts, and your team’s balance between starters and bench strength is a key factor in your playoff chances.
With an average playoff probability hovering just above 50%, you’re in the hunt but need to keep sharpening your lineup. This report will unpack your team’s strengths, highlight areas that could hold you back, and offer strategic recommendations to help you reach that next level. From bye week conflicts to potential waiver wire gems, we’ll cover it all so you can keep reaching for the stars in this Shark Pool.
Your Grades By Position
Quarterback


Running Back


Wide Receiver


Tight End


Team Defense


Quarterback


Running Back


Wide Receiver


Tight End


Team Defense


Playoff Chances
{"type":"doughnut","data":{"labels":["Make the Playoffs","Miss the Playoffs","Make the Playoffs","Miss the Playoffs","Make the Playoffs","Miss the Playoffs"],"datasets":[{"label":"Great Management","data":[71,29],"backgroundColor":["#3b82f6","#6c757d"],"borderWidth":3,"borderColor":"#fff"},{"label":"Good Management","data":[62,38],"backgroundColor":["#22c55e","#6c757d"],"borderWidth":3,"borderColor":"#fff"},{"label":"Average Management","data":[51,49],"backgroundColor":["#fbbf24","#6c757d"],"borderWidth":3,"borderColor":"#fff"}]},"options":{"responsive":true,"maintainAspectRatio":false,"backgroundColor":"transparent","cutout":"40%","plugins":{"legend":{"display":false},"tooltip":{"enabled":true,"backgroundColor":"rgba(0,0,0,0.8)","titleColor":"#fff","bodyColor":"#fff"}},"elements":{"arc":{"borderWidth":3,"borderColor":"#fff"}}}}
Position Upside Potential
Breakout potential by position - more stars indicate greater upside opportunity