JONNU Wrecking Cruë
JONNU Wrecking Cruë
Fooseball A New Saga
Want a Spicier Take? Need a Little Encouragement? Try Changing the Tone of your Report!


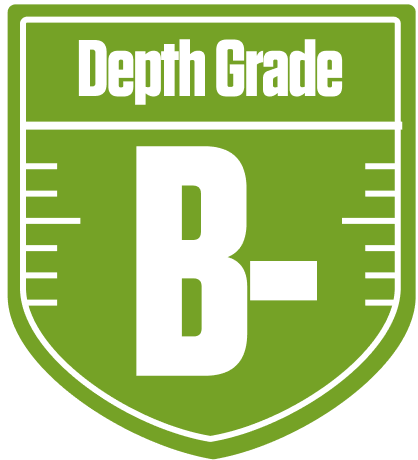


Your Draft Report Card Is Here, JONNU Wrecking Cruë - Let's Break Down How You Did
Well, howdy, JONNU Wrecking Cruë! You’ve put together a solid B-grade squad in the Fooseball A New Saga redraft league, and that’s no small feat in an 8-team, full PPR setup with some unique IDP slots. Your team’s overall grade of B reflects a well-balanced roster with some clear strengths and a few areas that need attention. With a playoff chance hovering around the middle of the pack, you’re in a competitive spot but will need to play your cards right to reach the postseason.
This report dives into your draft results, highlighting where you hit the jackpot and where you might be vulnerable. We’ll look at your star power at running back and quarterback, the shaky wide receiver corps, and how your IDP selections could make or break your campaign. Plus, we’ll touch on bye week conflicts and strategic moves to keep you in the hunt. Buckle up, because JONNU Wrecking Cruë’s fantasy journey is just getting started!
Your Grades By Position
Quarterback


Running Back


Wide Receiver


Tight End


Kicker


Linebacker


Defensive Tackle


Defensive End


Cornerback


Safety


Quarterback


Running Back


Wide Receiver


Tight End


Kicker


Linebacker


Defensive Tackle


Defensive End


Cornerback


Safety


Playoff Chances
{"type":"doughnut","data":{"labels":["Make the Playoffs","Miss the Playoffs","Make the Playoffs","Miss the Playoffs","Make the Playoffs","Miss the Playoffs"],"datasets":[{"label":"Great Management","data":[69,31],"backgroundColor":["#3b82f6","#6c757d"],"borderWidth":3,"borderColor":"#fff"},{"label":"Good Management","data":[59,41],"backgroundColor":["#22c55e","#6c757d"],"borderWidth":3,"borderColor":"#fff"},{"label":"Average Management","data":[48,52],"backgroundColor":["#fbbf24","#6c757d"],"borderWidth":3,"borderColor":"#fff"}]},"options":{"responsive":true,"maintainAspectRatio":false,"backgroundColor":"transparent","cutout":"40%","plugins":{"legend":{"display":false},"tooltip":{"enabled":true,"backgroundColor":"rgba(0,0,0,0.8)","titleColor":"#fff","bodyColor":"#fff"}},"elements":{"arc":{"borderWidth":3,"borderColor":"#fff"}}}}
Position Upside Potential
Breakout potential by position - more stars indicate greater upside opportunity