Over 9000
Over 9000
Fooseball A New Saga
Want a Spicier Take? Need a Little Encouragement? Try Changing the Tone of your Report!



Over 9000's Redraft Report Card Is Here - Fooseball A New Saga Breakdown
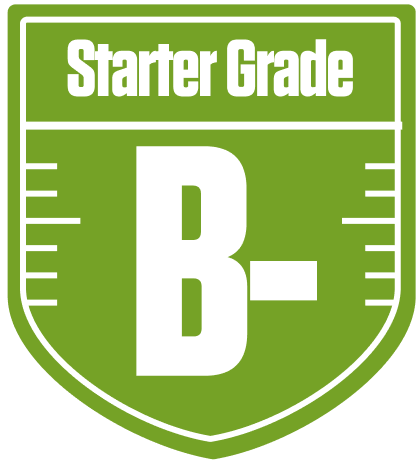
Well, howdy, Over 9000! You’ve got yourself a solid B- grade this season in the Fooseball A New Saga league, which is a respectable showing in this tight 8-team full PPR setup. Your team’s strengths shine brightest at running back and defensive end, giving you a sturdy foundation to build on. However, your wide receiver starters are lagging behind, which could be a thorn in your side as the season progresses. With a playoff chance hovering around the mid-40s to mid-60s percentile, you’re in the hunt but need to keep sharpening your roster.
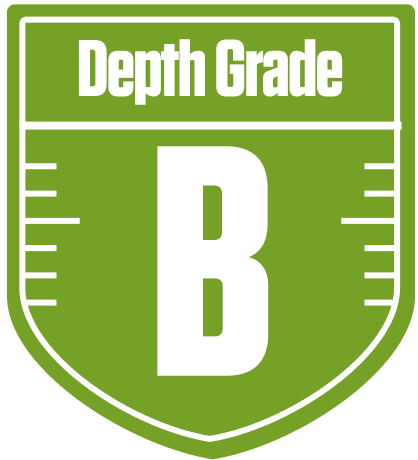
This league’s unique roster settings, including individual defensive players and a linebacker slot, add some spice to your strategy, and you’ve done well on the defensive end but could use some help in the secondary. Your quarterback situation is solid, but not spectacular, and your tight end group is middle of the road. We’ll dive into the nitty-gritty of your positional strengths, weaknesses, and some savvy moves you can make to push your team into that playoff sweet spot. Let’s get into the breakdown and see how you can crank your fantasy engine up to eleven!
Your Grades By Position
Quarterback


Running Back


Wide Receiver


Tight End


Kicker


Linebacker


Defensive Tackle


Defensive End


Cornerback


Safety


Quarterback


Running Back


Wide Receiver


Tight End


Kicker


Linebacker


Defensive Tackle


Defensive End


Cornerback


Safety


Playoff Chances
{"type":"doughnut","data":{"labels":["Make the Playoffs","Miss the Playoffs","Make the Playoffs","Miss the Playoffs","Make the Playoffs","Miss the Playoffs"],"datasets":[{"label":"Great Management","data":[65,35],"backgroundColor":["#3b82f6","#6c757d"],"borderWidth":3,"borderColor":"#fff"},{"label":"Good Management","data":[55,45],"backgroundColor":["#22c55e","#6c757d"],"borderWidth":3,"borderColor":"#fff"},{"label":"Average Management","data":[44,56],"backgroundColor":["#fbbf24","#6c757d"],"borderWidth":3,"borderColor":"#fff"}]},"options":{"responsive":true,"maintainAspectRatio":false,"backgroundColor":"transparent","cutout":"40%","plugins":{"legend":{"display":false},"tooltip":{"enabled":true,"backgroundColor":"rgba(0,0,0,0.8)","titleColor":"#fff","bodyColor":"#fff"}},"elements":{"arc":{"borderWidth":3,"borderColor":"#fff"}}}}
Position Upside Potential
Breakout potential by position - more stars indicate greater upside opportunity