
Mr Consistency
Mr Consistency
Fooseball A New Saga
Want a Spicier Take? Need a Little Encouragement? Try Changing the Tone of your Report!
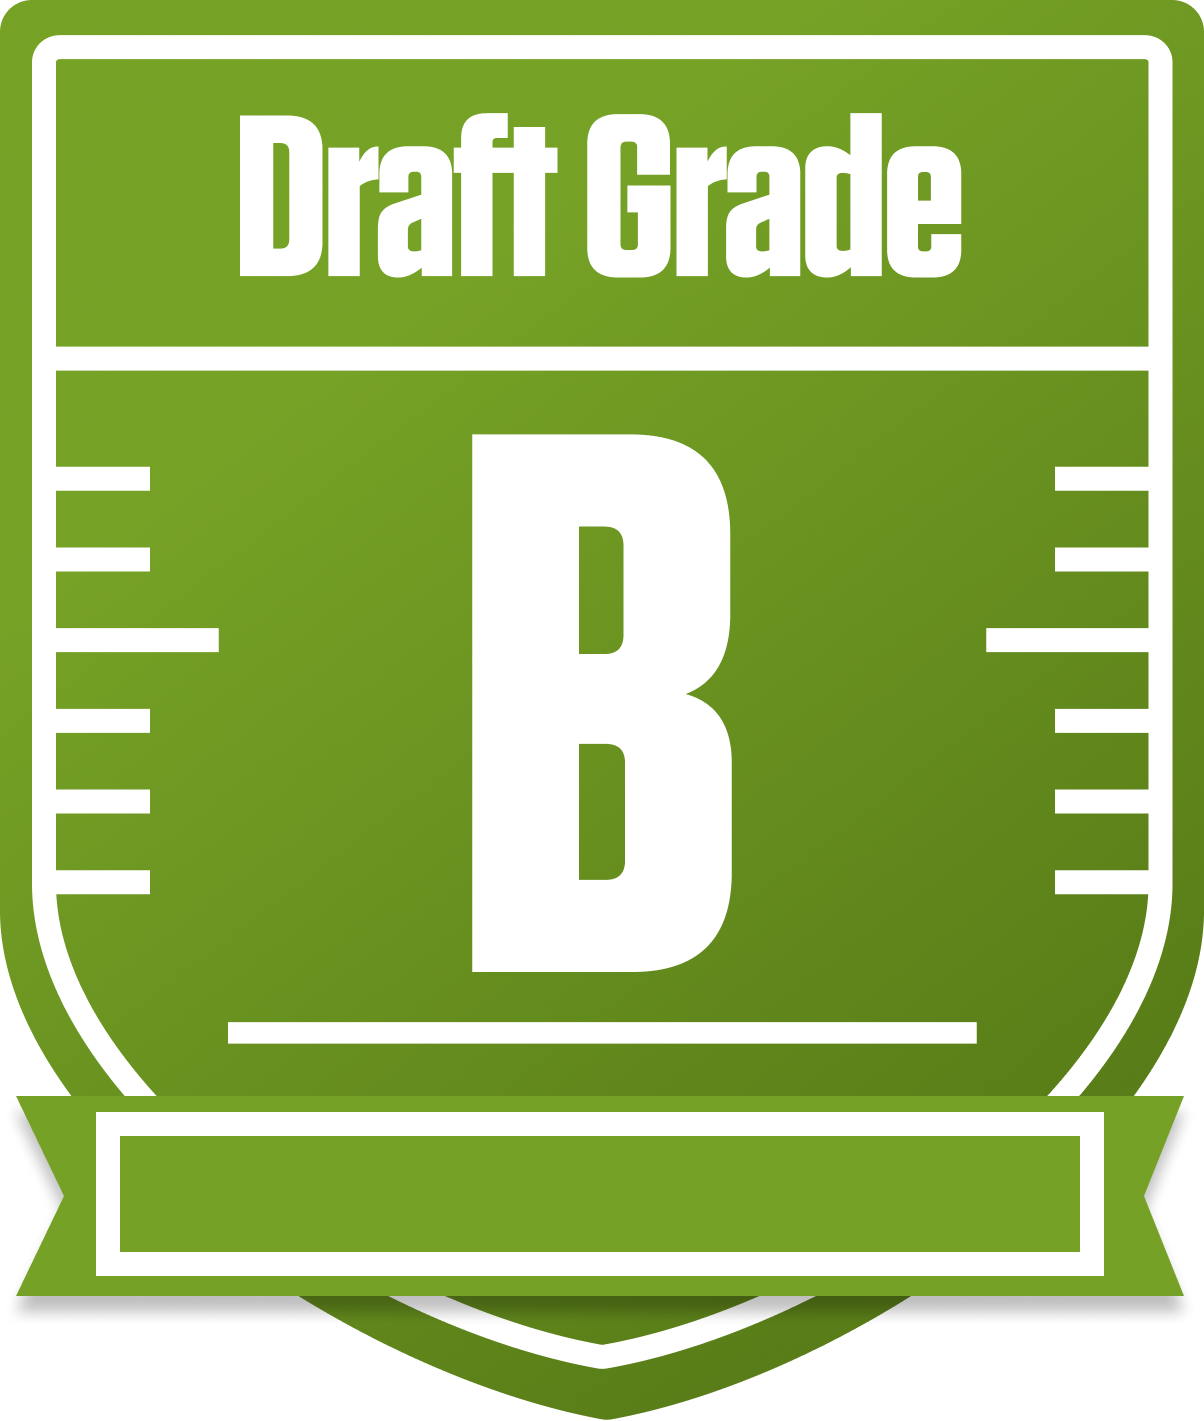
Mr Consistency Draft Report Card Is Here - Fooseball A New Saga Breakdown
Well now, Mr Consistency has put together a solid B grade team in this 8-team redraft league, Fooseball A New Saga. With full PPR scoring and a unique defensive roster setup including linebackers, defensive line, and individual defensive players, this squad’s construction shows some savvy drafting and a clear focus on balance. The team’s overall grade reflects a strong core, especially at running back and wide receiver, but some glaring holes at tight end and defensive tackle could make the road to the playoffs a bumpy one.
This league’s settings, with only one QB and a flex spot, mean that having a reliable QB1 like Patrick Mahomes is a big plus, but the lack of a superflex spot limits the QB positional value somewhat. The playoff chances hover around the middle of the pack, so Mr Consistency will need to maximize strengths and patch weaknesses to push into that top tier. Let’s dive deeper into the team’s positional grades, upside, and strategic moves to see how this squad can turn consistency into championship glory.
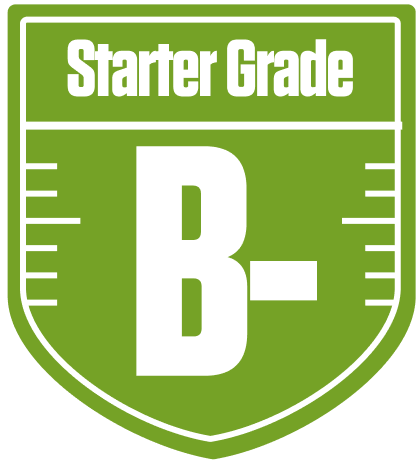
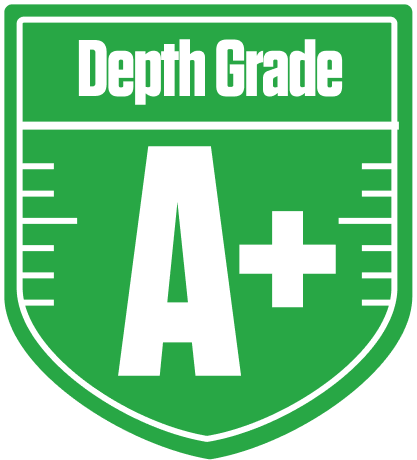
Your Grades By Position
Quarterback

Running Back
Wide Receiver

Tight End


Kicker
Linebacker

Defensive Tackle
Defensive End

Cornerback
Safety
Quarterback
Running Back
Wide Receiver
Tight End
Kicker
Linebacker
Defensive Tackle
Defensive End
Cornerback
Safety
Playoff Chances
{"type":"doughnut","data":{"labels":["Make the Playoffs","Miss the Playoffs","Make the Playoffs","Miss the Playoffs","Make the Playoffs","Miss the Playoffs"],"datasets":[{"label":"Great Management","data":[68,32],"backgroundColor":["#3b82f6","#6c757d"],"borderWidth":3,"borderColor":"#fff"},{"label":"Good Management","data":[59,41],"backgroundColor":["#22c55e","#6c757d"],"borderWidth":3,"borderColor":"#fff"},{"label":"Average Management","data":[48,52],"backgroundColor":["#fbbf24","#6c757d"],"borderWidth":3,"borderColor":"#fff"}]},"options":{"responsive":true,"maintainAspectRatio":false,"backgroundColor":"transparent","cutout":"40%","plugins":{"legend":{"display":false},"tooltip":{"enabled":true,"backgroundColor":"rgba(0,0,0,0.8)","titleColor":"#fff","bodyColor":"#fff"}},"elements":{"arc":{"borderWidth":3,"borderColor":"#fff"}}}}
Position Upside Potential
Breakout potential by position - more stars indicate greater upside opportunity