dcaff97
dcaff97
Tigerdroppings 2025
Want a Spicier Take? Need a Little Encouragement? Try Changing the Tone of your Report!


Your Draft Report Card Is Here, dcaff97 - Let's Break Down How You Did
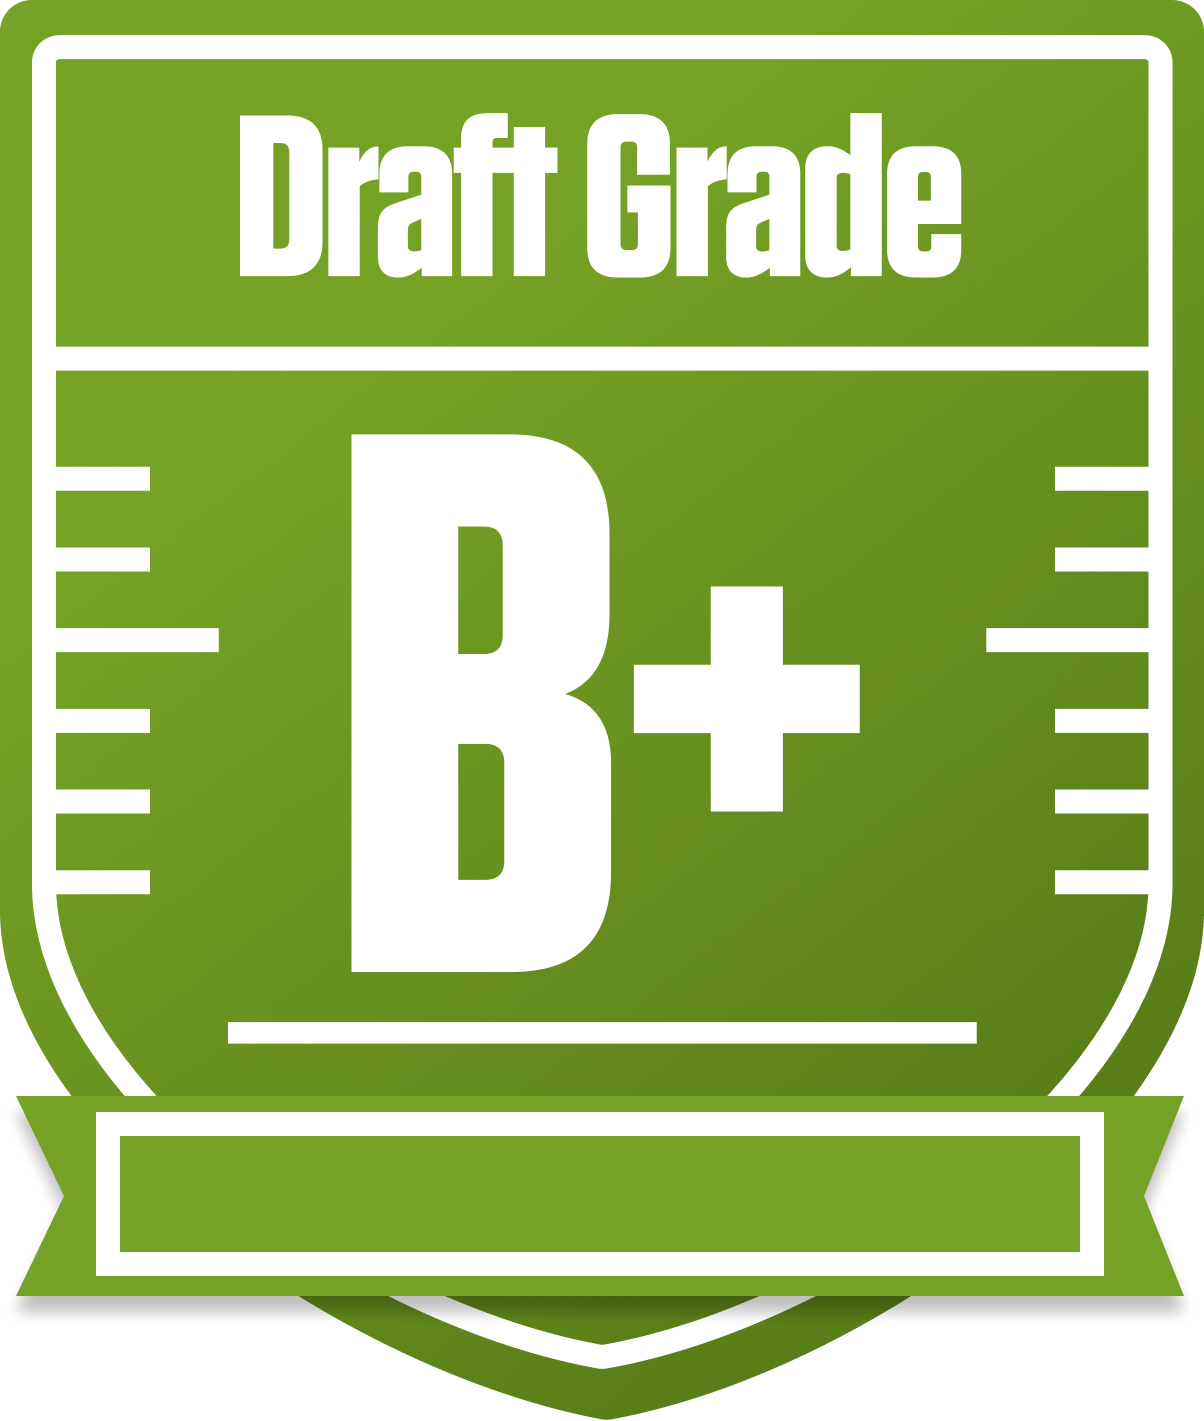
Howdy, dcaff97! You’ve put together a solid B+ grade squad in the Tigerdroppings 2025 league, and that’s no small feat in a competitive 10-team full PPR setup. Your team’s strength shines brightest in the wide receiver and running back corps, where both starters and bench boast top-tier grades. That’s a recipe for consistent weekly production and depth, especially with two flex spots to flex those weapons.
However, your quarterback and tight end situations tell a different story. The starting QB grade is just average, and the bench QB is struggling, which could cap your ceiling in key matchups. Meanwhile, your tight end starter is a bright spot, but the lack of depth there and at defense and kicker could be a vulnerability. Your playoff chances hover in the middle of the pack, so shoring up those weak spots could push you into the “great” category. Let’s dive deeper into what’s working and what needs attention for dcaff97 this season.
Your Grades By Position
Quarterback


Running Back


Wide Receiver


Tight End


Team Defense


Kicker


Quarterback


Running Back


Wide Receiver


Tight End


Team Defense


Kicker


Playoff Chances
{"type":"doughnut","data":{"labels":["Make the Playoffs","Miss the Playoffs","Make the Playoffs","Miss the Playoffs","Make the Playoffs","Miss the Playoffs"],"datasets":[{"label":"Great Management","data":[72,28],"backgroundColor":["#3b82f6","#6c757d"],"borderWidth":3,"borderColor":"#fff"},{"label":"Good Management","data":[63,37],"backgroundColor":["#22c55e","#6c757d"],"borderWidth":3,"borderColor":"#fff"},{"label":"Average Management","data":[52,48],"backgroundColor":["#fbbf24","#6c757d"],"borderWidth":3,"borderColor":"#fff"}]},"options":{"responsive":true,"maintainAspectRatio":false,"backgroundColor":"transparent","cutout":"40%","plugins":{"legend":{"display":false},"tooltip":{"enabled":true,"backgroundColor":"rgba(0,0,0,0.8)","titleColor":"#fff","bodyColor":"#fff"}},"elements":{"arc":{"borderWidth":3,"borderColor":"#fff"}}}}
Position Upside Potential
Breakout potential by position - more stars indicate greater upside opportunity