Poor Man North of Atlanta
Poor Man North of Atlanta
Tigerdroppings 2025
Want a Spicier Take? Need a Little Encouragement? Try Changing the Tone of your Report!
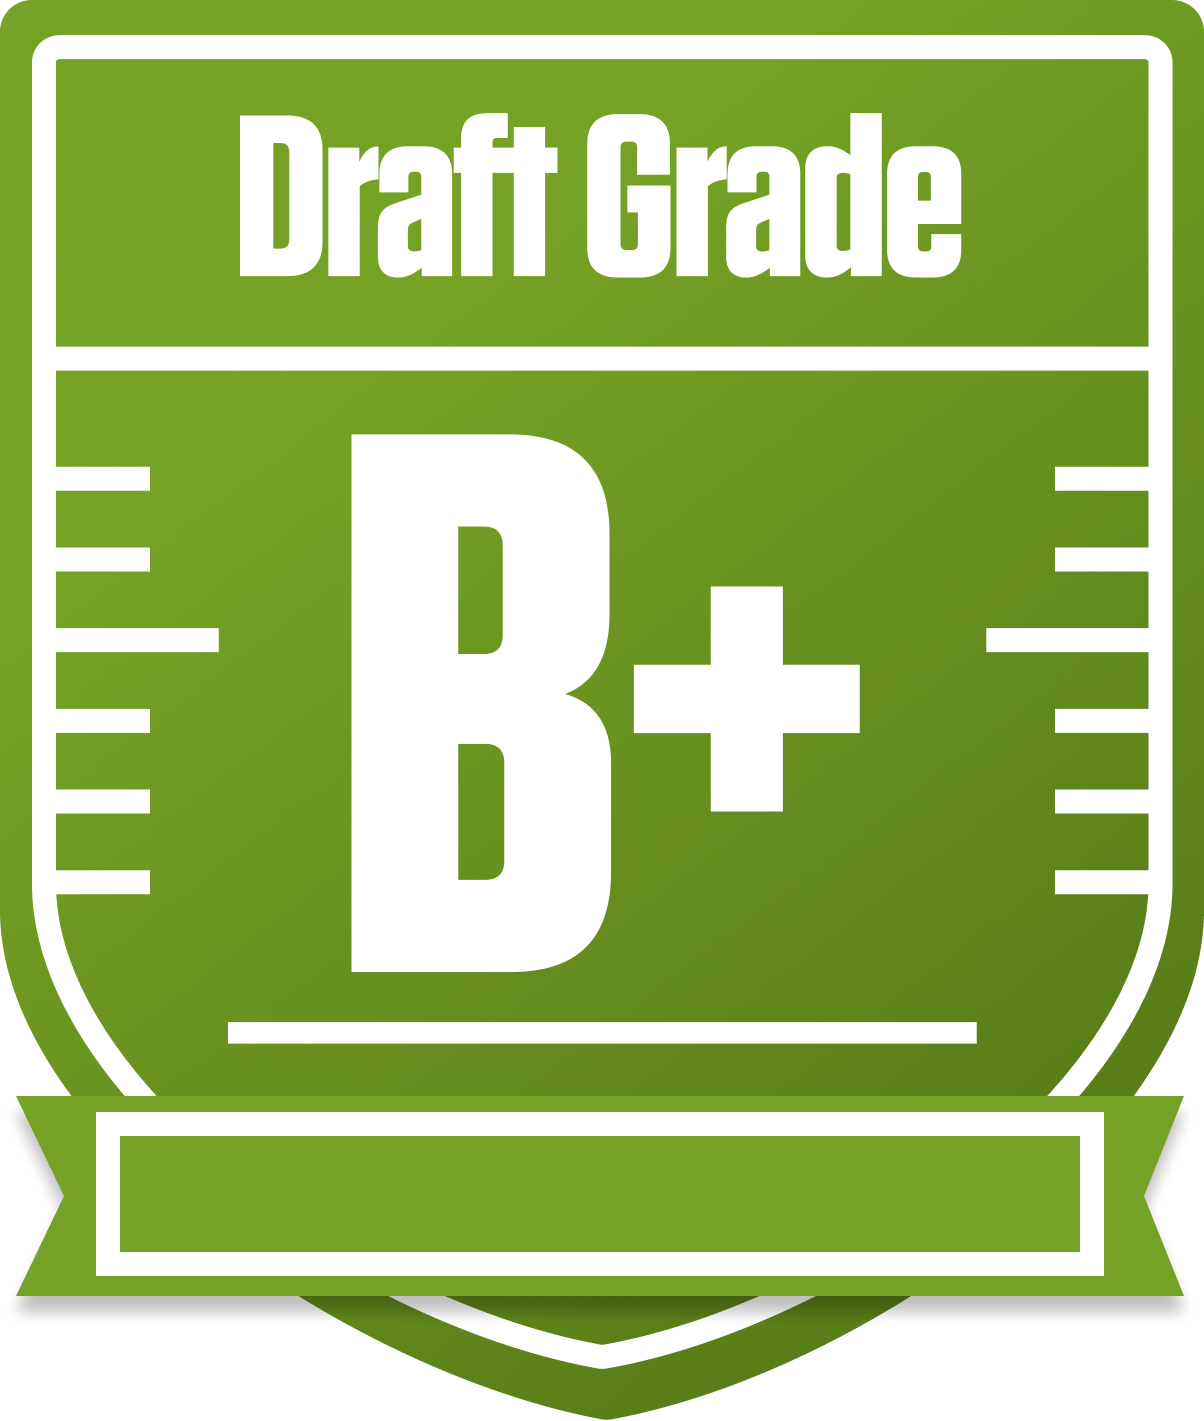
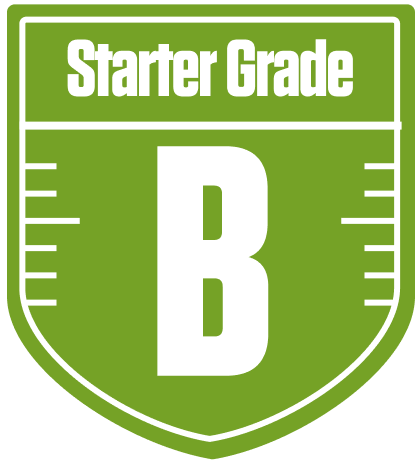
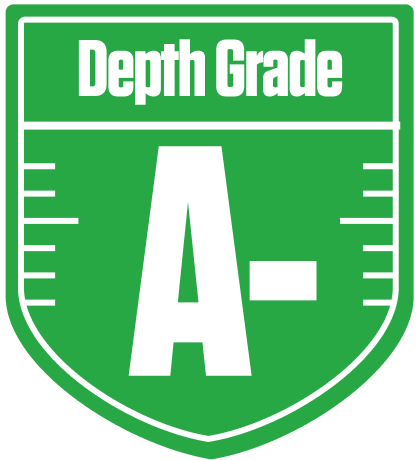


Your Draft Report Card Is Here, Poor Man North of Atlanta - Let's Break Down How You Did
Welcome to the deep dive on the Poor Man North of Atlanta squad in the Tigerdroppings 2025 redraft league! With a solid overall grade of B+, this team shows a strong foundation, especially in the running back department, which is absolutely loaded and ready to carry your fantasy hopes. The league’s full PPR scoring and single QB setup shape your roster construction, making your RB strength a huge asset for consistent weekly production.
While your wide receiver group has some glaring weaknesses in the starting lineup, your bench depth there is impressive, offering some valuable flexibility. Your playoff chances hover around the middle of the pack, so there’s room to maneuver and improve. This report will unpack your team’s key strengths, vulnerabilities, and strategic moves to help you reach that coveted postseason spot. Let’s get into the nitty-gritty and see how you can turn this solid draft into a championship run!
Your Grades By Position
Quarterback


Running Back


Wide Receiver


Tight End


Team Defense


Kicker


Quarterback


Running Back


Wide Receiver


Tight End


Team Defense


Kicker


Playoff Chances
{"type":"doughnut","data":{"labels":["Make the Playoffs","Miss the Playoffs","Make the Playoffs","Miss the Playoffs","Make the Playoffs","Miss the Playoffs"],"datasets":[{"label":"Great Management","data":[70,30],"backgroundColor":["#3b82f6","#6c757d"],"borderWidth":3,"borderColor":"#fff"},{"label":"Good Management","data":[61,39],"backgroundColor":["#22c55e","#6c757d"],"borderWidth":3,"borderColor":"#fff"},{"label":"Average Management","data":[50,50],"backgroundColor":["#fbbf24","#6c757d"],"borderWidth":3,"borderColor":"#fff"}]},"options":{"responsive":true,"maintainAspectRatio":false,"backgroundColor":"transparent","cutout":"40%","plugins":{"legend":{"display":false},"tooltip":{"enabled":true,"backgroundColor":"rgba(0,0,0,0.8)","titleColor":"#fff","bodyColor":"#fff"}},"elements":{"arc":{"borderWidth":3,"borderColor":"#fff"}}}}
Position Upside Potential
Breakout potential by position - more stars indicate greater upside opportunity