dickelfan
dickelfan
Tigerdroppings 2025
Want a Spicier Take? Need a Little Encouragement? Try Changing the Tone of your Report!
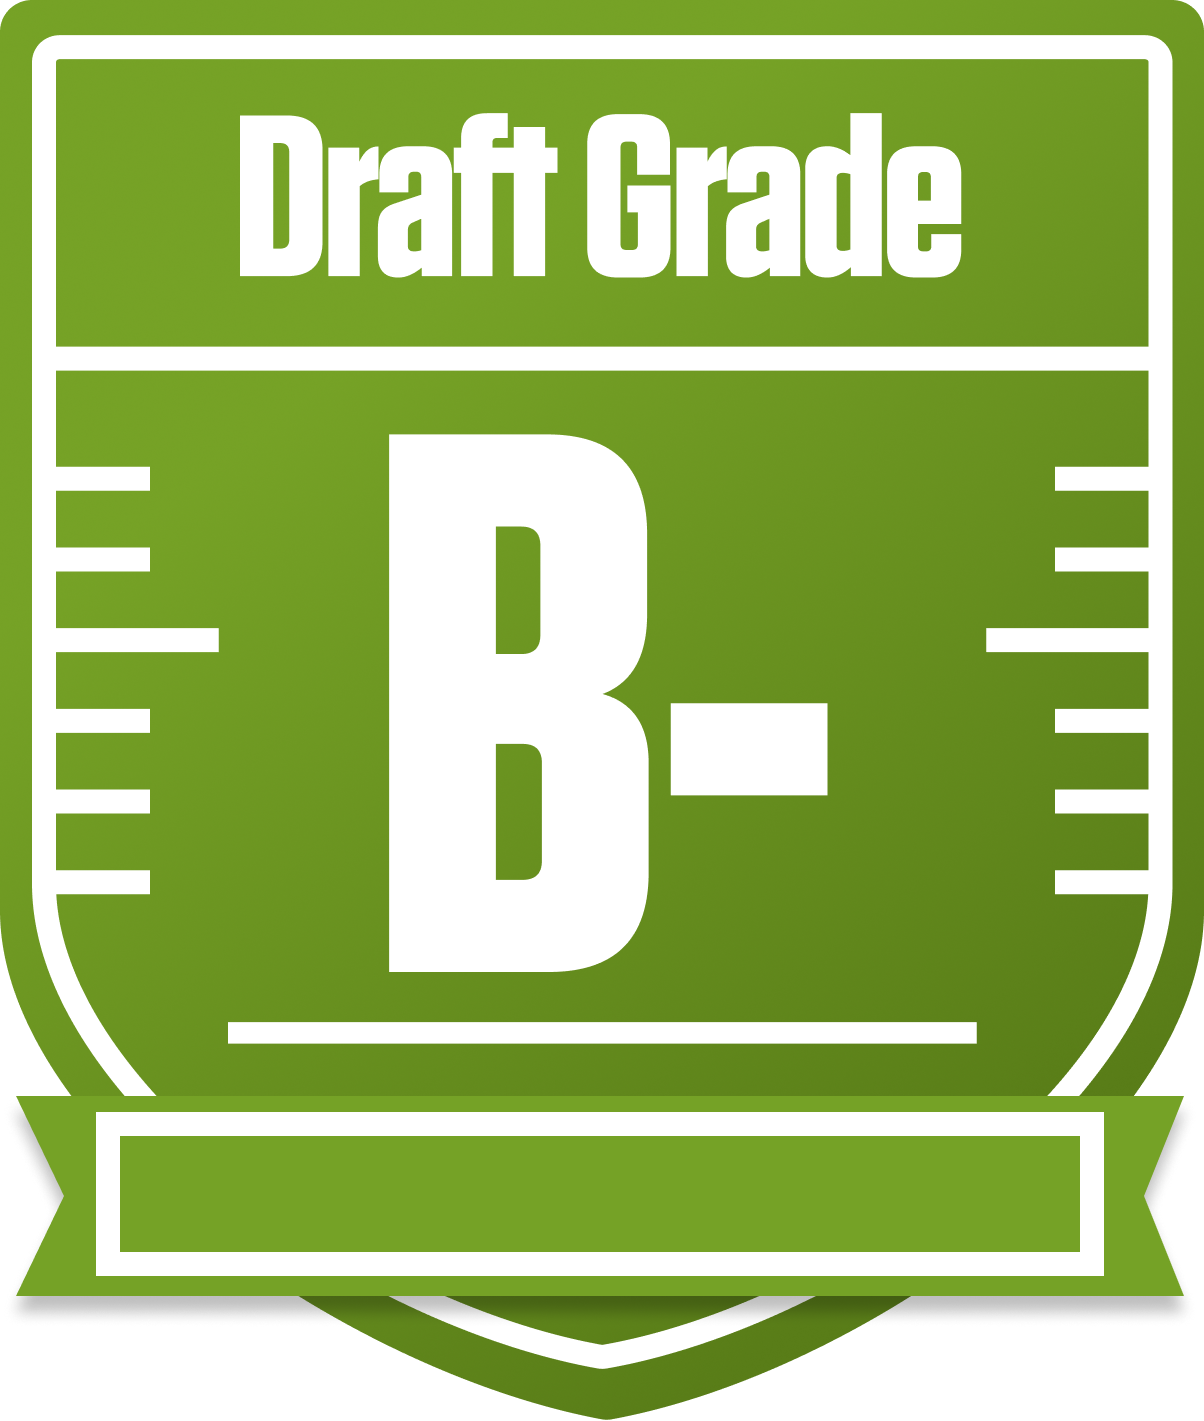
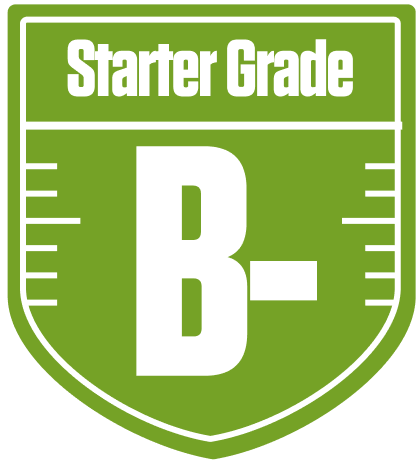
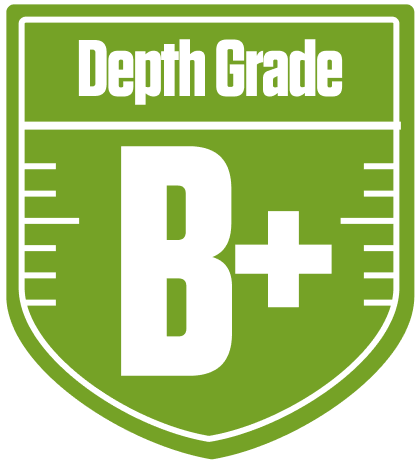


Your Draft Report Card Is Here, dickelfan - Let's Break Down How You Did
Howdy, dickelfan! Welcome to your personalized breakdown from the Tigerdroppings 2025 redraft league. Your team earned a solid overall grade of B-, showing a competitive roster with some clear strengths and a few areas that need attention. With a 10-team setup and full PPR scoring, your squad’s strong wide receiver group and top-tier quarterback play stand out as your biggest assets. However, your running back starters could use some reinforcements to keep pace in this balanced league.
Your playoff chances hover around the middle ground, with a decent shot if things break your way. The league’s single QB and two-flex format means your WRs and RBs need to consistently deliver, and your bench depth will be crucial. We’ll dive into your positional grades, bye week conflicts, and strategic moves to help you maximize your chances of making a deep run. Let’s get into the nitty-gritty and see how you can turn that B- into a championship-worthy squad!
Your Grades By Position
Quarterback


Running Back


Wide Receiver


Tight End


Team Defense


Kicker


Quarterback


Running Back


Wide Receiver


Tight End


Team Defense


Kicker


Playoff Chances
{"type":"doughnut","data":{"labels":["Make the Playoffs","Miss the Playoffs","Make the Playoffs","Miss the Playoffs","Make the Playoffs","Miss the Playoffs"],"datasets":[{"label":"Great Management","data":[67,33],"backgroundColor":["#3b82f6","#6c757d"],"borderWidth":3,"borderColor":"#fff"},{"label":"Good Management","data":[57,43],"backgroundColor":["#22c55e","#6c757d"],"borderWidth":3,"borderColor":"#fff"},{"label":"Average Management","data":[46,54],"backgroundColor":["#fbbf24","#6c757d"],"borderWidth":3,"borderColor":"#fff"}]},"options":{"responsive":true,"maintainAspectRatio":false,"backgroundColor":"transparent","cutout":"40%","plugins":{"legend":{"display":false},"tooltip":{"enabled":true,"backgroundColor":"rgba(0,0,0,0.8)","titleColor":"#fff","bodyColor":"#fff"}},"elements":{"arc":{"borderWidth":3,"borderColor":"#fff"}}}}
Position Upside Potential
Breakout potential by position - more stars indicate greater upside opportunity