NoleMan
NoleMan
Tigerdroppings 2025
Want a Spicier Take? Need a Little Encouragement? Try Changing the Tone of your Report!


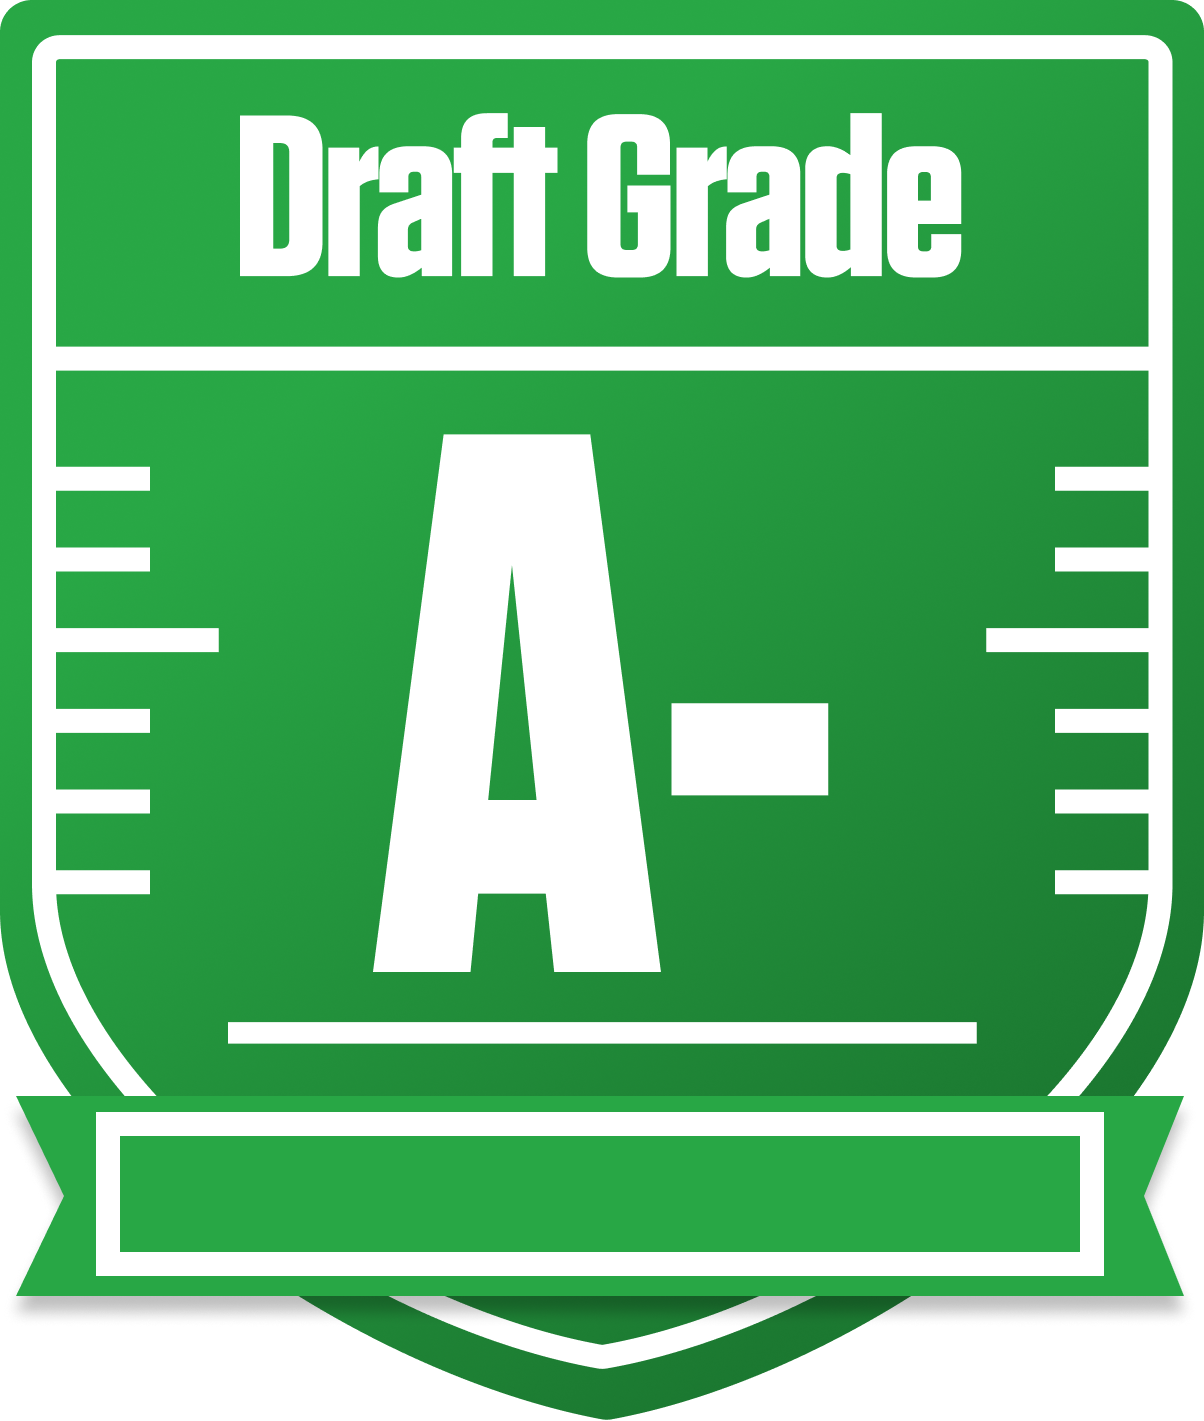
NoleMan's Draft Report Card Is Here - Let's Break Down How You Did in Tigerdroppings 2025
Howdy, NoleMan! Your redraft team in the Tigerdroppings 2025 league is looking mighty impressive with an overall grade of A-. That’s a strong showing in a competitive 10-team full PPR setup where every point counts. Your roster construction leans heavily on a powerhouse running back group and a solid quarterback starter, which fits well with your league’s 1 QB, 2 RB, 2 WR, 1 TE, and 2 flex slots format. The full PPR scoring and return yards add some extra flavor, and you’ve clearly targeted players who can rack up those catches and yards.
Your playoff chances are sitting in a promising range, with a good shot at making a deep run if things break right. But as we’ll see, your wide receiver corps is a bit of a sore spot, and your bench depth at QB and WR leaves room for improvement. Stick around for the breakdown where we’ll highlight your team’s strengths, weaknesses, and some savvy moves to keep you in the hunt for that championship trophy.
Your Grades By Position
Quarterback


Running Back


Wide Receiver


Tight End


Team Defense


Kicker


Quarterback


Running Back


Wide Receiver


Tight End


Team Defense


Kicker


Playoff Chances
{"type":"doughnut","data":{"labels":["Make the Playoffs","Miss the Playoffs","Make the Playoffs","Miss the Playoffs","Make the Playoffs","Miss the Playoffs"],"datasets":[{"label":"Great Management","data":[75,25],"backgroundColor":["#3b82f6","#6c757d"],"borderWidth":3,"borderColor":"#fff"},{"label":"Good Management","data":[67,33],"backgroundColor":["#22c55e","#6c757d"],"borderWidth":3,"borderColor":"#fff"},{"label":"Average Management","data":[57,43],"backgroundColor":["#fbbf24","#6c757d"],"borderWidth":3,"borderColor":"#fff"}]},"options":{"responsive":true,"maintainAspectRatio":false,"backgroundColor":"transparent","cutout":"40%","plugins":{"legend":{"display":false},"tooltip":{"enabled":true,"backgroundColor":"rgba(0,0,0,0.8)","titleColor":"#fff","bodyColor":"#fff"}},"elements":{"arc":{"borderWidth":3,"borderColor":"#fff"}}}}
Position Upside Potential
Breakout potential by position - more stars indicate greater upside opportunity