
2 Girls 1 Kupp
2 Girls 1 Kupp
ASB Auction Draft League
Want a Spicier Take? Need a Little Encouragement? Try Changing the Tone of your Report!


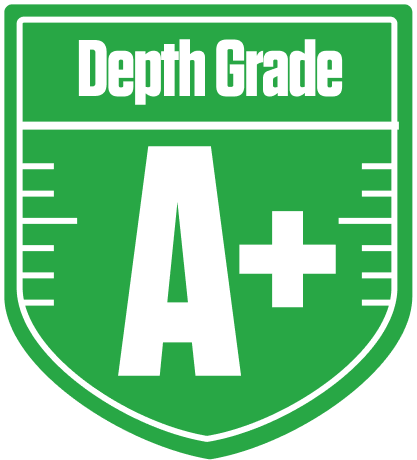
Your Draft Report Card Is Here, 2 Girls 1 Kupp - Let's Break Down How You Did
Well, howdy there, 2 Girls 1 Kupp! You’ve put together a downright impressive squad in this 10-team full PPR redraft league, and your overall grade of A+ tells the tale loud and clear. With a strong starting lineup and a bench that’s nothing short of stellar, you’re sitting pretty with solid playoff chances hovering around 70-80%. This league’s standard roster settings and full PPR scoring mean your wide receivers and running backs are gonna be the workhorses, and you’ve loaded up accordingly.
That said, there’s a couple of spots where you might want to keep an eye out, especially at tight end and quarterback depth. But don’t fret just yet — your team’s got the firepower to make a deep run if you play your cards right. We’ll dive into the nitty-gritty of your positional strengths, weaknesses, and some savvy moves you can make to keep that playoff dream alive. Buckle up, partner, it’s time to break down the goods and the bads for 2 Girls 1 Kupp!
Your Grades By Position
Quarterback


Running Back
Wide Receiver
Tight End

Quarterback
Running Back
Wide Receiver
Tight End
Playoff Chances
{"type":"doughnut","data":{"labels":["Make the Playoffs","Miss the Playoffs","Make the Playoffs","Miss the Playoffs","Make the Playoffs","Miss the Playoffs"],"datasets":[{"label":"Great Management","data":[81,19],"backgroundColor":["#3b82f6","#6c757d"],"borderWidth":3,"borderColor":"#fff"},{"label":"Good Management","data":[76,24],"backgroundColor":["#22c55e","#6c757d"],"borderWidth":3,"borderColor":"#fff"},{"label":"Average Management","data":[68,32],"backgroundColor":["#fbbf24","#6c757d"],"borderWidth":3,"borderColor":"#fff"}]},"options":{"responsive":true,"maintainAspectRatio":false,"backgroundColor":"transparent","cutout":"40%","plugins":{"legend":{"display":false},"tooltip":{"enabled":true,"backgroundColor":"rgba(0,0,0,0.8)","titleColor":"#fff","bodyColor":"#fff"}},"elements":{"arc":{"borderWidth":3,"borderColor":"#fff"}}}}
Position Upside Potential
Breakout potential by position - more stars indicate greater upside opportunity