
Viola Quack Attack
Viola Quack Attack
ASB Auction Draft League
Want a Spicier Take? Need a Little Encouragement? Try Changing the Tone of your Report!
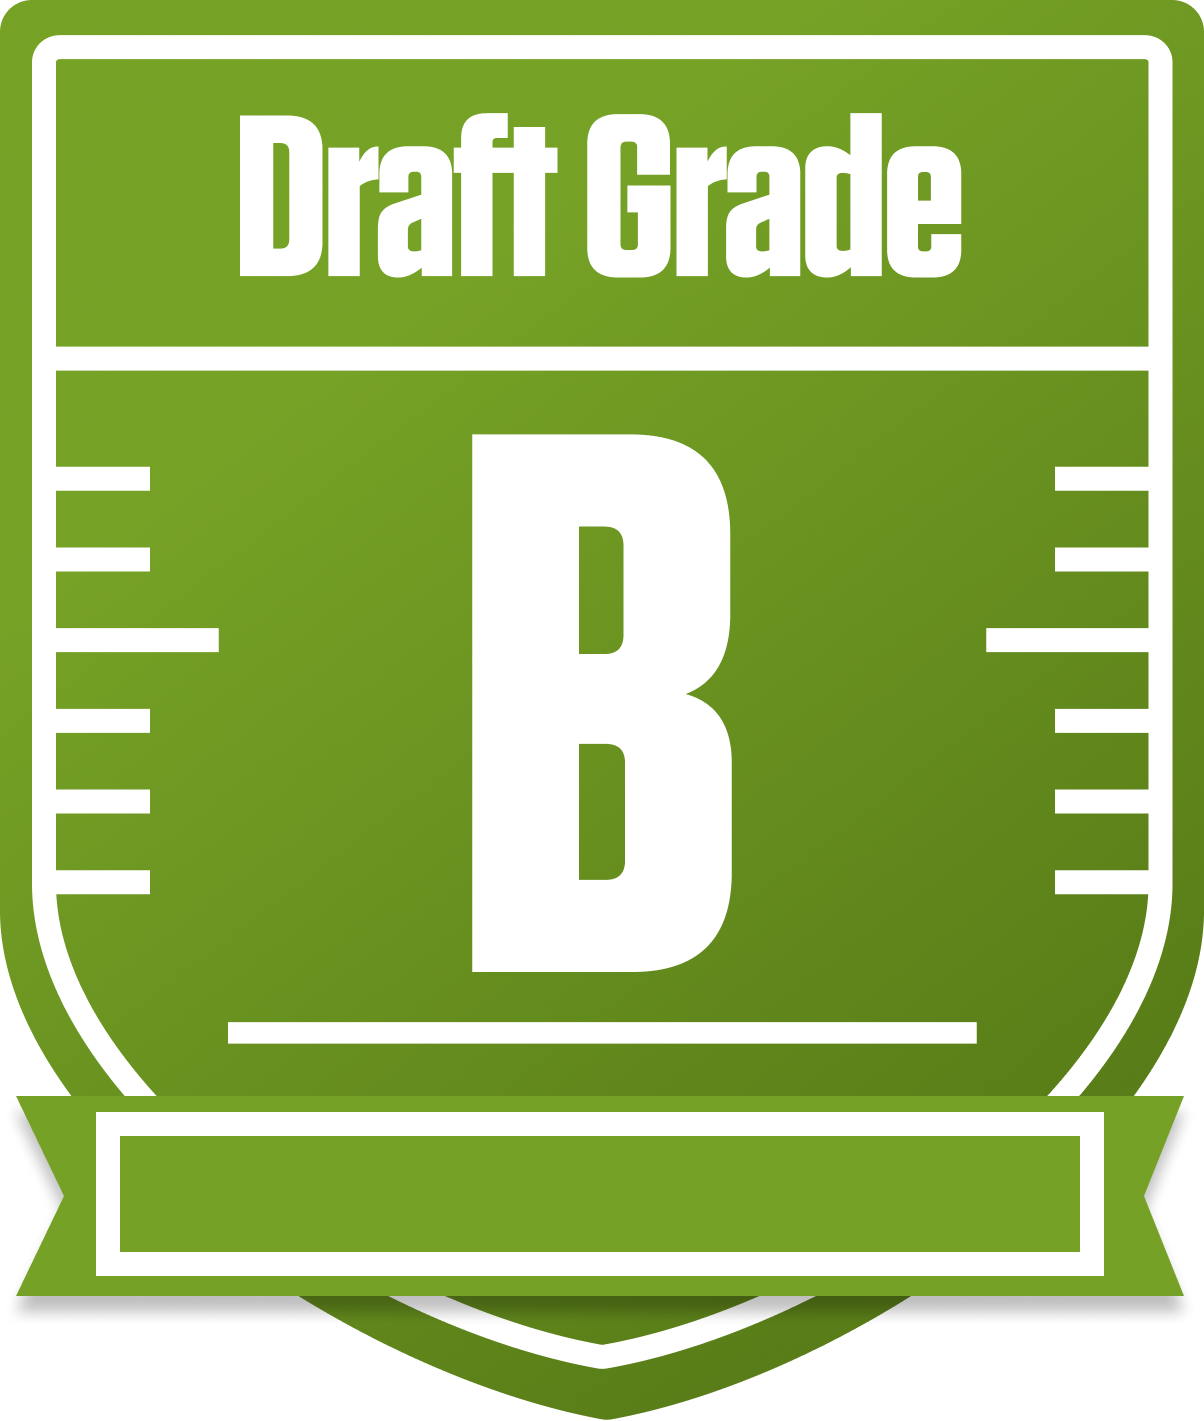
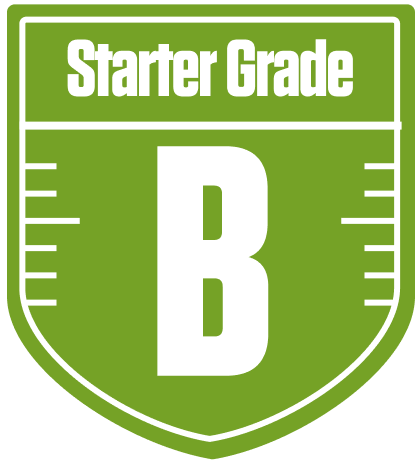
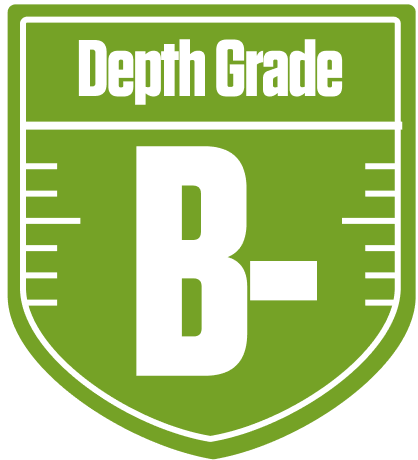
Viola Quack Attack Draft Report Card Is Here - Let’s Break Down How You Did
Howdy, Viola Quack Attack! You’ve put together a solid squad in this 10-team full PPR redraft league, earning a respectable overall grade of B. Your team shows clear strengths in the running back and wide receiver groups, which is a great foundation for success in a league that rewards pass-catching backs and volume receivers. The lack of a superflex spot means your quarterback’s impact is important but not overwhelming, and your QB grade reflects some room for improvement.
Your playoff chances hover in the middle ground, with a decent shot if things break your way. The league’s full PPR and return yard scoring add some extra flavor to your WR and RB value, and your roster construction leans into that nicely. We’ll dive into your team’s key advantages, potential pitfalls, and strategic moves to help you reach the postseason and beyond. Buckle up, because there’s plenty to unpack in this Reach for the Stars squad!
Your Grades By Position
Quarterback


Running Back

Wide Receiver
Tight End

Quarterback
Running Back
Wide Receiver
Tight End
Playoff Chances
{"type":"doughnut","data":{"labels":["Make the Playoffs","Miss the Playoffs","Make the Playoffs","Miss the Playoffs","Make the Playoffs","Miss the Playoffs"],"datasets":[{"label":"Great Management","data":[69,31],"backgroundColor":["#3b82f6","#6c757d"],"borderWidth":3,"borderColor":"#fff"},{"label":"Good Management","data":[59,41],"backgroundColor":["#22c55e","#6c757d"],"borderWidth":3,"borderColor":"#fff"},{"label":"Average Management","data":[48,52],"backgroundColor":["#fbbf24","#6c757d"],"borderWidth":3,"borderColor":"#fff"}]},"options":{"responsive":true,"maintainAspectRatio":false,"backgroundColor":"transparent","cutout":"40%","plugins":{"legend":{"display":false},"tooltip":{"enabled":true,"backgroundColor":"rgba(0,0,0,0.8)","titleColor":"#fff","bodyColor":"#fff"}},"elements":{"arc":{"borderWidth":3,"borderColor":"#fff"}}}}
Position Upside Potential
Breakout potential by position - more stars indicate greater upside opportunity