
Evolution Austria
Evolution Austria
ASB Auction Draft League
Want a Spicier Take? Need a Little Encouragement? Try Changing the Tone of your Report!


Your Draft Report Card Is Here, Evolution Austria - Let's Break Down How You Did
Well, howdy there, Evolution Austria! You’ve put together a downright impressive squad in this 10-team full PPR redraft league, and your overall grade of A+ tells the tale loud and clear. With a strong starting lineup and solid bench depth, you’re sitting pretty with a great shot at making a deep playoff run this season. The league’s standard roster settings and full PPR scoring highlight the value of your wide receivers and running backs, and you’ve capitalized on that beautifully.
Your team’s strengths shine brightest in your starting lineup, especially at WR and RB, while your quarterback and tight end spots show some room for improvement. The playoff chances hovering around 65-80% reflect a team that’s competitive but still needs to navigate a few challenges. Stick with us as we dive into the nitty-gritty of your roster construction, positional grades, and strategic moves to keep you on the path to fantasy glory this year.
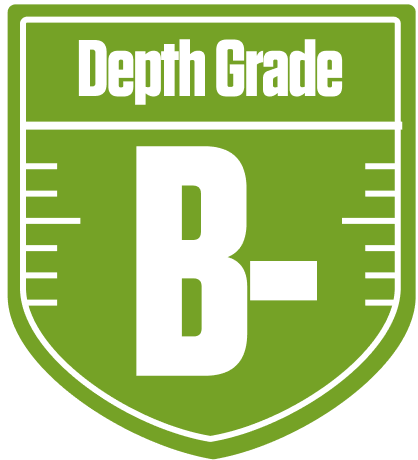
Your Grades By Position
Quarterback


Running Back

Wide Receiver

Tight End
Quarterback
Running Back
Wide Receiver
Tight End
Playoff Chances
{"type":"doughnut","data":{"labels":["Make the Playoffs","Miss the Playoffs","Make the Playoffs","Miss the Playoffs","Make the Playoffs","Miss the Playoffs"],"datasets":[{"label":"Great Management","data":[80,20],"backgroundColor":["#3b82f6","#6c757d"],"borderWidth":3,"borderColor":"#fff"},{"label":"Good Management","data":[74,26],"backgroundColor":["#22c55e","#6c757d"],"borderWidth":3,"borderColor":"#fff"},{"label":"Average Management","data":[65,35],"backgroundColor":["#fbbf24","#6c757d"],"borderWidth":3,"borderColor":"#fff"}]},"options":{"responsive":true,"maintainAspectRatio":false,"backgroundColor":"transparent","cutout":"40%","plugins":{"legend":{"display":false},"tooltip":{"enabled":true,"backgroundColor":"rgba(0,0,0,0.8)","titleColor":"#fff","bodyColor":"#fff"}},"elements":{"arc":{"borderWidth":3,"borderColor":"#fff"}}}}
Position Upside Potential
Breakout potential by position - more stars indicate greater upside opportunity