
Reykjavík Cholerics
Reykjavík Cholerics
ASB Auction Draft League
Want a Spicier Take? Need a Little Encouragement? Try Changing the Tone of your Report!
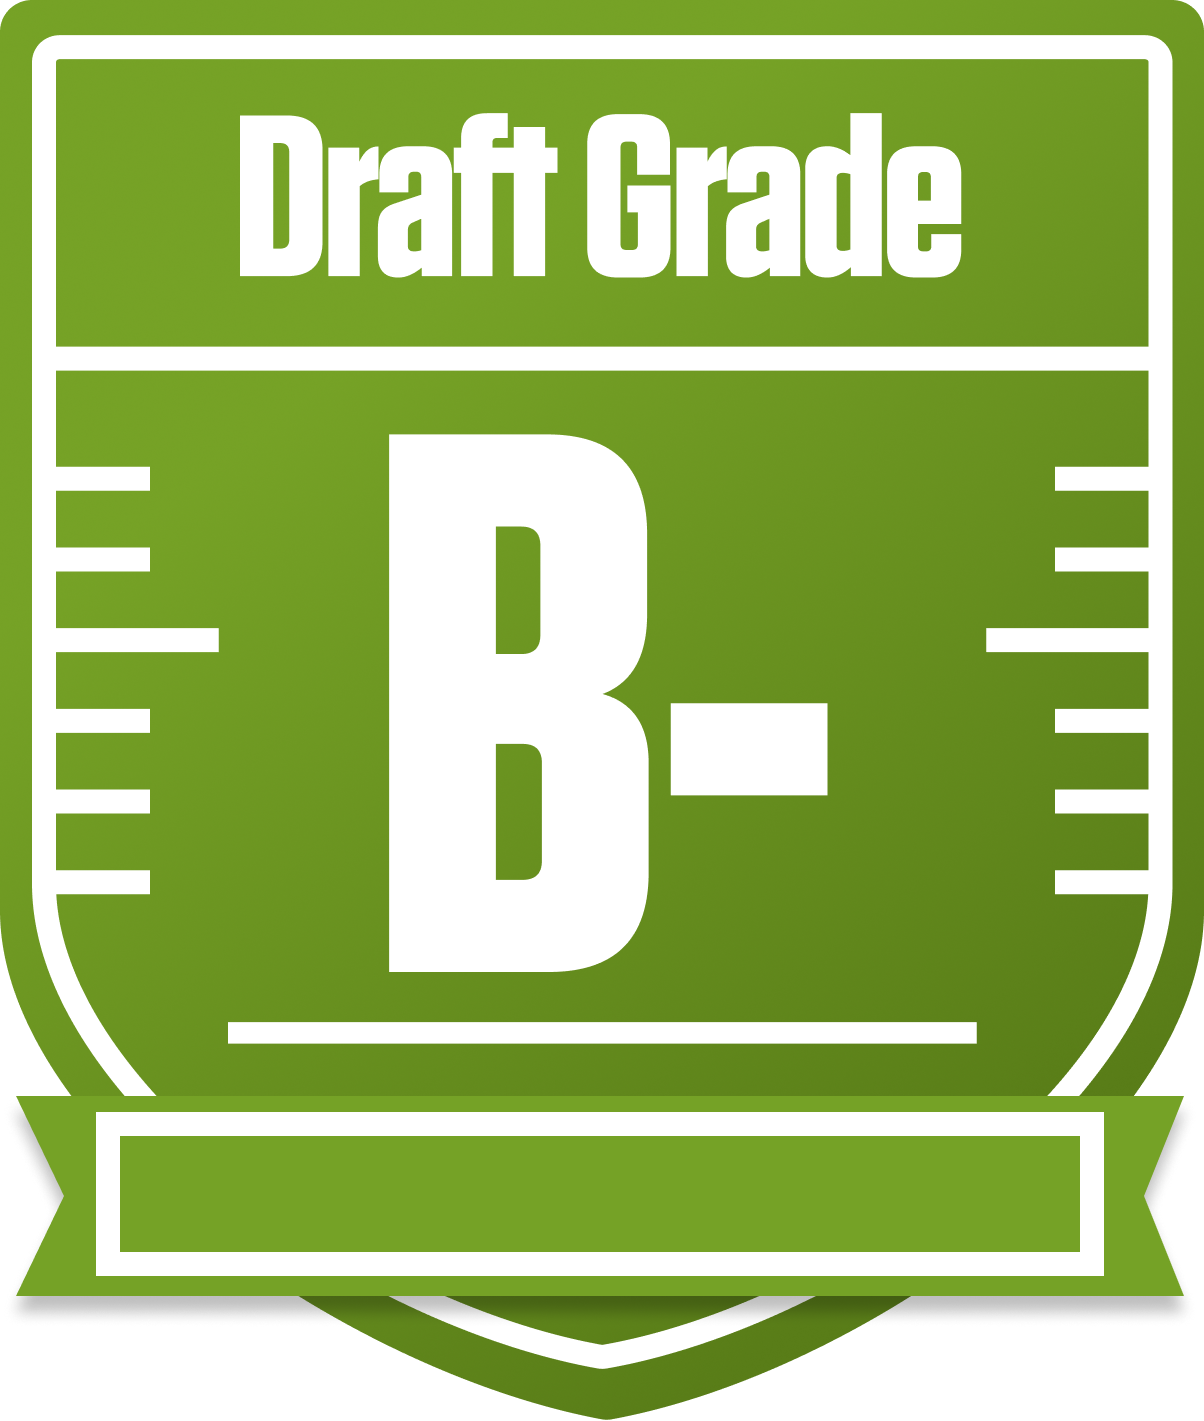
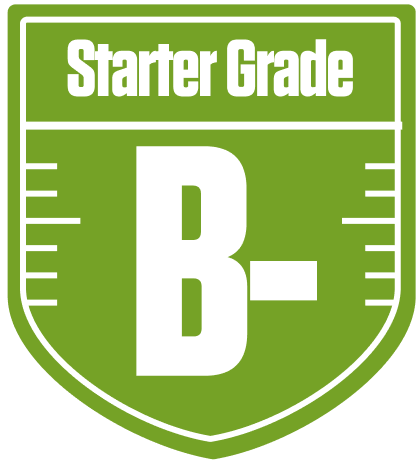
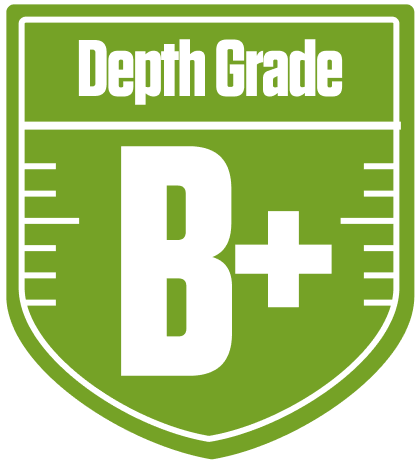
Your Draft Report Card Is Here, Reykjavík Cholerics - Let's Break Down How You Did
The Reykjavík Cholerics come out of the gate with a solid B- overall grade in this 10-team full PPR redraft league, showing a well-rounded but somewhat uneven roster. With a respectable 43% average playoff chance climbing to 64% for great odds, this team is positioned to compete but will need some strategic moves to push into the upper echelon. The league’s standard roster settings and full PPR scoring highlight the importance of depth, especially at skill positions, and Reykjavík Cholerics’ mix of strong starters and shaky bench depth will be a key storyline this season.
This report dives into the team’s strengths, like a standout tight end group and a high-scoring QB duo, while also spotlighting vulnerabilities, particularly in the running back bench. We’ll also explore trade opportunities and waiver wire pickups that could turn this team from a solid contender into a serious threat. Let’s get into the nitty-gritty and see how Reykjavík Cholerics can maximize their chances in this competitive ASB Auction Draft League.
Your Grades By Position
Quarterback

Running Back


Wide Receiver


Tight End
Quarterback
Running Back
Wide Receiver
Tight End
Playoff Chances
{"type":"doughnut","data":{"labels":["Make the Playoffs","Miss the Playoffs","Make the Playoffs","Miss the Playoffs","Make the Playoffs","Miss the Playoffs"],"datasets":[{"label":"Great Management","data":[64,36],"backgroundColor":["#3b82f6","#6c757d"],"borderWidth":3,"borderColor":"#fff"},{"label":"Good Management","data":[54,46],"backgroundColor":["#22c55e","#6c757d"],"borderWidth":3,"borderColor":"#fff"},{"label":"Average Management","data":[43,57],"backgroundColor":["#fbbf24","#6c757d"],"borderWidth":3,"borderColor":"#fff"}]},"options":{"responsive":true,"maintainAspectRatio":false,"backgroundColor":"transparent","cutout":"40%","plugins":{"legend":{"display":false},"tooltip":{"enabled":true,"backgroundColor":"rgba(0,0,0,0.8)","titleColor":"#fff","bodyColor":"#fff"}},"elements":{"arc":{"borderWidth":3,"borderColor":"#fff"}}}}
Position Upside Potential
Breakout potential by position - more stars indicate greater upside opportunity