
Donaustadt Dolphins
Donaustadt Dolphins
ASB Auction Draft League
Want a Spicier Take? Need a Little Encouragement? Try Changing the Tone of your Report!
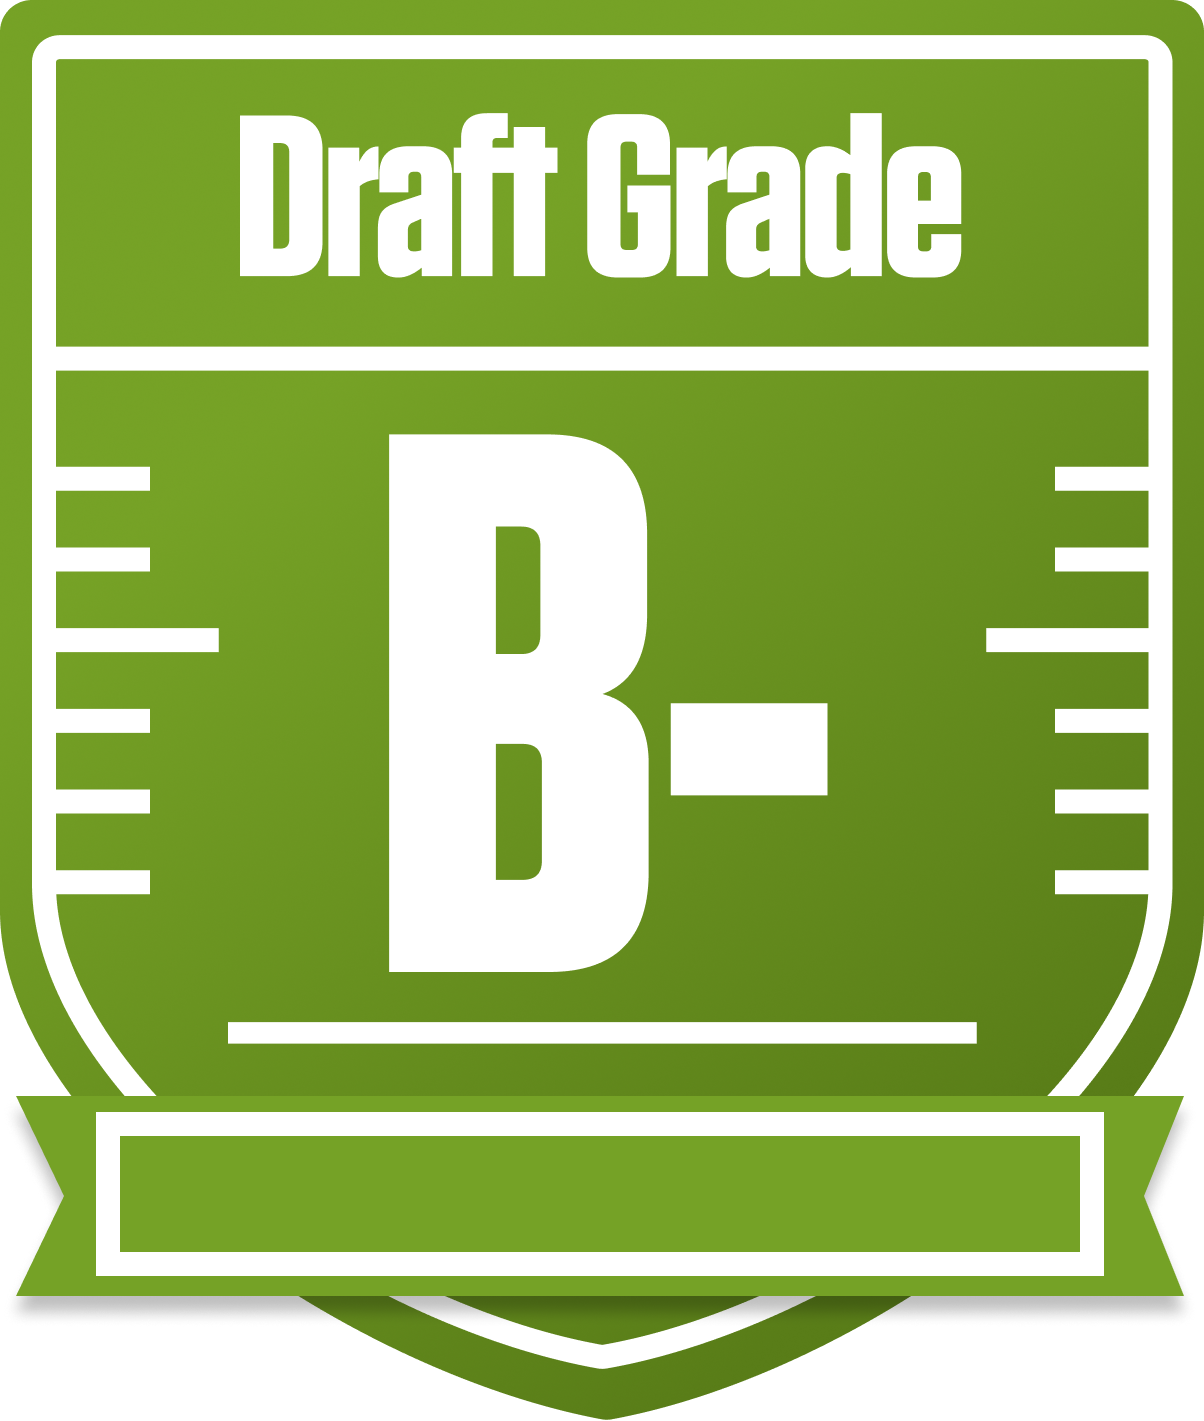
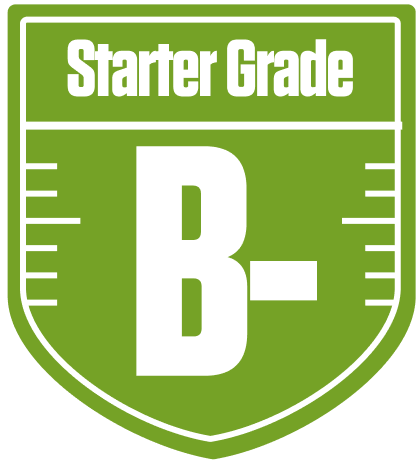
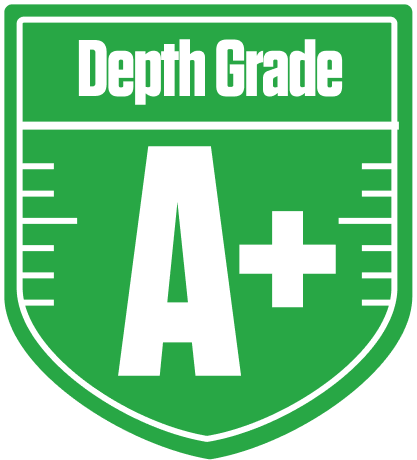
Donaustadt Dolphins Draft Report Card - Navigating Strengths and Gaps in ASB Auction Draft League
The Donaustadt Dolphins come out of the gate with a solid B- overall grade in this 10-team full PPR redraft league, showing a well-rounded roster that leans heavily on strong running back and wide receiver groups. With a projected starting lineup scoring nearly 124 points per week, this team is built to compete, but there are some clear areas that could hold them back from dominating. The league’s full PPR and return yards scoring settings reward pass-catching backs and versatile receivers, which plays right into the Dolphins’ strengths.
Their playoff chances hover around the middle of the pack, with a decent shot at making a run if key players stay healthy and bye week conflicts are managed carefully. The Dolphins’ approach shows a smart balance between safe floor players and some upside, but the tight end position is a glaring weak spot that could cost them in tight matchups. Let’s dive deeper into what makes this team tick and where they need to shore up to turn that B- into a championship-worthy squad.
Your Grades By Position
Quarterback


Running Back

Wide Receiver

Tight End


Quarterback
Running Back
Wide Receiver
Tight End
Playoff Chances
{"type":"doughnut","data":{"labels":["Make the Playoffs","Miss the Playoffs","Make the Playoffs","Miss the Playoffs","Make the Playoffs","Miss the Playoffs"],"datasets":[{"label":"Great Management","data":[67,33],"backgroundColor":["#3b82f6","#6c757d"],"borderWidth":3,"borderColor":"#fff"},{"label":"Good Management","data":[58,42],"backgroundColor":["#22c55e","#6c757d"],"borderWidth":3,"borderColor":"#fff"},{"label":"Average Management","data":[47,53],"backgroundColor":["#fbbf24","#6c757d"],"borderWidth":3,"borderColor":"#fff"}]},"options":{"responsive":true,"maintainAspectRatio":false,"backgroundColor":"transparent","cutout":"40%","plugins":{"legend":{"display":false},"tooltip":{"enabled":true,"backgroundColor":"rgba(0,0,0,0.8)","titleColor":"#fff","bodyColor":"#fff"}},"elements":{"arc":{"borderWidth":3,"borderColor":"#fff"}}}}
Position Upside Potential
Breakout potential by position - more stars indicate greater upside opportunity