
Green Mountain State
Green Mountain State
ASB Auction Draft League
Want a Spicier Take? Need a Little Encouragement? Try Changing the Tone of your Report!


Your Draft Report Card Is Here, Green Mountain State - Let's Break Down How You Did
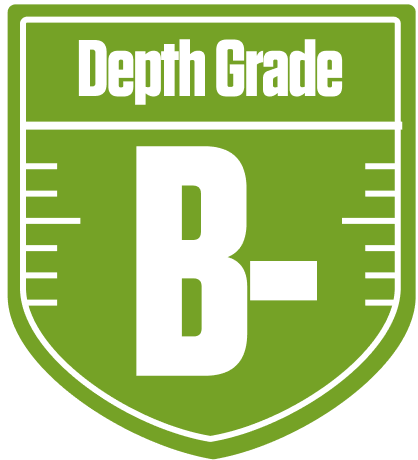
Howdy, Green Mountain State! You’ve just wrapped up your draft in the ASB Auction Draft League, a competitive 10-team full PPR setup with return yards adding some extra spice. Your team earned a solid overall grade of C, showing some clear strengths but also areas that need work if you want to punch your ticket to the playoffs. With a projected starting lineup scoring nearly 119 points per week, you’ve got a decent foundation, but the running back group is dragging your grade down.
This league’s standard redraft format means every pick counts fresh each season, and your team’s mix of high-floor wide receivers and a sturdy QB spot gives you a solid base. However, your running backs and tight ends are a bit shaky, which could limit your ceiling. Your playoff chances hover around the low 30s, so there’s room to maneuver. Let’s dive into the nitty-gritty of your roster construction, bye week challenges, and strategic moves to help you climb that leaderboard and reach for the stars, just like your team tag promises!
Your Grades By Position
Quarterback


Running Back


Wide Receiver
Tight End

Quarterback
Running Back
Wide Receiver
Tight End
Playoff Chances
{"type":"doughnut","data":{"labels":["Make the Playoffs","Miss the Playoffs","Make the Playoffs","Miss the Playoffs","Make the Playoffs","Miss the Playoffs"],"datasets":[{"label":"Great Management","data":[50,50],"backgroundColor":["#3b82f6","#6c757d"],"borderWidth":3,"borderColor":"#fff"},{"label":"Good Management","data":[40,60],"backgroundColor":["#22c55e","#6c757d"],"borderWidth":3,"borderColor":"#fff"},{"label":"Average Management","data":[32,68],"backgroundColor":["#fbbf24","#6c757d"],"borderWidth":3,"borderColor":"#fff"}]},"options":{"responsive":true,"maintainAspectRatio":false,"backgroundColor":"transparent","cutout":"40%","plugins":{"legend":{"display":false},"tooltip":{"enabled":true,"backgroundColor":"rgba(0,0,0,0.8)","titleColor":"#fff","bodyColor":"#fff"}},"elements":{"arc":{"borderWidth":3,"borderColor":"#fff"}}}}
Position Upside Potential
Breakout potential by position - more stars indicate greater upside opportunity