
Breakfast Blitz
Breakfast Blitz
A Football Life
Want a Spicier Take? Need a Little Encouragement? Try Changing the Tone of your Report!


Breakfast Blitz Draft Report Card Is Here - Let's Break Down How You Did
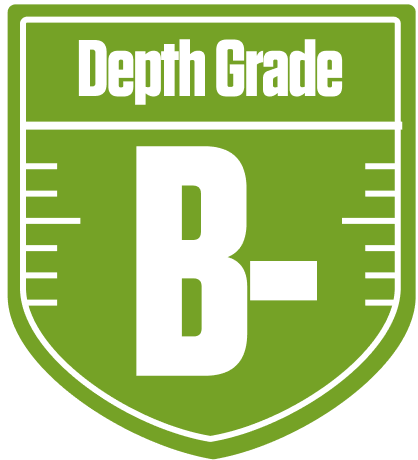
Welcome to your personalized fantasy report, Breakfast Blitz! In this 12-team redraft league, your team earned a solid C overall grade, reflecting a mix of strong and shaky spots. Your quarterback group shines bright with an A grade, giving you a reliable foundation to build around. However, your running back depth is a concern, dragging your overall RB grade down despite a strong starting duo. Wide receivers show a fascinating split: starters underperforming but bench players packing a punch, which could be a hidden weapon.
With a 33% average chance to make the playoffs, you’re in the hunt but need some key moves to push into the upper tier. The league’s standard roster settings and scoring bonuses for first downs and return yards add some flavor to your strategy. We’ll dive into your team’s strengths, weaknesses, and tactical recommendations below to help you turn this “Boom or Bust” squad into a consistent contender.
Your Grades By Position
Quarterback


Running Back


Wide Receiver

Tight End

Team Defense

Kicker
Quarterback
Running Back
Wide Receiver
Tight End
Team Defense
Kicker
Playoff Chances
{"type":"doughnut","data":{"labels":["Make the Playoffs","Miss the Playoffs","Make the Playoffs","Miss the Playoffs","Make the Playoffs","Miss the Playoffs"],"datasets":[{"label":"Great Management","data":[51,49],"backgroundColor":["#3b82f6","#6c757d"],"borderWidth":3,"borderColor":"#fff"},{"label":"Good Management","data":[42,58],"backgroundColor":["#22c55e","#6c757d"],"borderWidth":3,"borderColor":"#fff"},{"label":"Average Management","data":[33,67],"backgroundColor":["#fbbf24","#6c757d"],"borderWidth":3,"borderColor":"#fff"}]},"options":{"responsive":true,"maintainAspectRatio":false,"backgroundColor":"transparent","cutout":"40%","plugins":{"legend":{"display":false},"tooltip":{"enabled":true,"backgroundColor":"rgba(0,0,0,0.8)","titleColor":"#fff","bodyColor":"#fff"}},"elements":{"arc":{"borderWidth":3,"borderColor":"#fff"}}}}
Position Upside Potential
Breakout potential by position - more stars indicate greater upside opportunity