
Deez Nuttz
Deez Nuttz
A Football Life
Want a Spicier Take? Need a Little Encouragement? Try Changing the Tone of your Report!
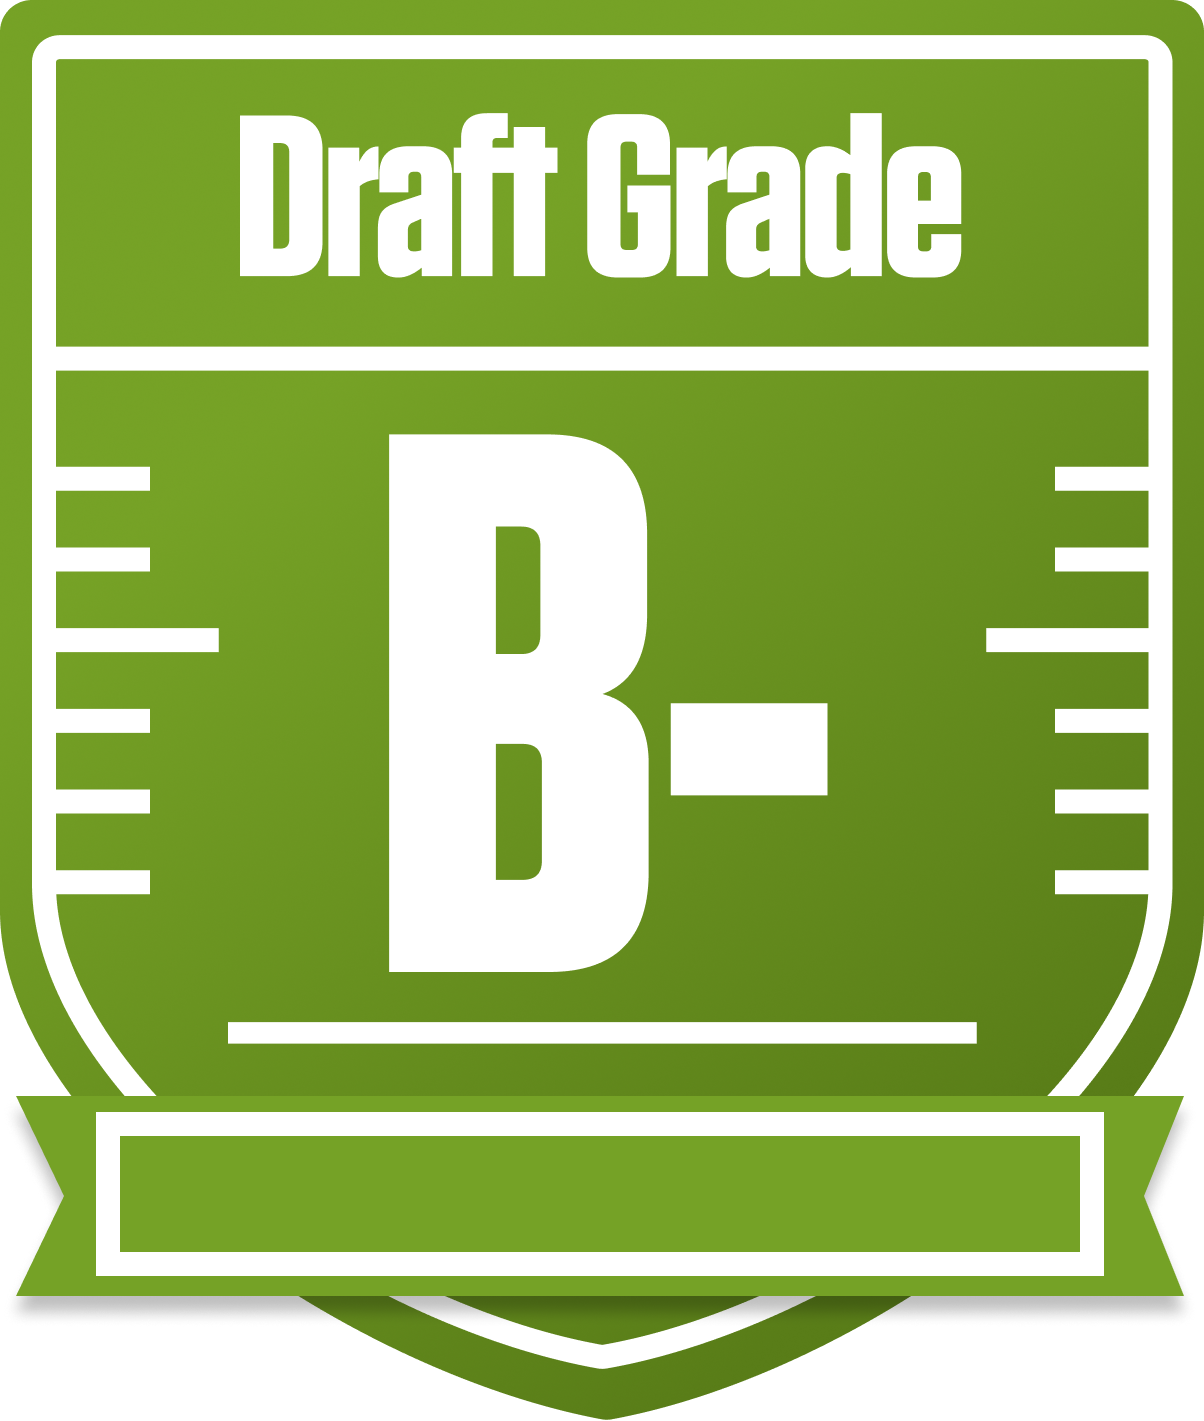

Deez Nuttz Draft Report Card Is Here - Let’s Break Down How You Did
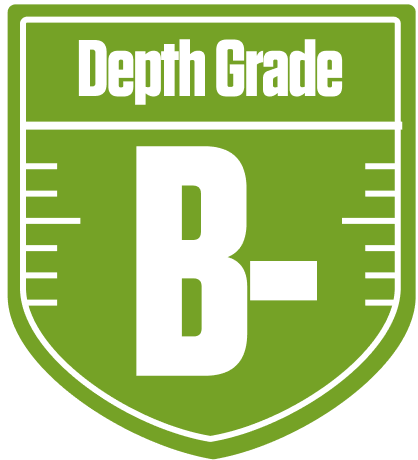
Howdy, Deez Nuttz! You’ve got yourself a solid B- overall grade in this 12-team redraft league, which tells me you’re sitting comfortably in the middle of the pack with a real shot at making some noise this season. Your team’s built with a strong foundation at quarterback and running back, which is a classic recipe for fantasy success. The league’s standard roster settings with one QB, two WRs, and two flex spots mean your depth and flexibility will be tested, especially with your WR group showing some struggles.
Your playoff chances hover around the mid-40s to mid-60s percentile depending on how things shake out, so there’s definitely room to maneuver. The Deez Nuttz approach leans heavily on star power at QB and RB, but the wide receiver and tight end groups could use some reinforcements. Stick around for the breakdown below where we’ll dig into your team’s strengths, weaknesses, and some strategic moves to help you punch your ticket to the postseason and beyond.
Your Grades By Position
Quarterback

Running Back


Wide Receiver

Tight End

Team Defense
Kicker

Quarterback
Running Back
Wide Receiver
Tight End
Team Defense
Kicker
Playoff Chances
{"type":"doughnut","data":{"labels":["Make the Playoffs","Miss the Playoffs","Make the Playoffs","Miss the Playoffs","Make the Playoffs","Miss the Playoffs"],"datasets":[{"label":"Great Management","data":[66,34],"backgroundColor":["#3b82f6","#6c757d"],"borderWidth":3,"borderColor":"#fff"},{"label":"Good Management","data":[56,44],"backgroundColor":["#22c55e","#6c757d"],"borderWidth":3,"borderColor":"#fff"},{"label":"Average Management","data":[45,55],"backgroundColor":["#fbbf24","#6c757d"],"borderWidth":3,"borderColor":"#fff"}]},"options":{"responsive":true,"maintainAspectRatio":false,"backgroundColor":"transparent","cutout":"40%","plugins":{"legend":{"display":false},"tooltip":{"enabled":true,"backgroundColor":"rgba(0,0,0,0.8)","titleColor":"#fff","bodyColor":"#fff"}},"elements":{"arc":{"borderWidth":3,"borderColor":"#fff"}}}}
Position Upside Potential
Breakout potential by position - more stars indicate greater upside opportunity