
Some Pulp
Some Pulp
A Football Life
Want a Spicier Take? Need a Little Encouragement? Try Changing the Tone of your Report!
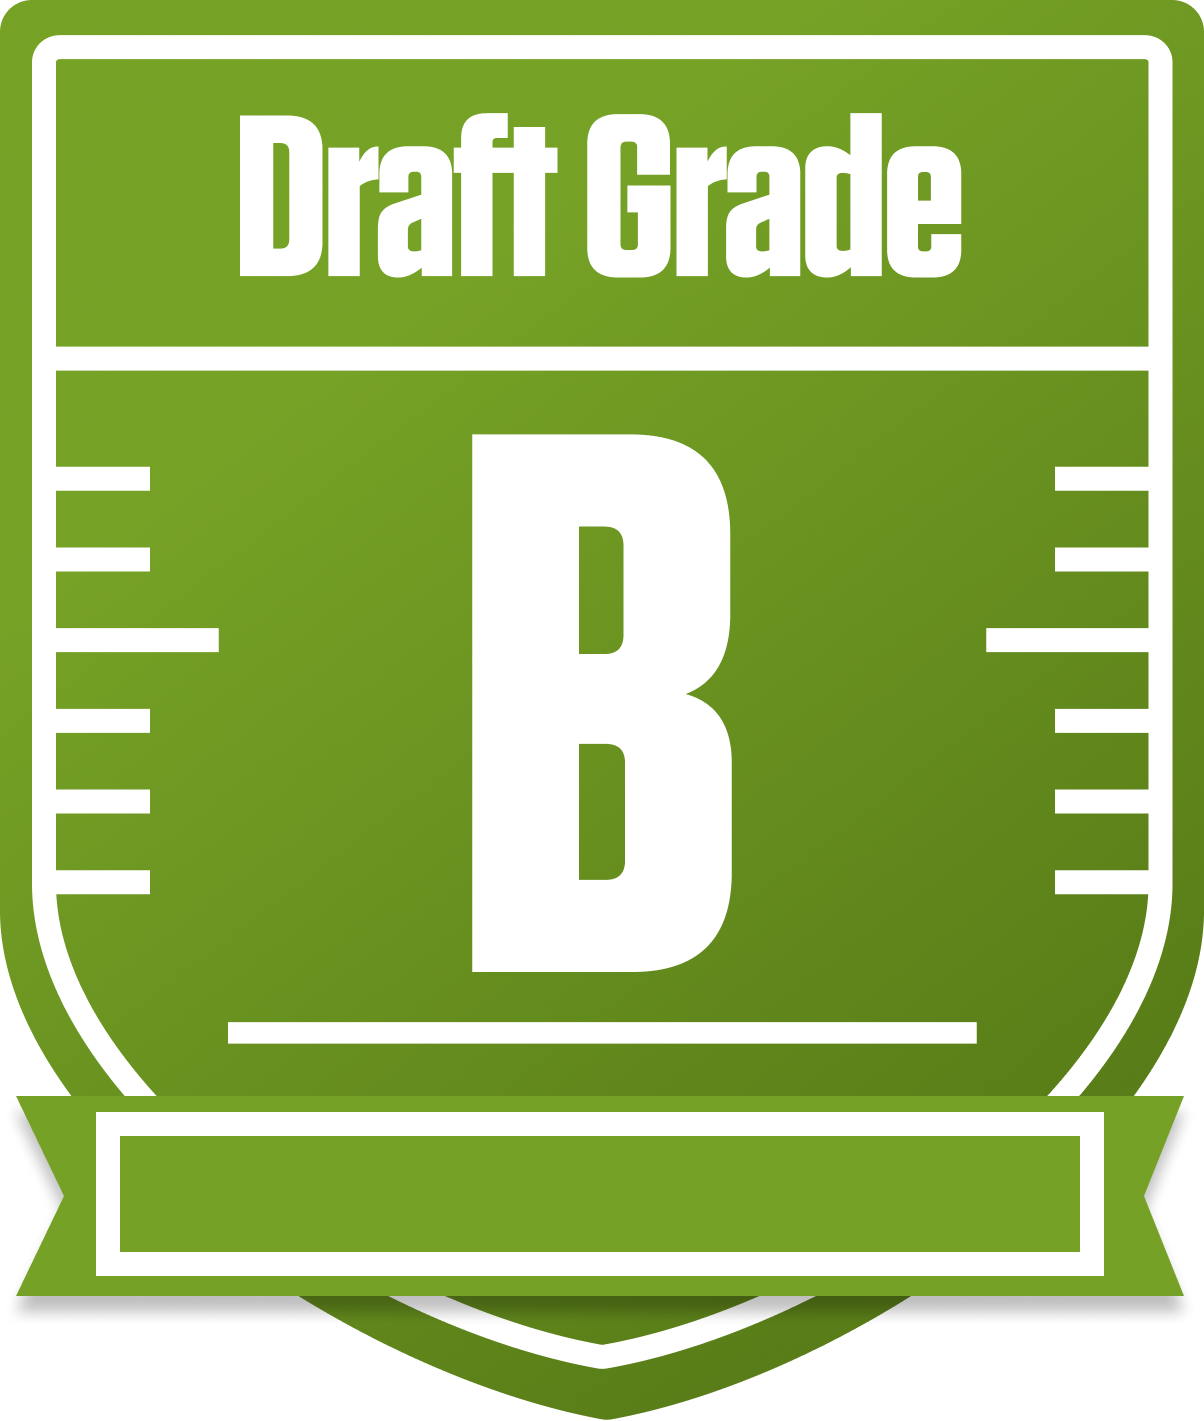
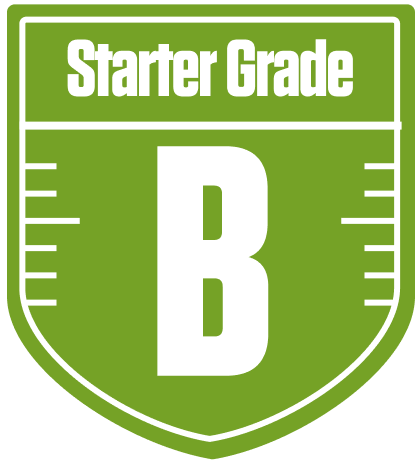
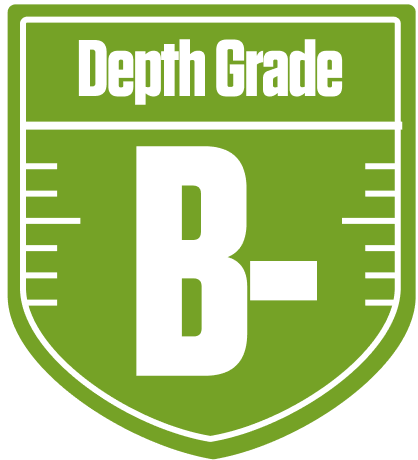
Your Draft Report Card Is Here, Some Pulp - Let's Break Down How You Did
Welcome to your personalized fantasy football report for the Some Pulp squad in the A Football Life league! This 12-team redraft league with standard roster settings and some nifty scoring bonuses like first down and return yards has shaped your team into a solid contender. Your overall grade of B reflects a well-rounded roster with clear strengths and a few areas needing attention. With playoff chances hovering around the middle to upper tier, you’re in a competitive spot but will need to play your cards right to push into the top tier.
Your team’s approach shows a savvy mix of star power and depth, especially at quarterback and wide receiver, but the running back group and bench depth present some challenges. The unique league settings, including two flex spots and seven bench slots, offer flexibility but also demand smart weekly management. Let’s dive deeper into what makes Some Pulp tick and where you can sharpen your edge to make a strong playoff run this season.
Your Grades By Position
Quarterback

Running Back

Wide Receiver

Tight End

Team Defense
Kicker

Quarterback
Running Back
Wide Receiver
Tight End
Team Defense
Kicker
Playoff Chances
{"type":"doughnut","data":{"labels":["Make the Playoffs","Miss the Playoffs","Make the Playoffs","Miss the Playoffs","Make the Playoffs","Miss the Playoffs"],"datasets":[{"label":"Great Management","data":[68,32],"backgroundColor":["#3b82f6","#6c757d"],"borderWidth":3,"borderColor":"#fff"},{"label":"Good Management","data":[58,42],"backgroundColor":["#22c55e","#6c757d"],"borderWidth":3,"borderColor":"#fff"},{"label":"Average Management","data":[47,53],"backgroundColor":["#fbbf24","#6c757d"],"borderWidth":3,"borderColor":"#fff"}]},"options":{"responsive":true,"maintainAspectRatio":false,"backgroundColor":"transparent","cutout":"40%","plugins":{"legend":{"display":false},"tooltip":{"enabled":true,"backgroundColor":"rgba(0,0,0,0.8)","titleColor":"#fff","bodyColor":"#fff"}},"elements":{"arc":{"borderWidth":3,"borderColor":"#fff"}}}}
Position Upside Potential
Breakout potential by position - more stars indicate greater upside opportunity