
Dark Avengers
Dark Avengers
A Football Life
Want a Spicier Take? Need a Little Encouragement? Try Changing the Tone of your Report!


Dark Avengers Draft Report Card Is Here - Let’s Break Down How You Did
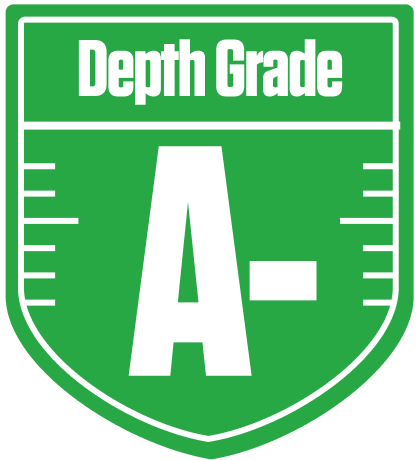
The Dark Avengers have put together a strong showing in this 12-team redraft league, earning an impressive overall grade of A-. This team’s draft results reflect a well-balanced approach, with particular strength in the running back group and solid depth at wide receiver. The league’s standard roster settings, including one QB and two flex spots, play to their advantage by allowing them to maximize their RB and WR production. Their playoff chances look promising, hovering around the mid-50s to mid-70s percentile depending on scenario, which means they’re in the hunt but will need to stay sharp.
While the starters shine, the bench shows some glaring weaknesses at QB and RB, which could be a concern if injuries strike. The team’s depth chart darling tag is well-earned thanks to a strong WR bench, but bye week conflicts and kicker reliability are areas to watch. We’ll dive into the specifics below, highlighting where the Dark Avengers can capitalize and where they might need to make moves to secure a deep playoff run.
Your Grades By Position
Quarterback


Running Back
Wide Receiver

Tight End


Team Defense
Kicker

Quarterback
Running Back
Wide Receiver
Tight End
Team Defense
Kicker
Playoff Chances
{"type":"doughnut","data":{"labels":["Make the Playoffs","Miss the Playoffs","Make the Playoffs","Miss the Playoffs","Make the Playoffs","Miss the Playoffs"],"datasets":[{"label":"Great Management","data":[75,25],"backgroundColor":["#3b82f6","#6c757d"],"borderWidth":3,"borderColor":"#fff"},{"label":"Good Management","data":[67,33],"backgroundColor":["#22c55e","#6c757d"],"borderWidth":3,"borderColor":"#fff"},{"label":"Average Management","data":[56,44],"backgroundColor":["#fbbf24","#6c757d"],"borderWidth":3,"borderColor":"#fff"}]},"options":{"responsive":true,"maintainAspectRatio":false,"backgroundColor":"transparent","cutout":"40%","plugins":{"legend":{"display":false},"tooltip":{"enabled":true,"backgroundColor":"rgba(0,0,0,0.8)","titleColor":"#fff","bodyColor":"#fff"}},"elements":{"arc":{"borderWidth":3,"borderColor":"#fff"}}}}
Position Upside Potential
Breakout potential by position - more stars indicate greater upside opportunity