
No Nabers in the Standingz
No Nabers in the Standingz
A Football Life
Want a Spicier Take? Need a Little Encouragement? Try Changing the Tone of your Report!
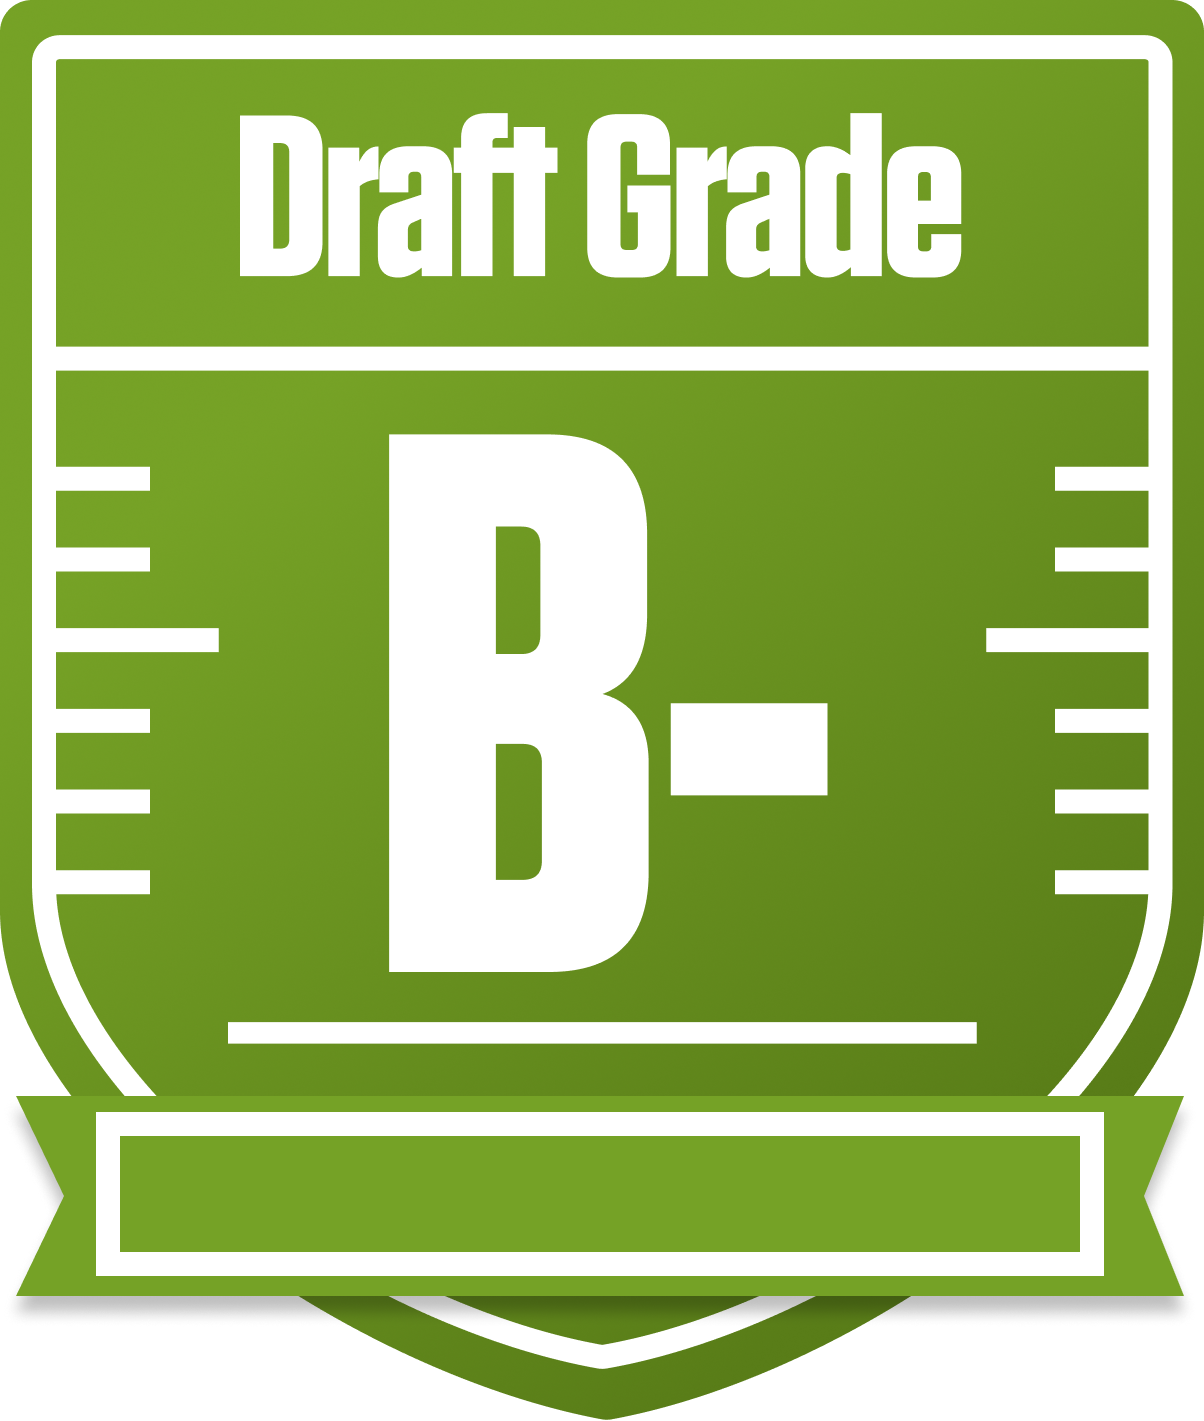
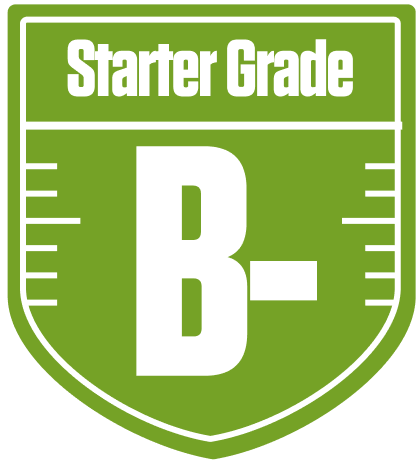
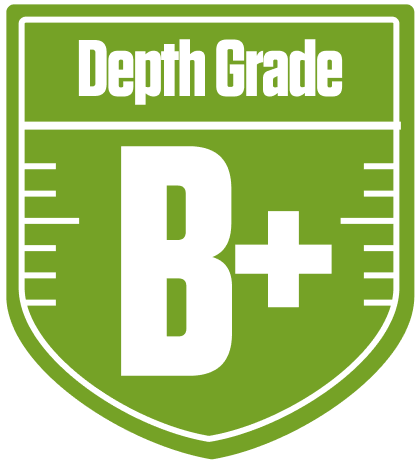
No Nabers in the Standingz Draft Report Card - A Solid B- Showing in A Football Life
The No Nabers in the Standingz squad in the 12-team redraft league, A Football Life, has put together a respectable B- overall grade this season. With standard roster settings—1 QB, 1 RB, 2 WR, 1 TE, 1 DEF, 1 K, and 2 flex spots—this team leans heavily on strong wide receiver and tight end play to carry the load. Their projected points and grades reflect a team that’s competitive but has some glaring holes, especially at running back.
Playoff chances hover in the mid-40s to mid-60s percentile range, so this team is very much in the hunt but will need some breaks and savvy moves to push into the upper tier. The league’s first down bonuses and return yard scoring add some flavor, rewarding players who can consistently move the chains and contribute on special teams. We’ll dive into the strengths, weaknesses, and strategic moves that can help No Nabers in the Standingz punch their ticket to the postseason and beyond.
Your Grades By Position
Quarterback


Running Back


Wide Receiver
Tight End

Team Defense

Kicker

Quarterback
Running Back
Wide Receiver
Tight End
Team Defense
Kicker
Playoff Chances
{"type":"doughnut","data":{"labels":["Make the Playoffs","Miss the Playoffs","Make the Playoffs","Miss the Playoffs","Make the Playoffs","Miss the Playoffs"],"datasets":[{"label":"Great Management","data":[65,35],"backgroundColor":["#3b82f6","#6c757d"],"borderWidth":3,"borderColor":"#fff"},{"label":"Good Management","data":[55,45],"backgroundColor":["#22c55e","#6c757d"],"borderWidth":3,"borderColor":"#fff"},{"label":"Average Management","data":[44,56],"backgroundColor":["#fbbf24","#6c757d"],"borderWidth":3,"borderColor":"#fff"}]},"options":{"responsive":true,"maintainAspectRatio":false,"backgroundColor":"transparent","cutout":"40%","plugins":{"legend":{"display":false},"tooltip":{"enabled":true,"backgroundColor":"rgba(0,0,0,0.8)","titleColor":"#fff","bodyColor":"#fff"}},"elements":{"arc":{"borderWidth":3,"borderColor":"#fff"}}}}
Position Upside Potential
Breakout potential by position - more stars indicate greater upside opportunity